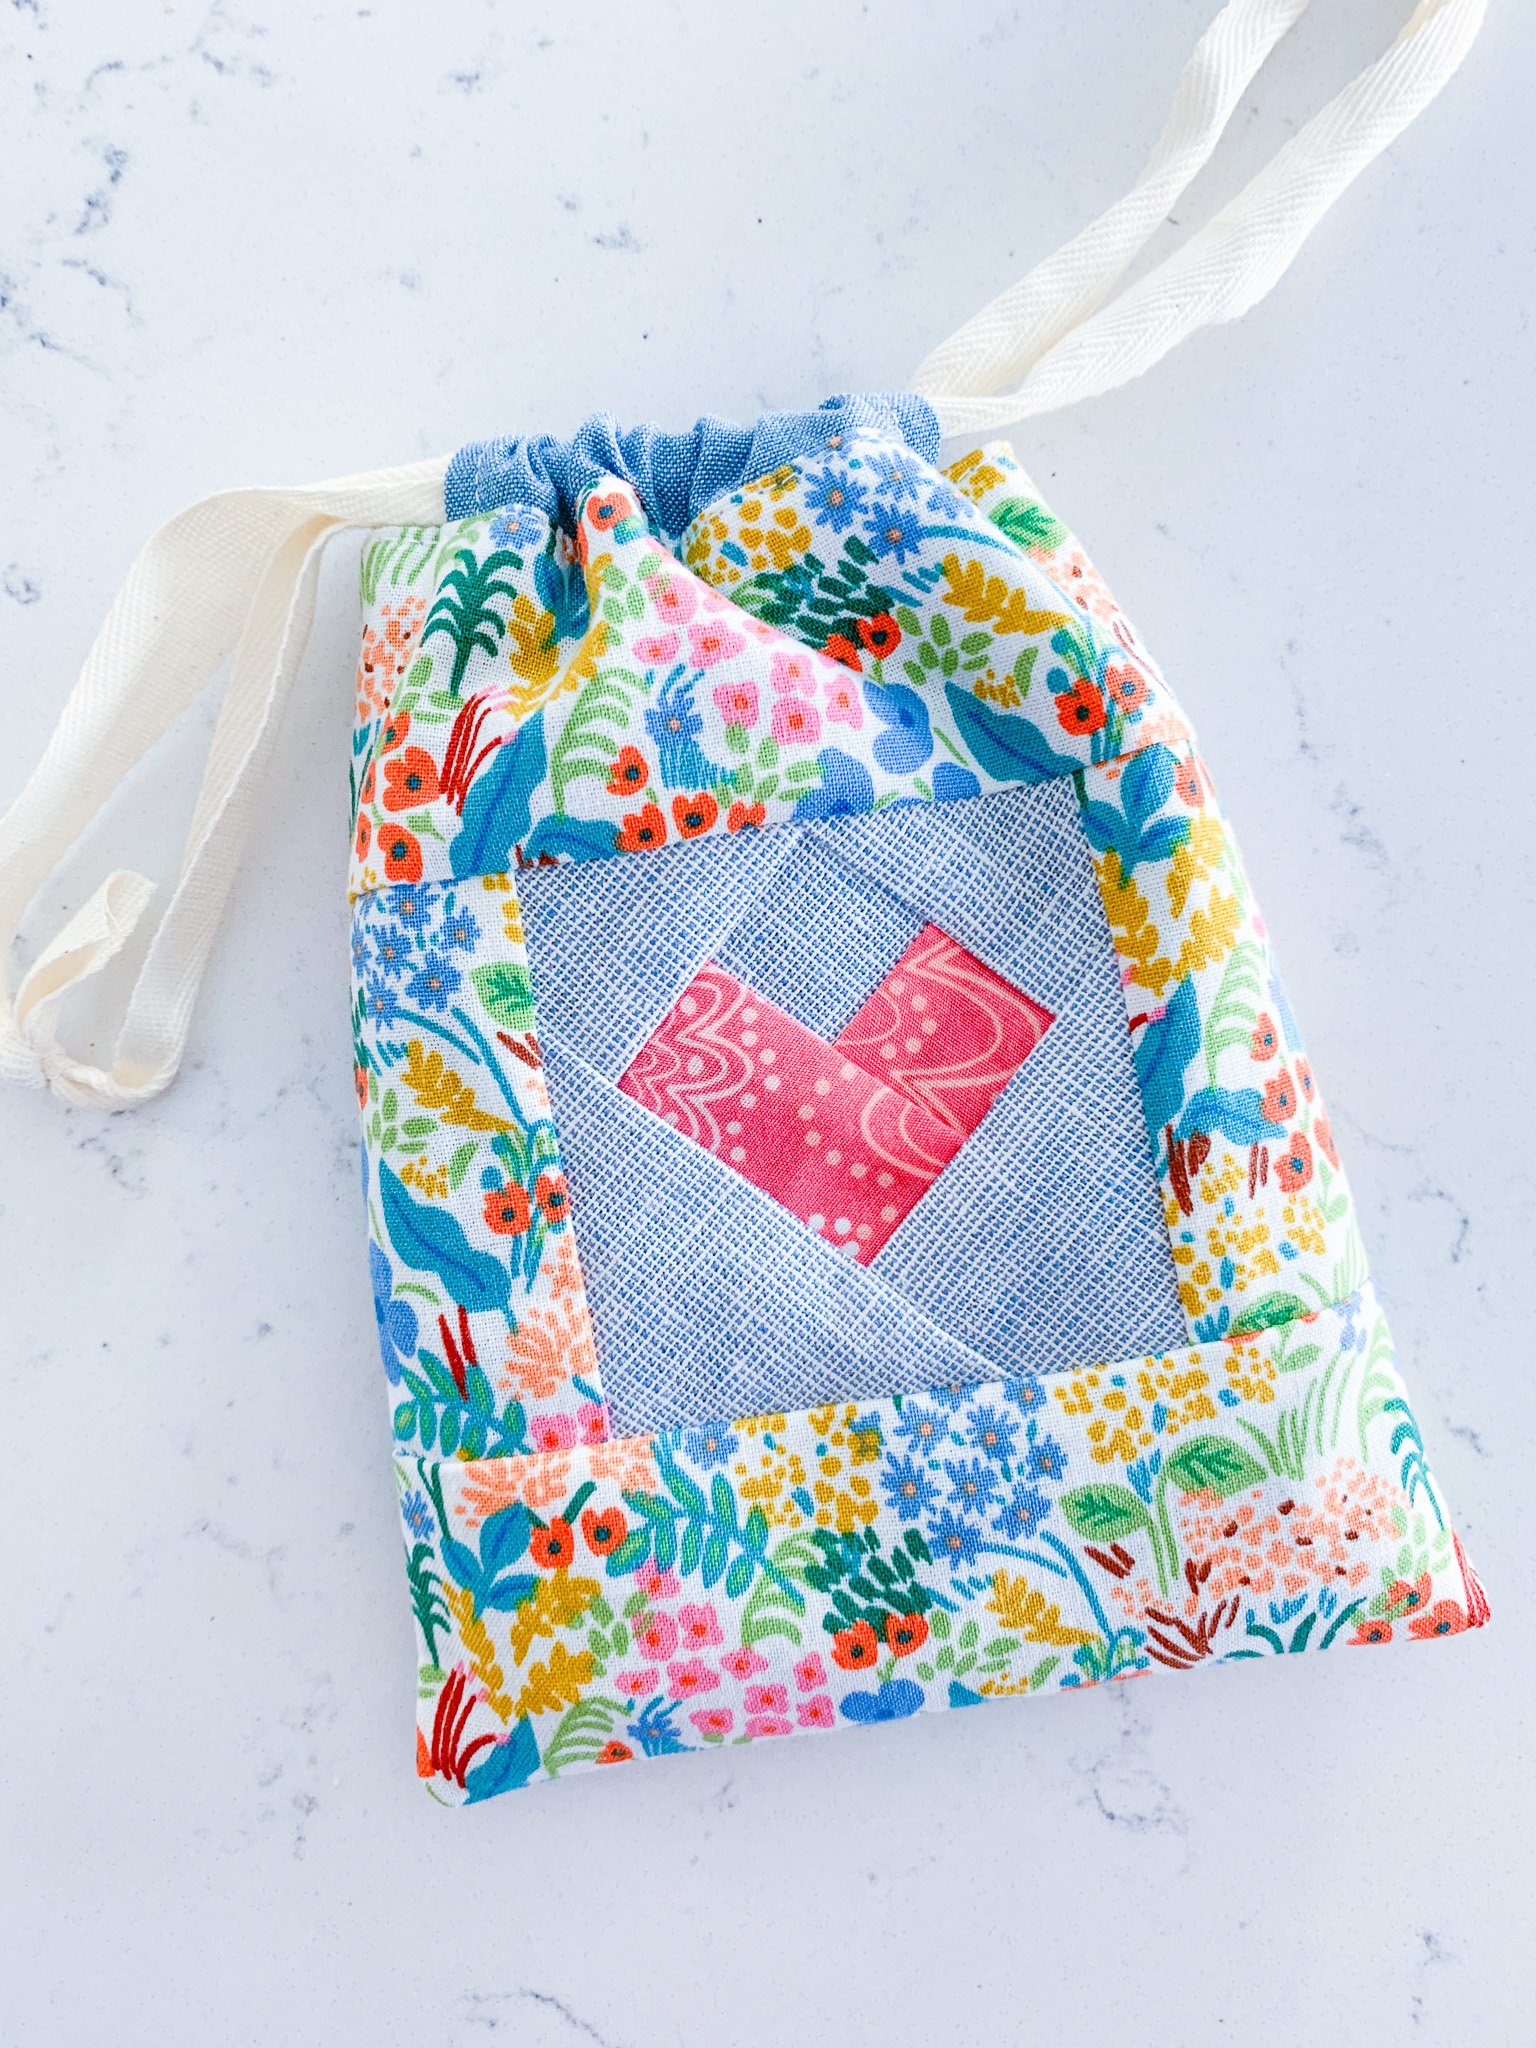
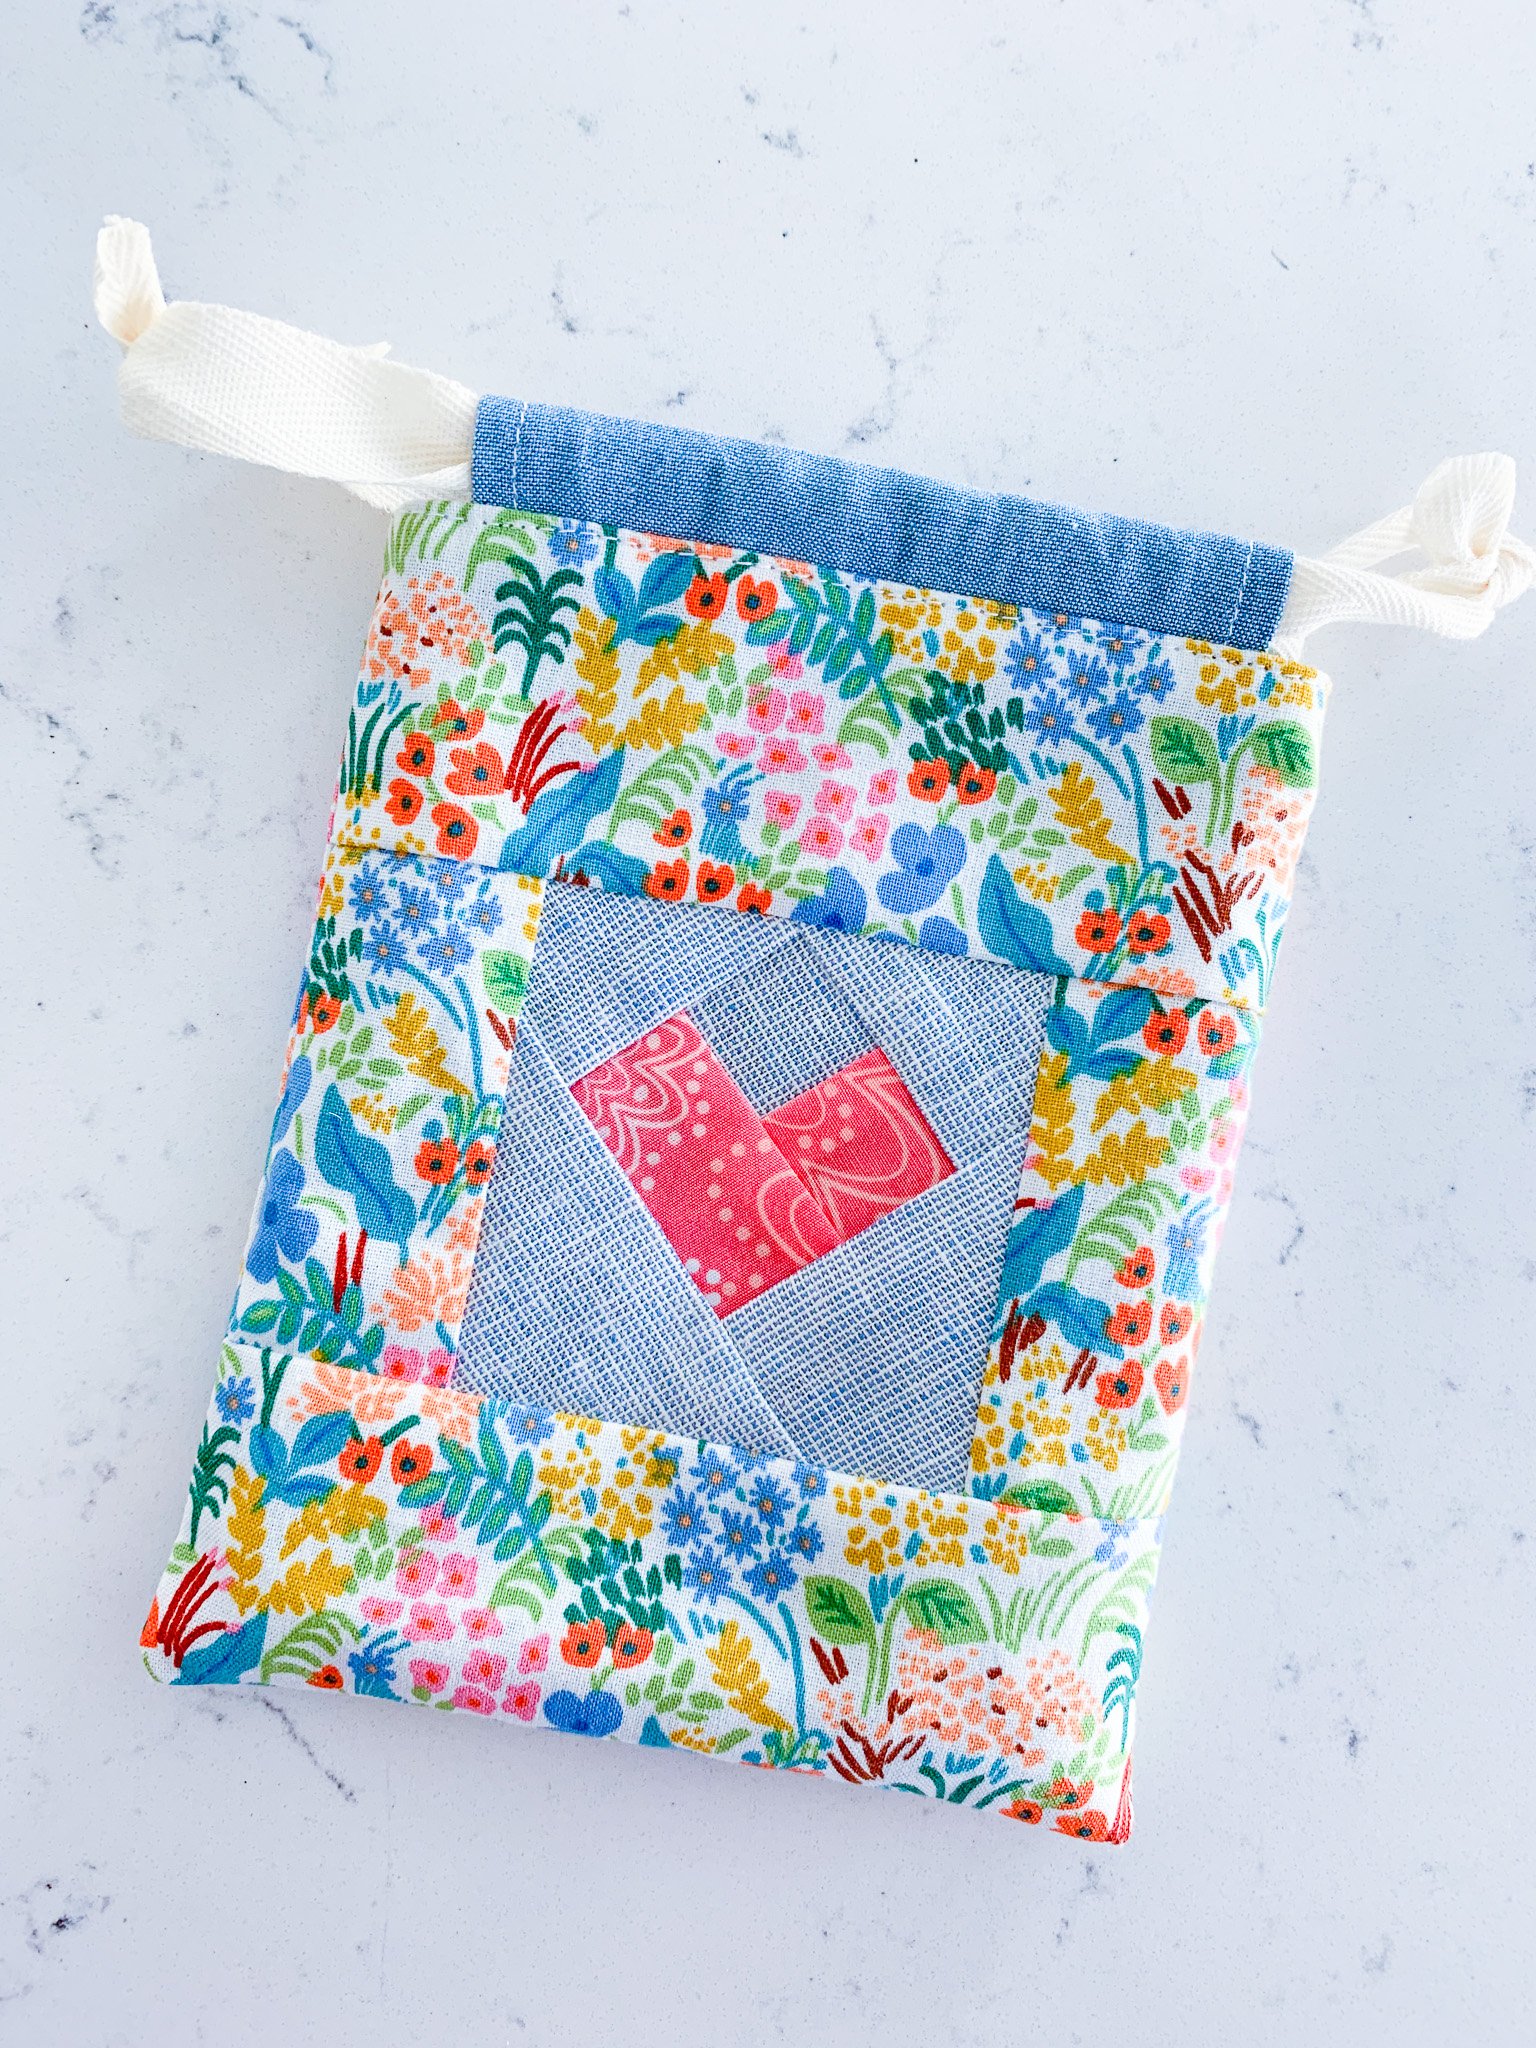
Maker’s Heart Mini Pouch (Lined Drawstring Bag Tutorial)
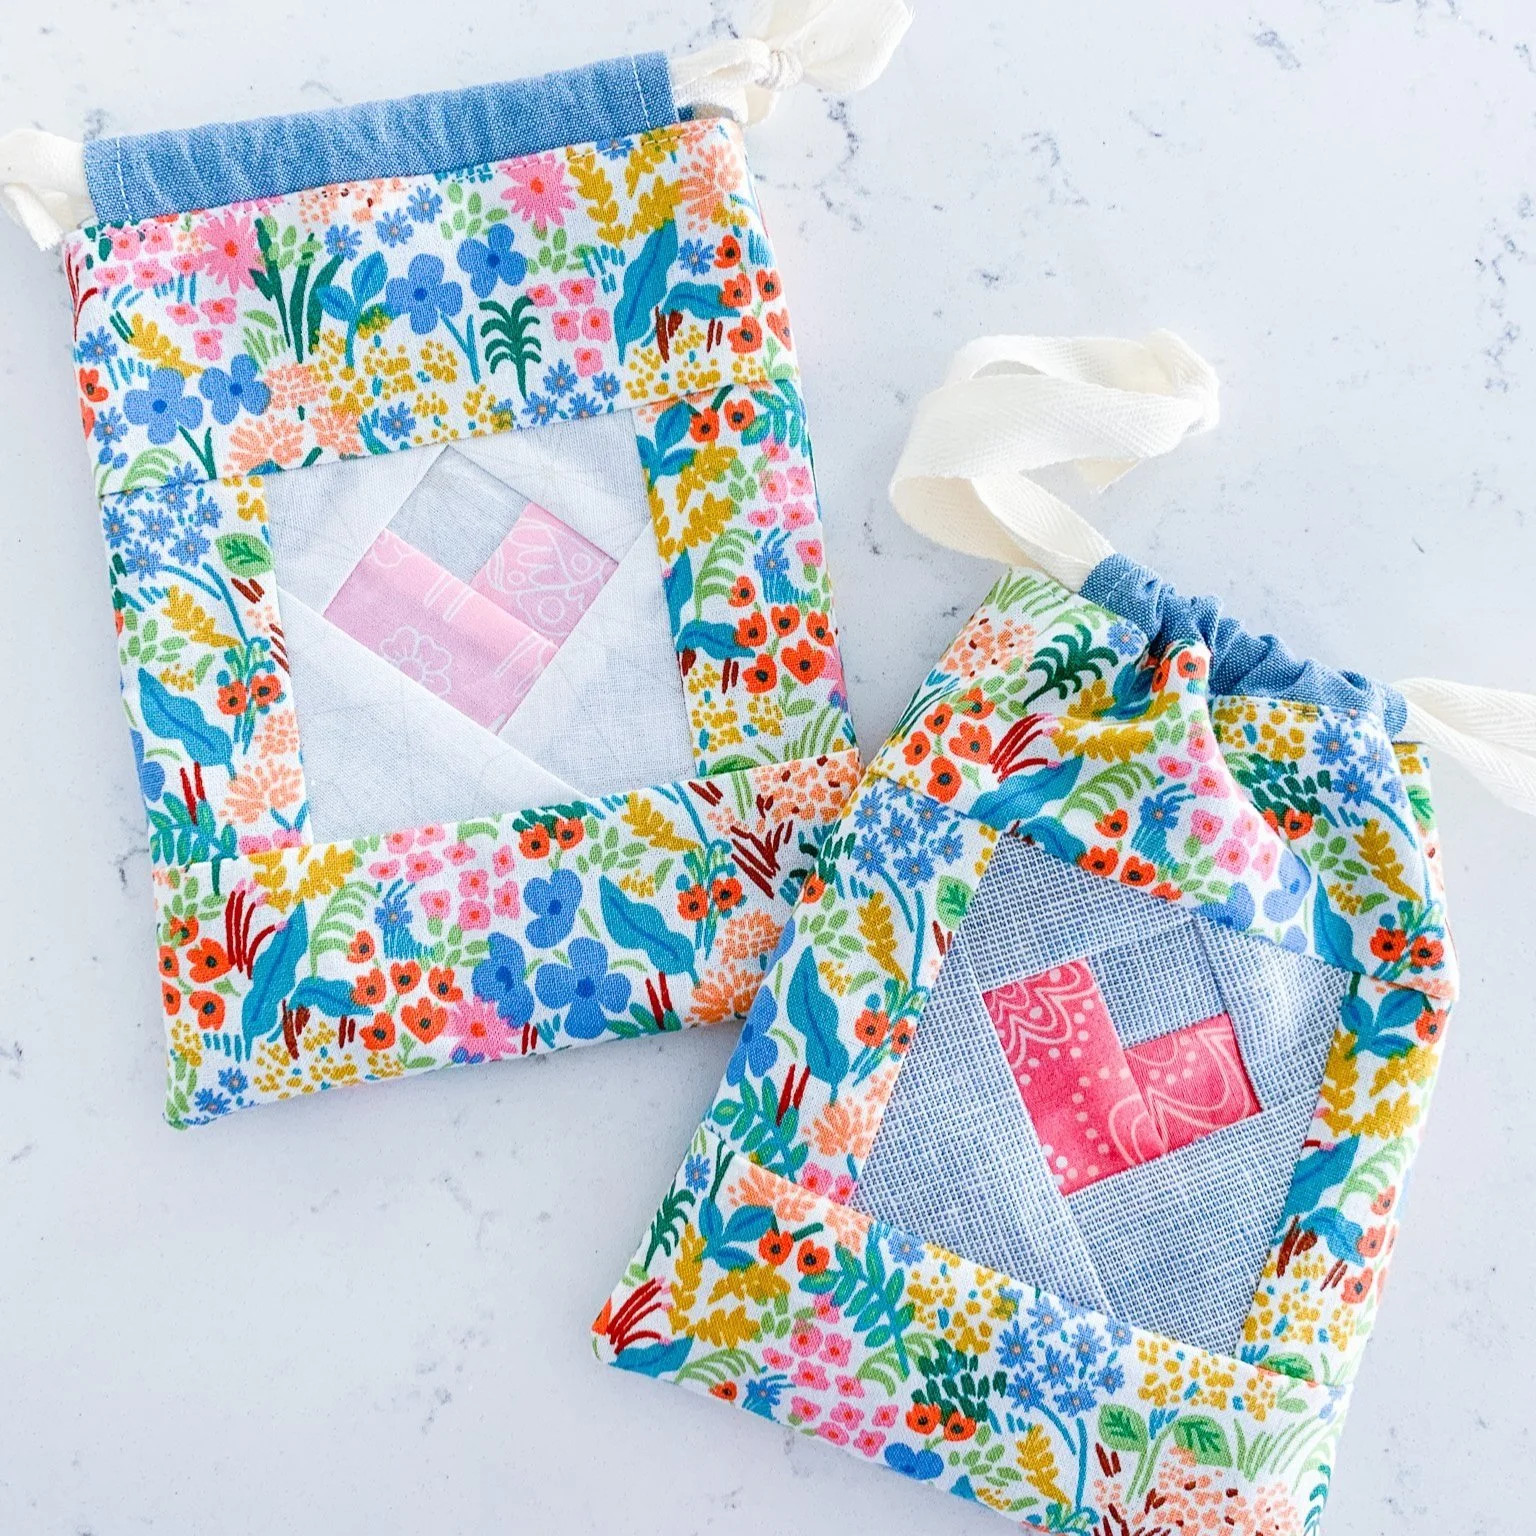
I’ve been having a lot of fun playing with heart designs lately, and as I started dreaming up some Valentine’s gift-giving options for my sons’ teachers, I knew just what I wanted to do. The Maker’s Heart pattern has always had a special place in my heart (I know…) because I just adore the sweet pincushions the pattern can be used to make. But the little heart templates in the pattern can be used for so many things beyond pincushions, and today, I’ve got a quick and easy tutorial for incorporating one of the hearts into a mini lined drawstring bag, perfect for carrying any itty bitty goodies you want. I’m planning to fill these with some chocolates, a note, and a gift card for the teachers as a Valentine’s thank you, but the possibilities for these sweeties are endless. The main part of the bag finishes at just 5” x 6”, and you could easily put several together in one night of sewing fun. Let’s get started!

Supplies
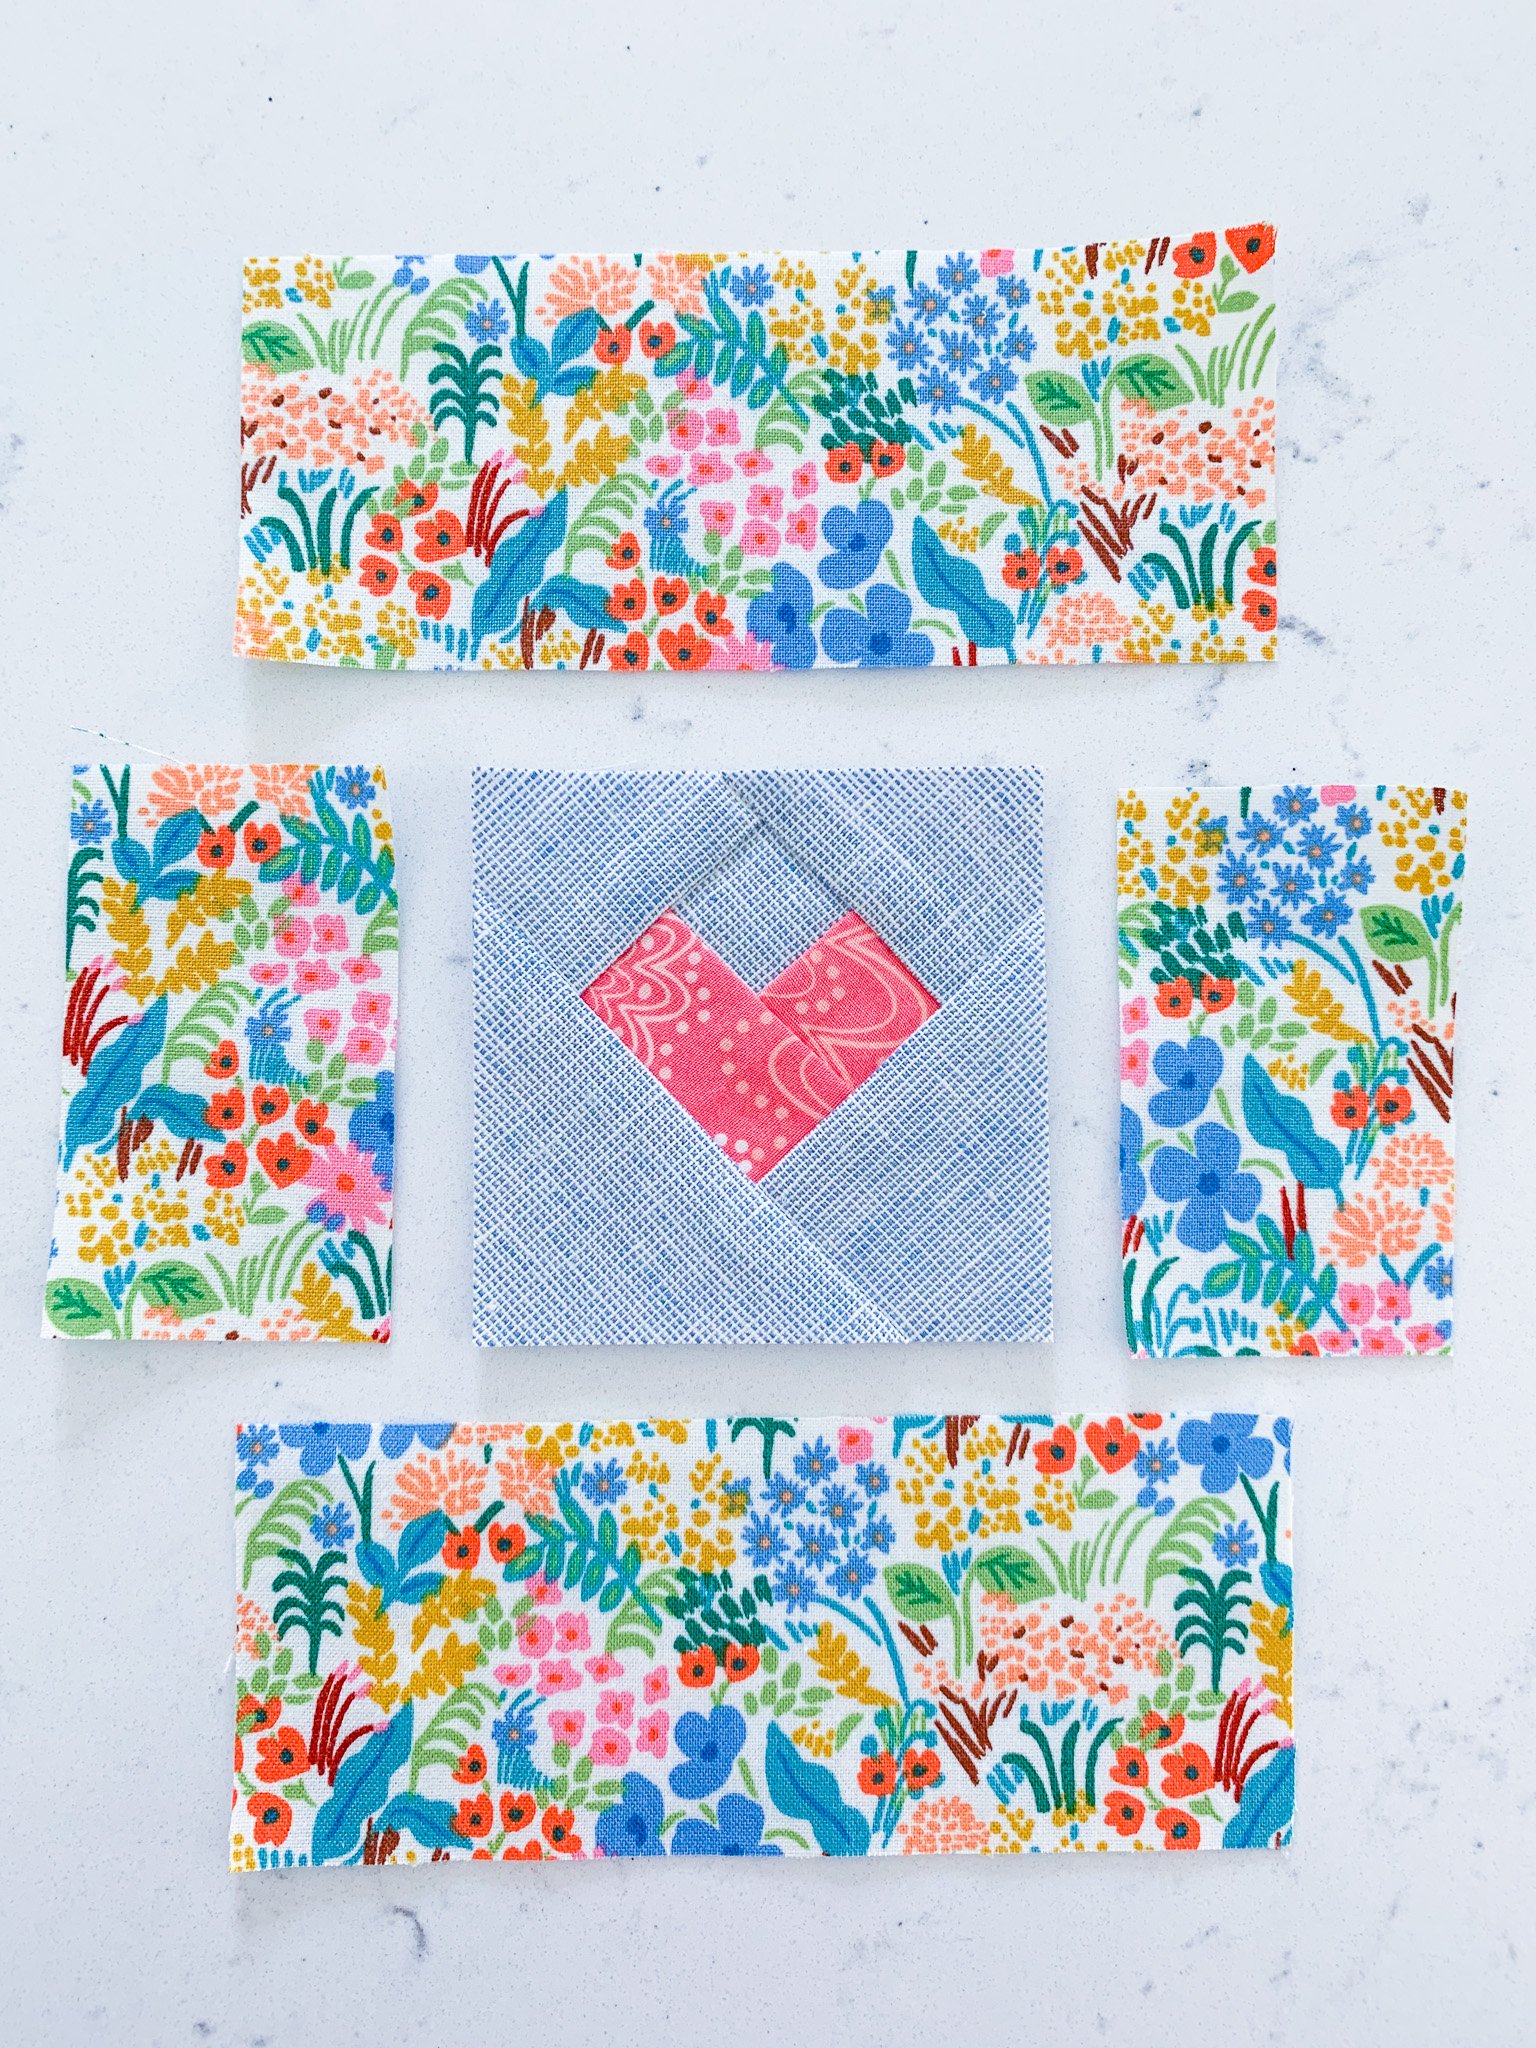
(1) 3” pieced Maker’s Heart block (requires the Maker’s Heart pattern)
Exterior fabric:
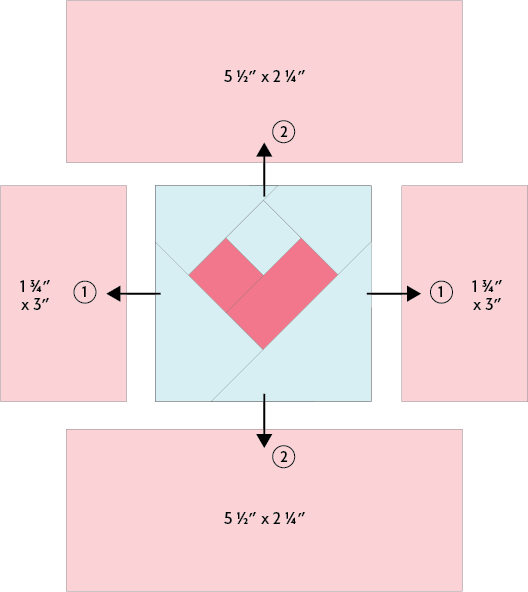
(2) 1 3/4” x 3” rectangles (front exterior - sides)
(2) 5 1/2” x 2 1/4” rectangles (front exterior - top and bottom)
(1) 5 1/2” x 6 1/2” rectangle (back exterior)
Lining fabric:
(2) 5 1/2” x 6 1/2” rectangles for the lining
(1) 3 1/4” x 4 1/2” rectangle for the drawstring channels (I used my lining fabric for this, but you can use any fabric you like.)
1 yd. 1/2”- or 5/8”-wide cotton twill tape* or ribbon for the drawstring (subcut into (2) 16” lengths)
Bodkin* or safety pin
Coordinating thread
Pins, Wonder Clips*, or binding clips
Optional: Point turner*, Fray Check*
*Disclaimer: To assist you in finding some of the products I use in my work, this blog sometimes uses Amazon affiliate links. As an Amazon Associate, I may earn a small commission from qualifying purchases made by clicking on one of the links (marked with an asterisk). This is another way you can help support my business, and I thank you! That being said, if you're able to purchase the item locally, I strongly encourage you to do so. I only feature products that I would or do use myself.

Instructions
Note: A 1/4” seam allowance is used throughout.
1. Follow the instructions in the Maker’s Heart pattern to paper piece one 3” heart template.
2. Sew (1) 1 3/4” x 3” front exterior rectangle, right sides together, to the left side of the heart unit. Press toward the rectangle. Repeat on the right side.
3. Sew (1) 5 1/2” x 2 1/4” front exterior rectangle, right sides together, to the top of the heart unit. Press toward the rectangle. Repeat on the bottom. This is now your front exterior panel.
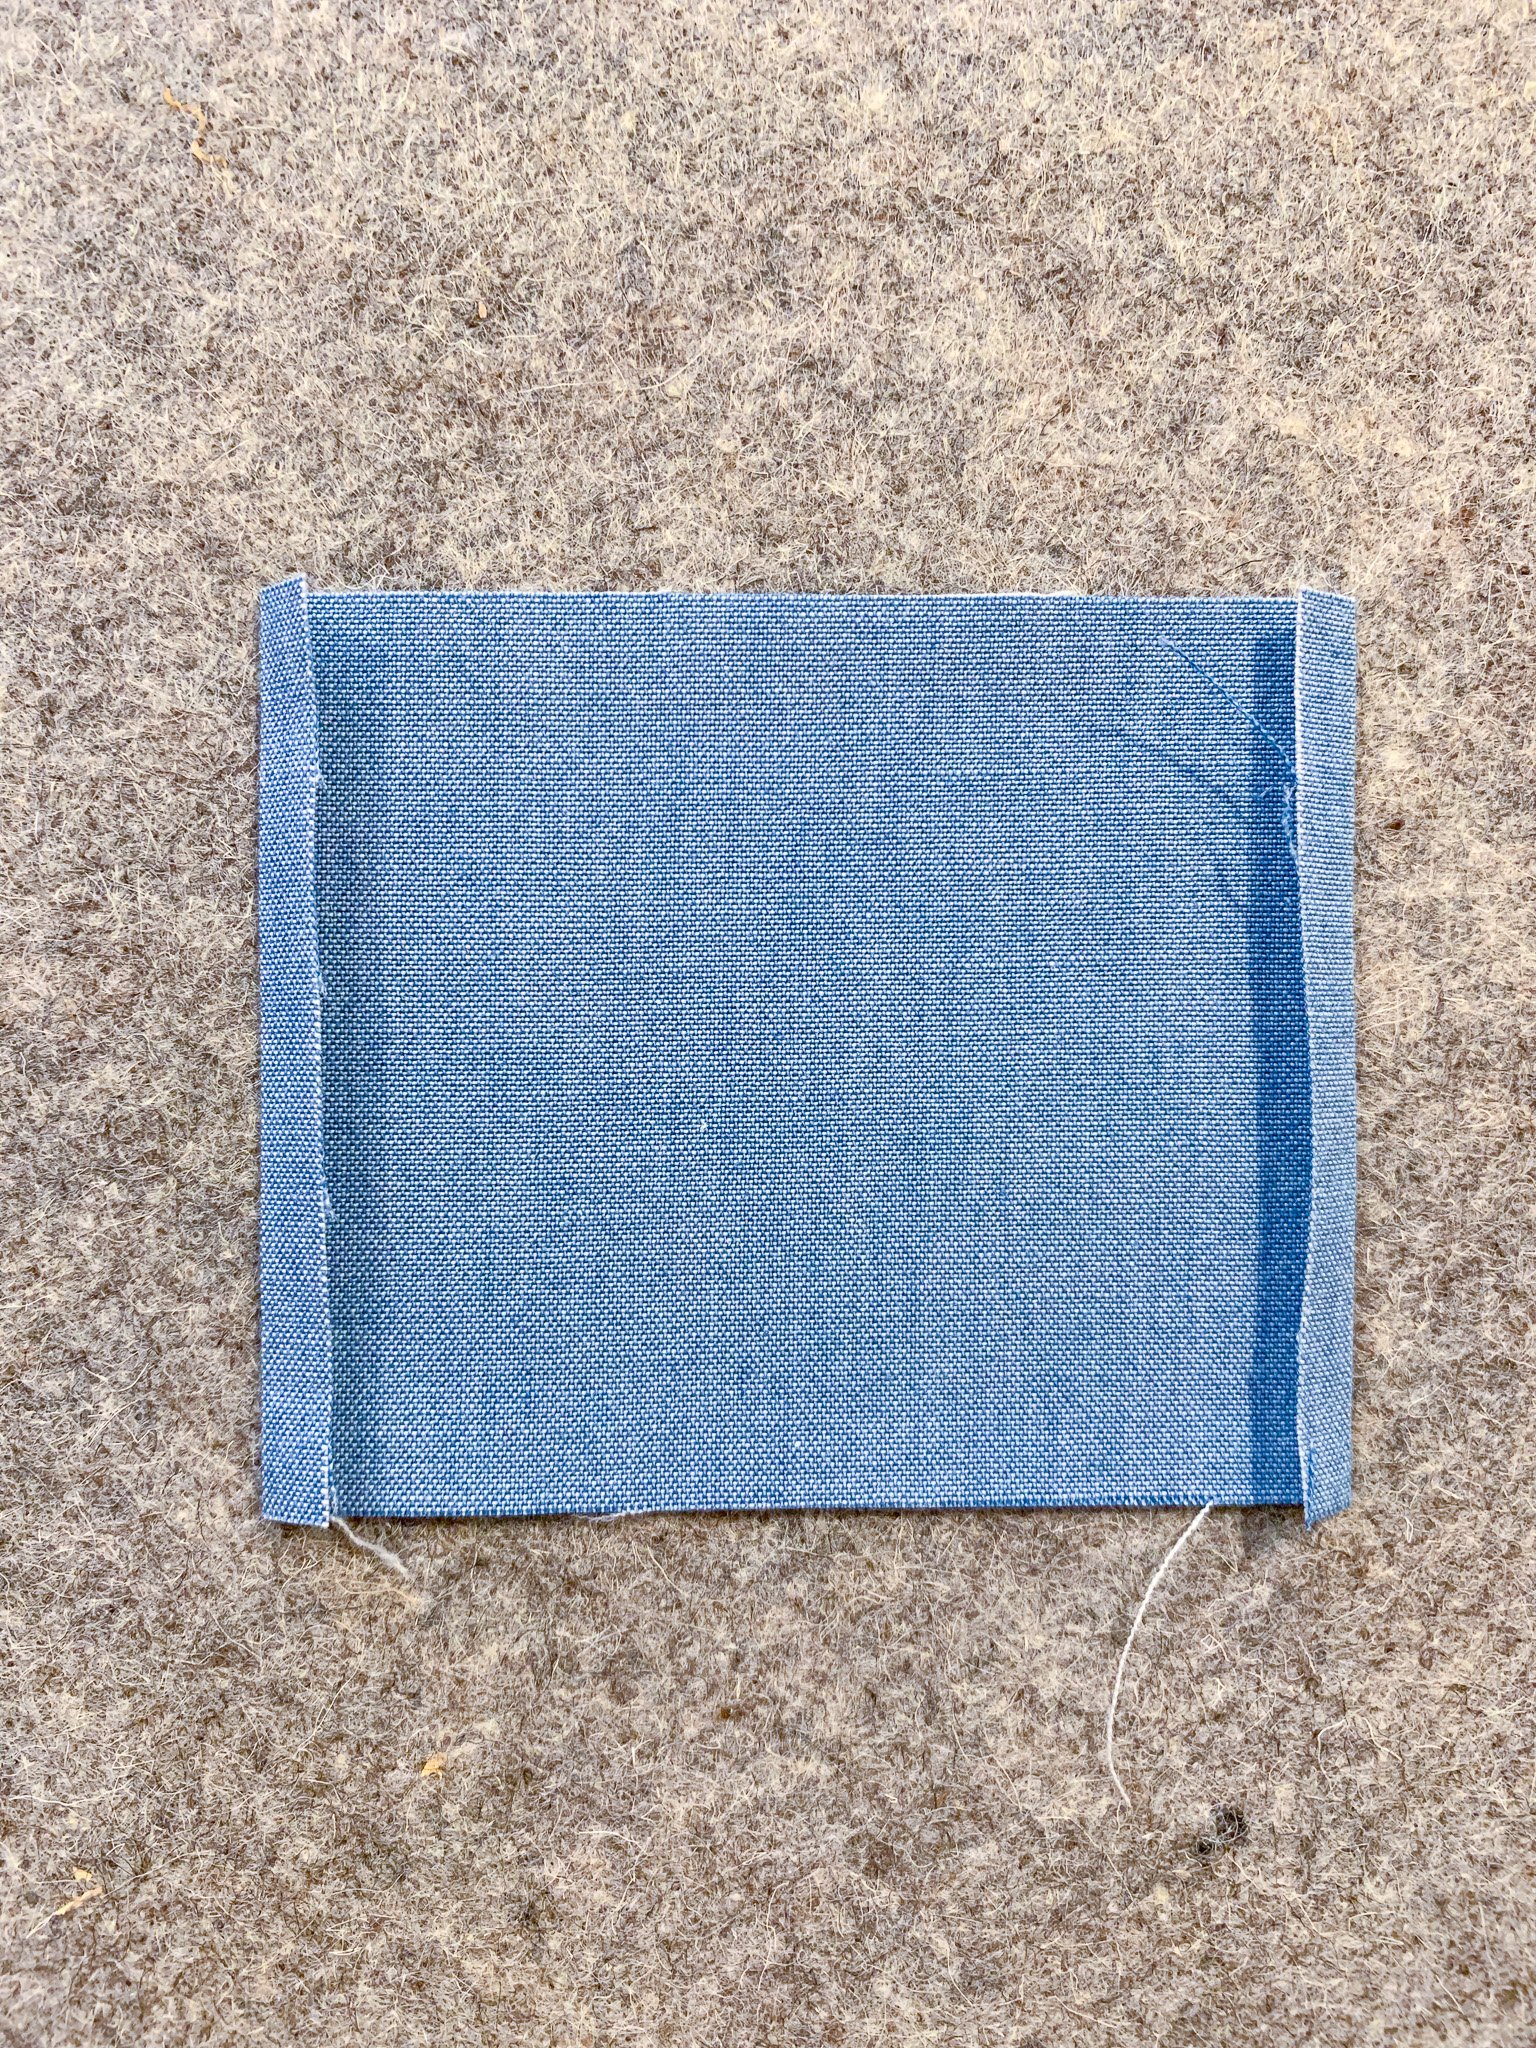
4. Place the front exterior panel right sides together with the 5 1/2” x 6 1/2” back exterior rectangle and pin or clip along the sides and bottom edge. Sew along the sides and bottom, leaving the top open. Be sure to backstitch at the start and end of the seam. Clip the sewn corners to reduce bulk (do not clip through the seam allowance).
5. Place the two lining rectangles right sides together and pin or clip along the sides and bottom edge, leaving a 2 1/2” opening in the bottom for turning. Sew along the sides and bottom, leaving the top open. Be sure to backstitch at the start and end of the seams, including around the bottom opening. Clip the sewn corners to reduce bulk.

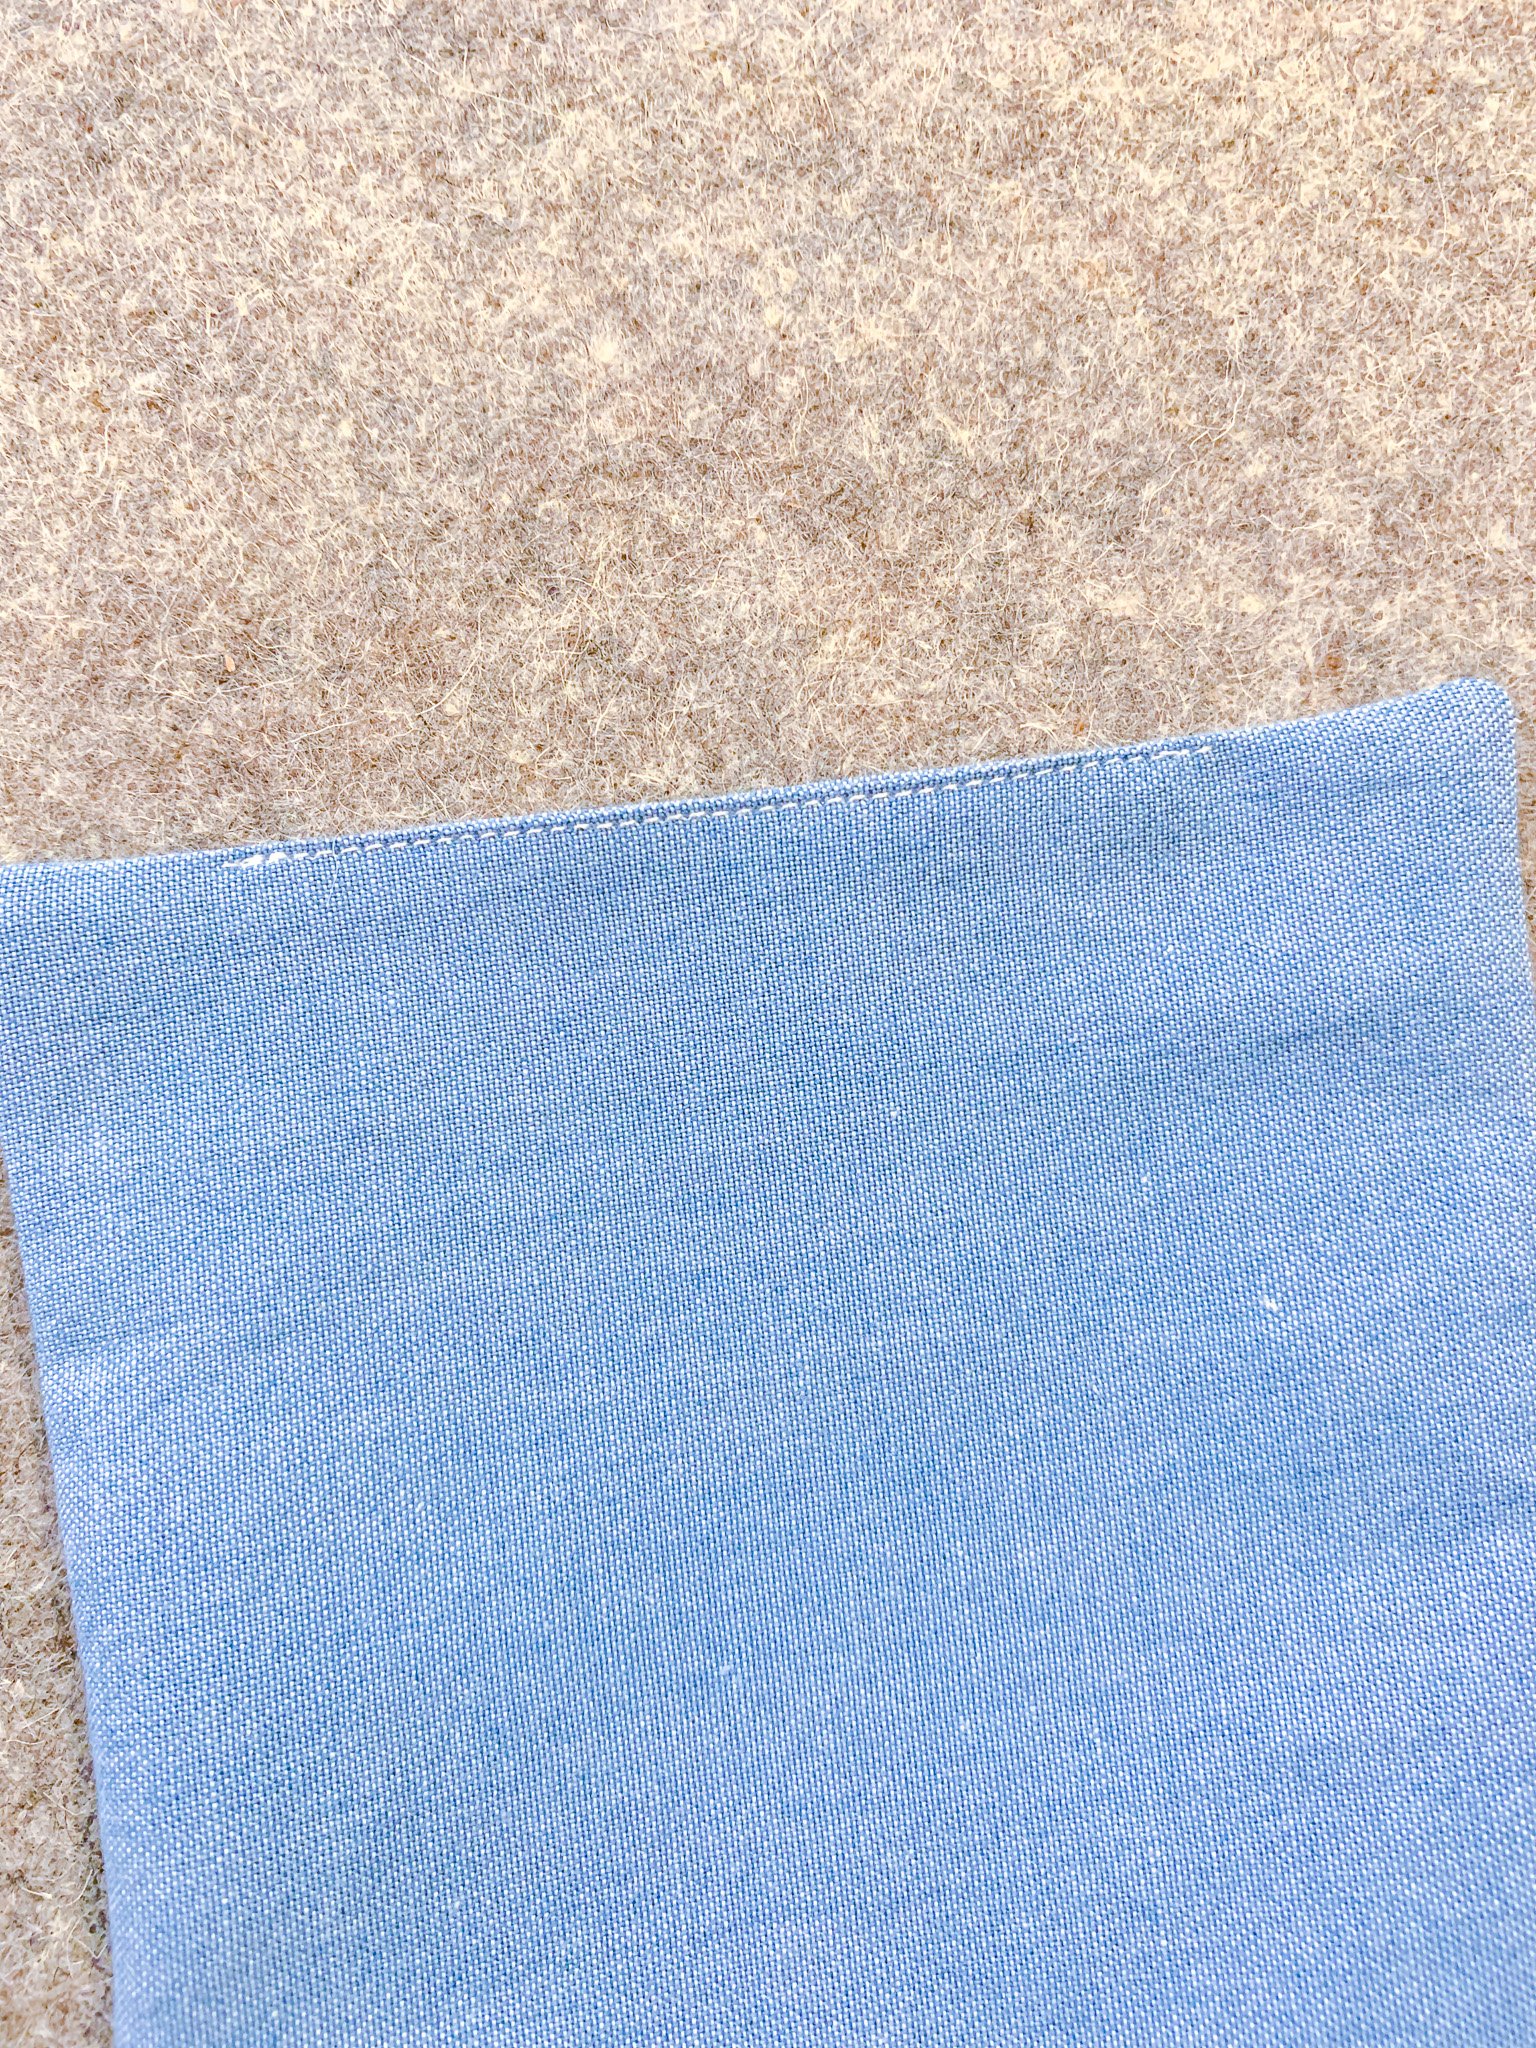
6. Turn the exterior (heart) unit right sides out and use a point turner or similar tool to push out the bottom corners. Set aside temporarily.
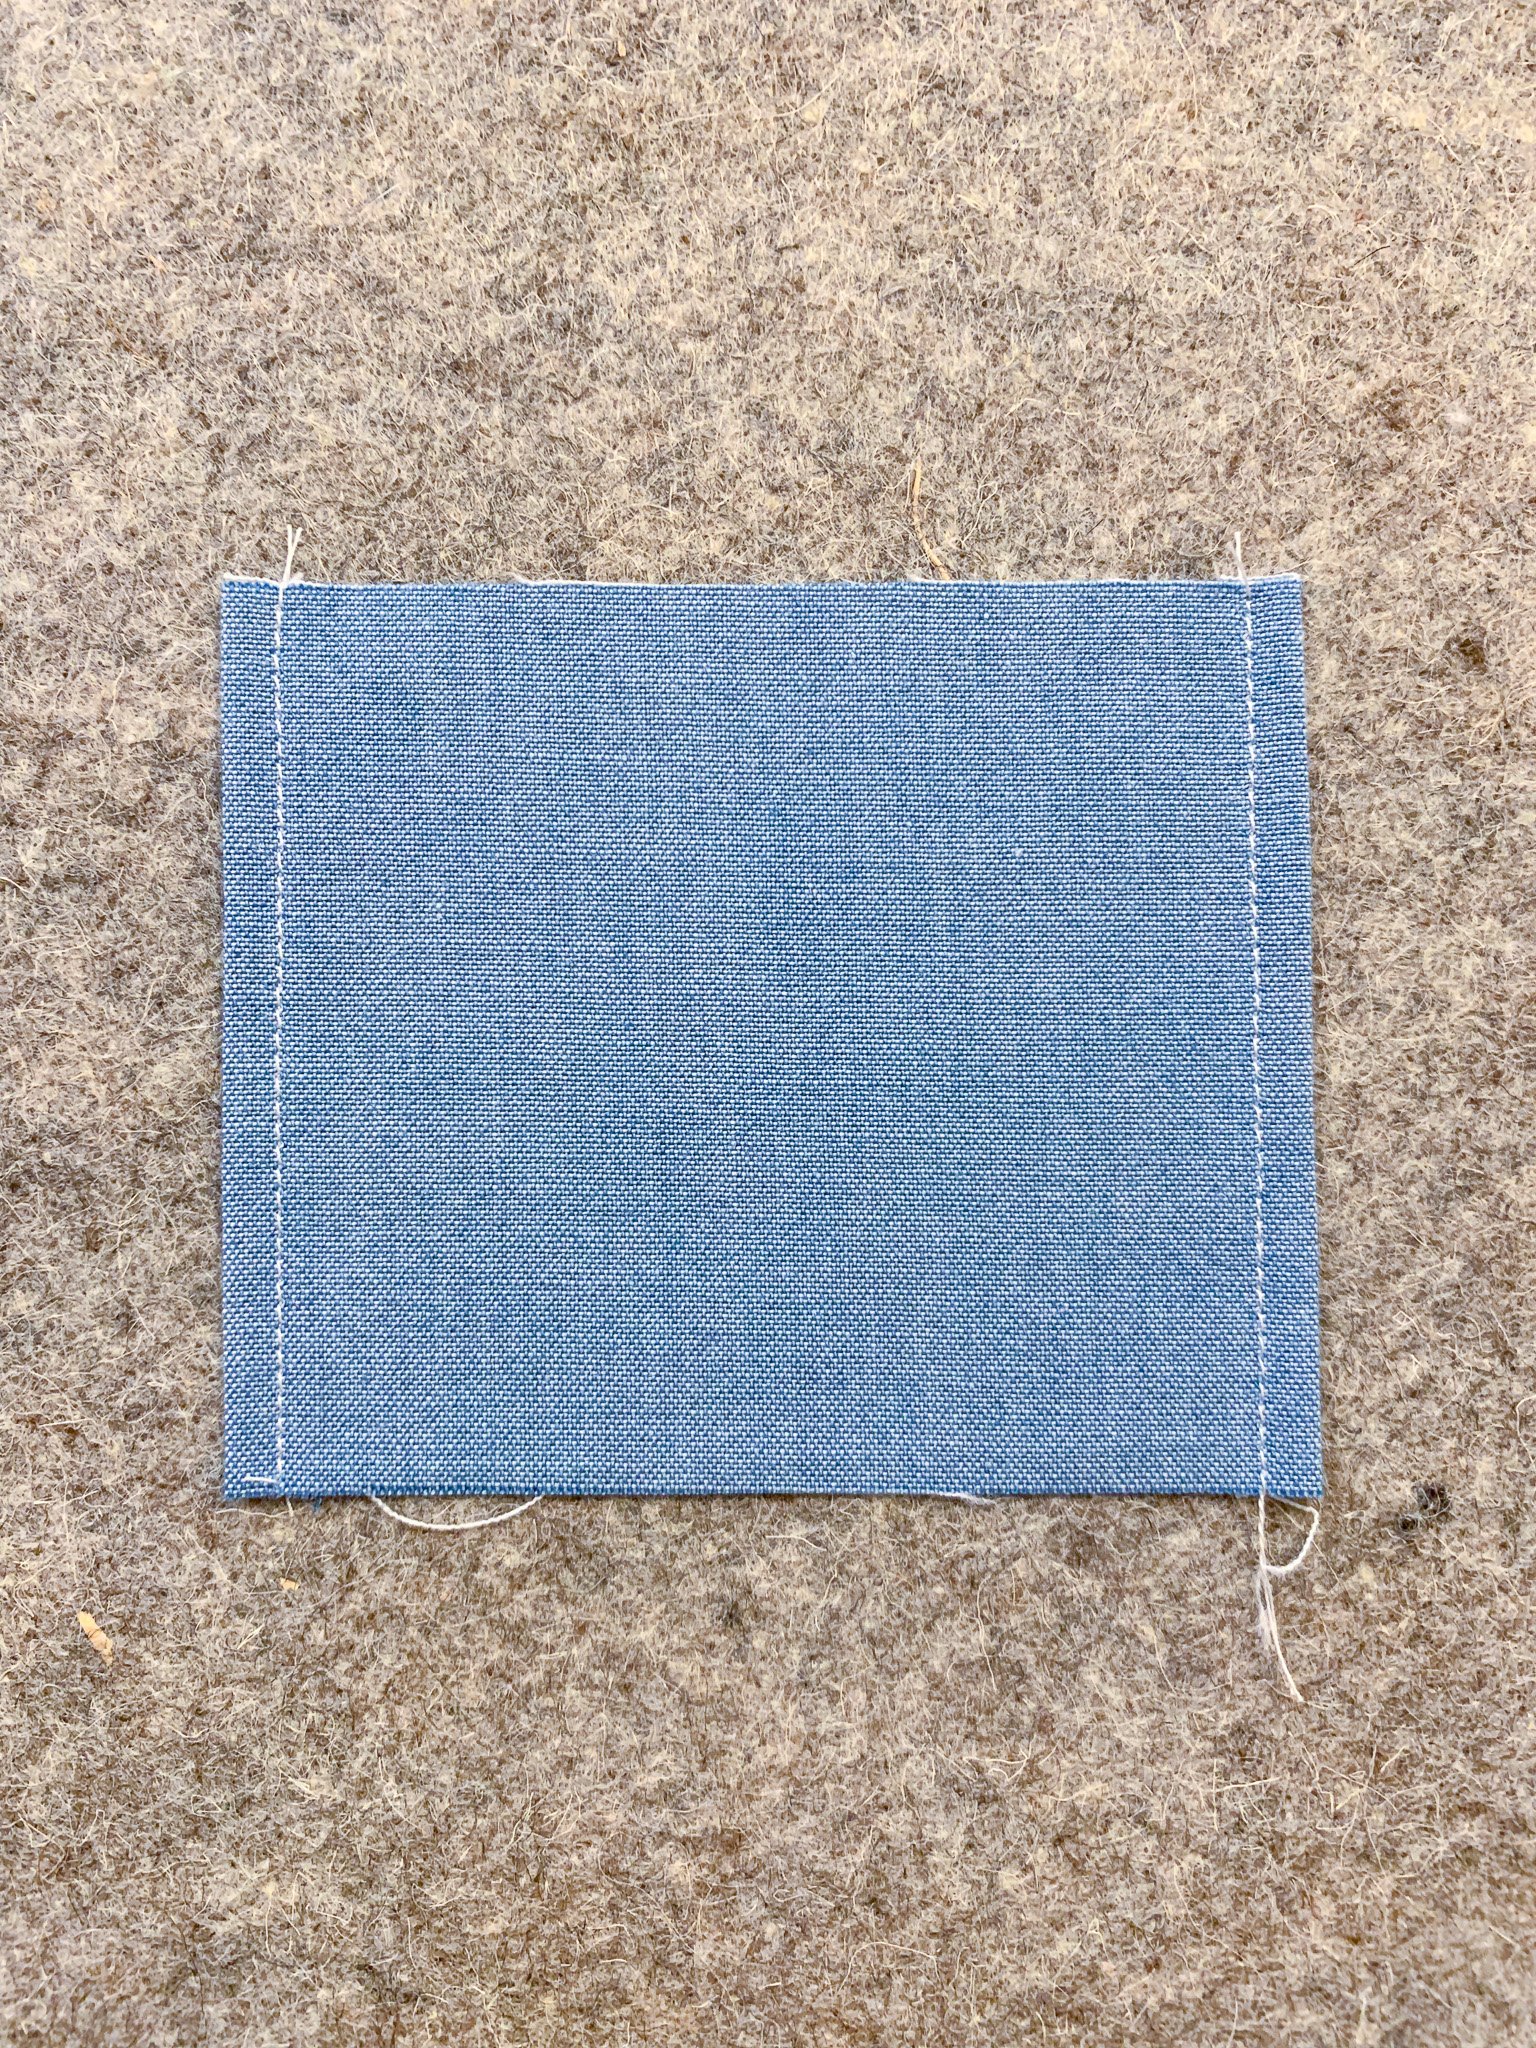
7. On one 3 1/4”-long side of the drawstring channel piece, press the fabric toward the wrong side 1/4”. Repeat on the opposite side. Carefully topstitch along these two edges.
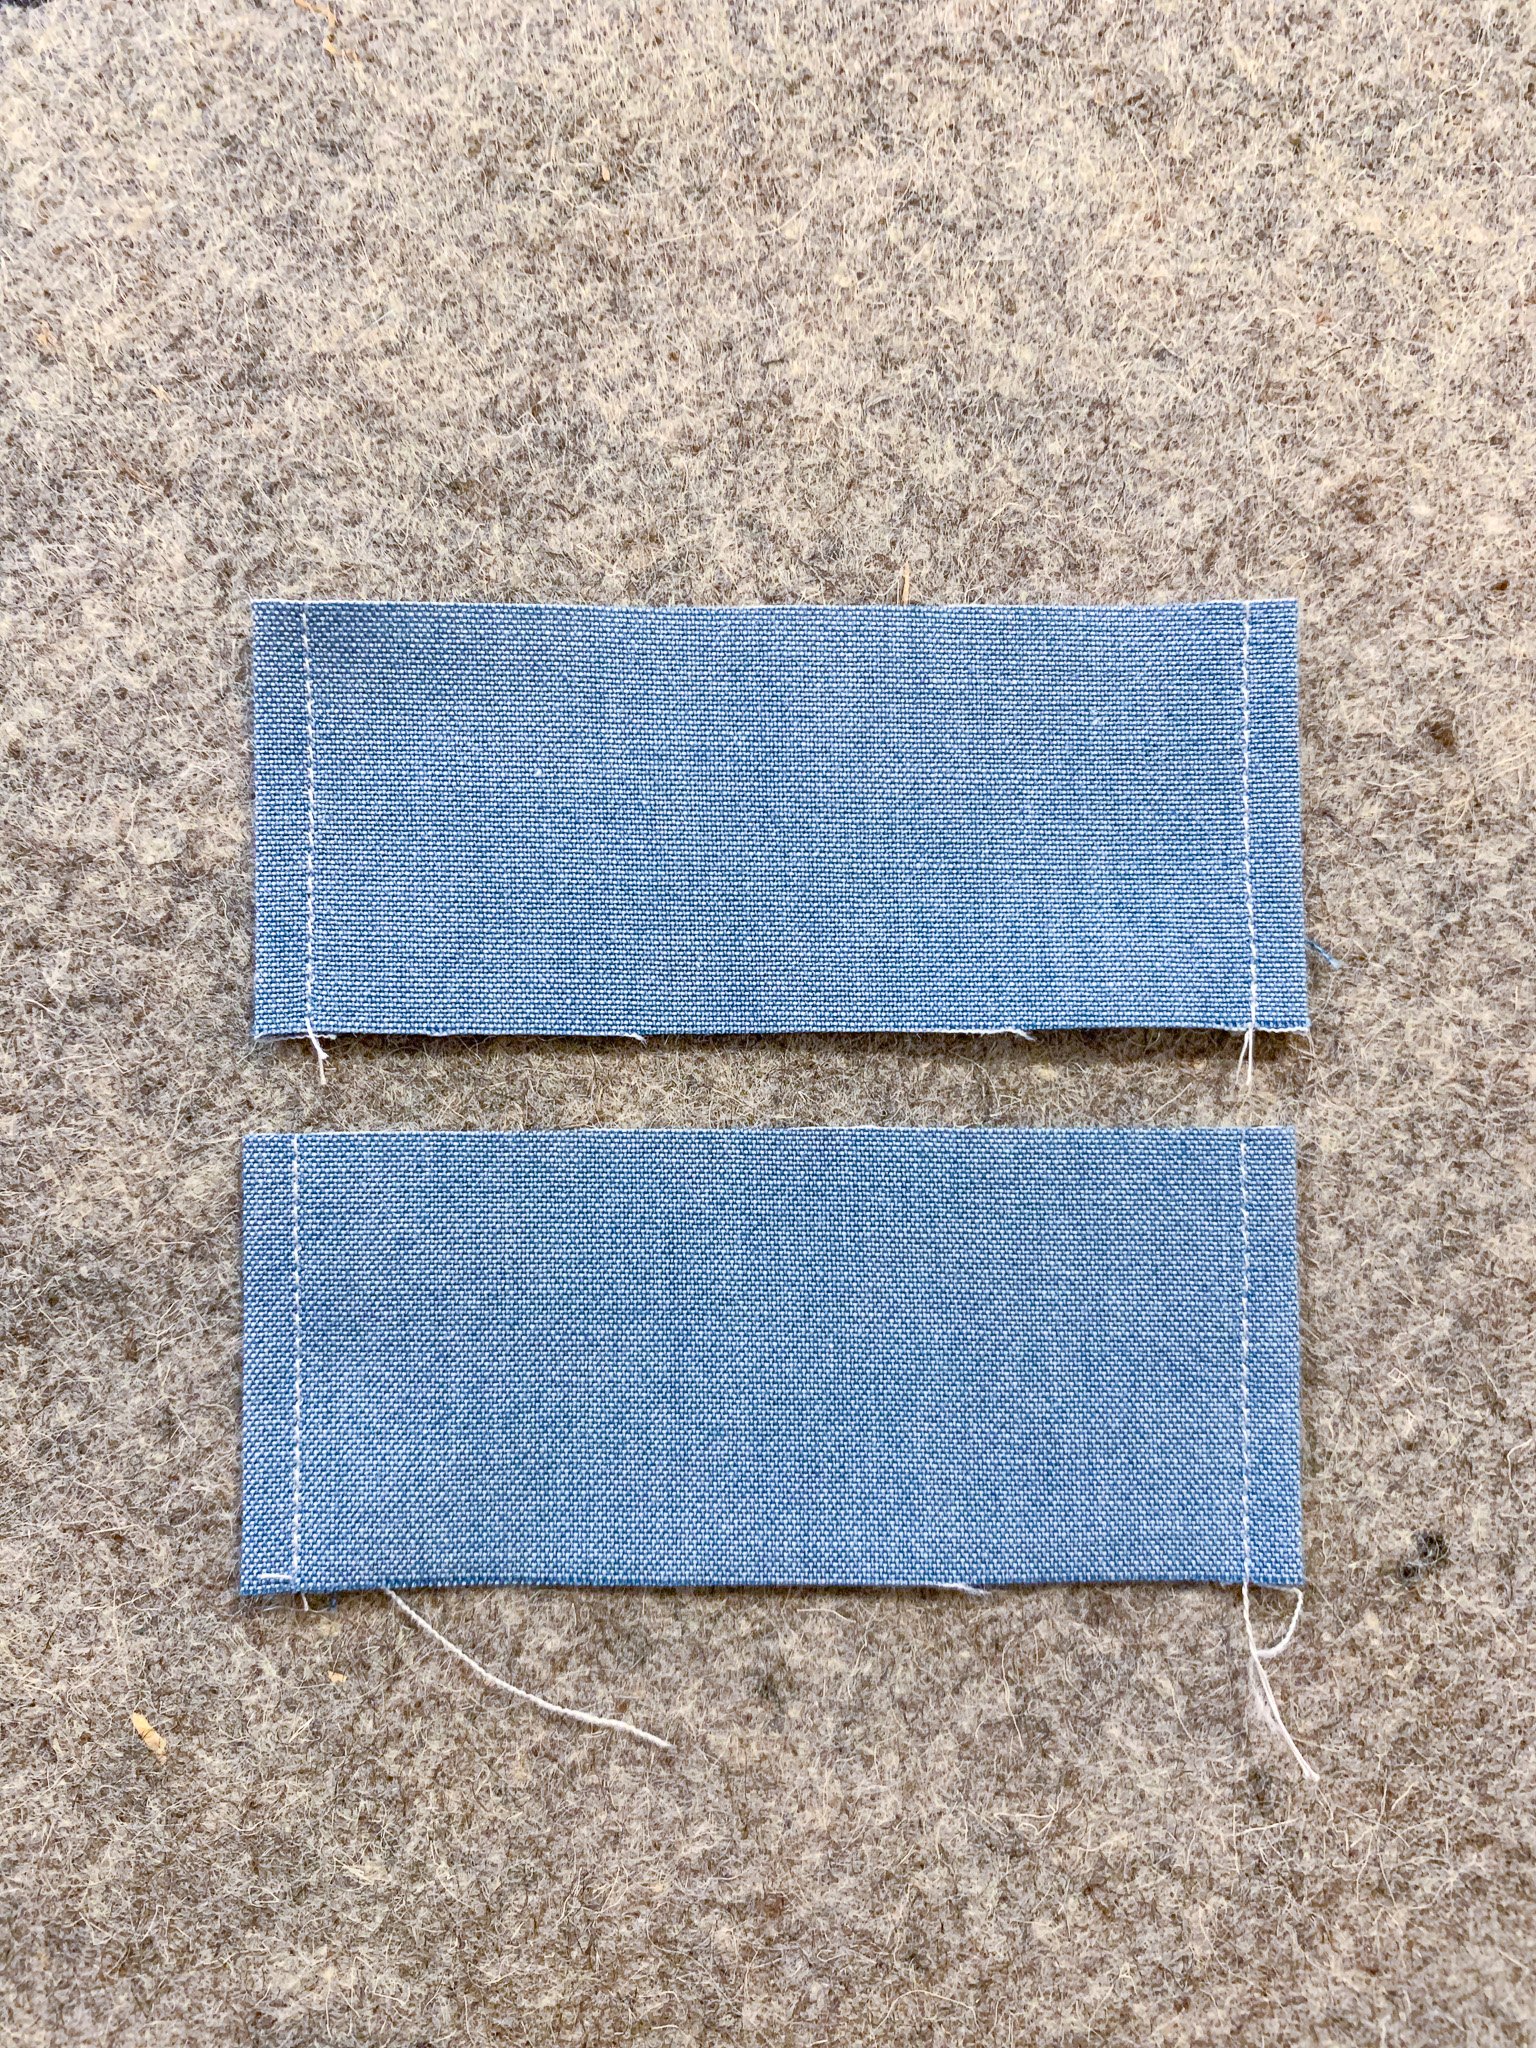
8. Cut the unit in half lengthwise to create (2) 1 5/8” x 4” pieces. (If your units are a bit shorter than 4”, don’t worry.)
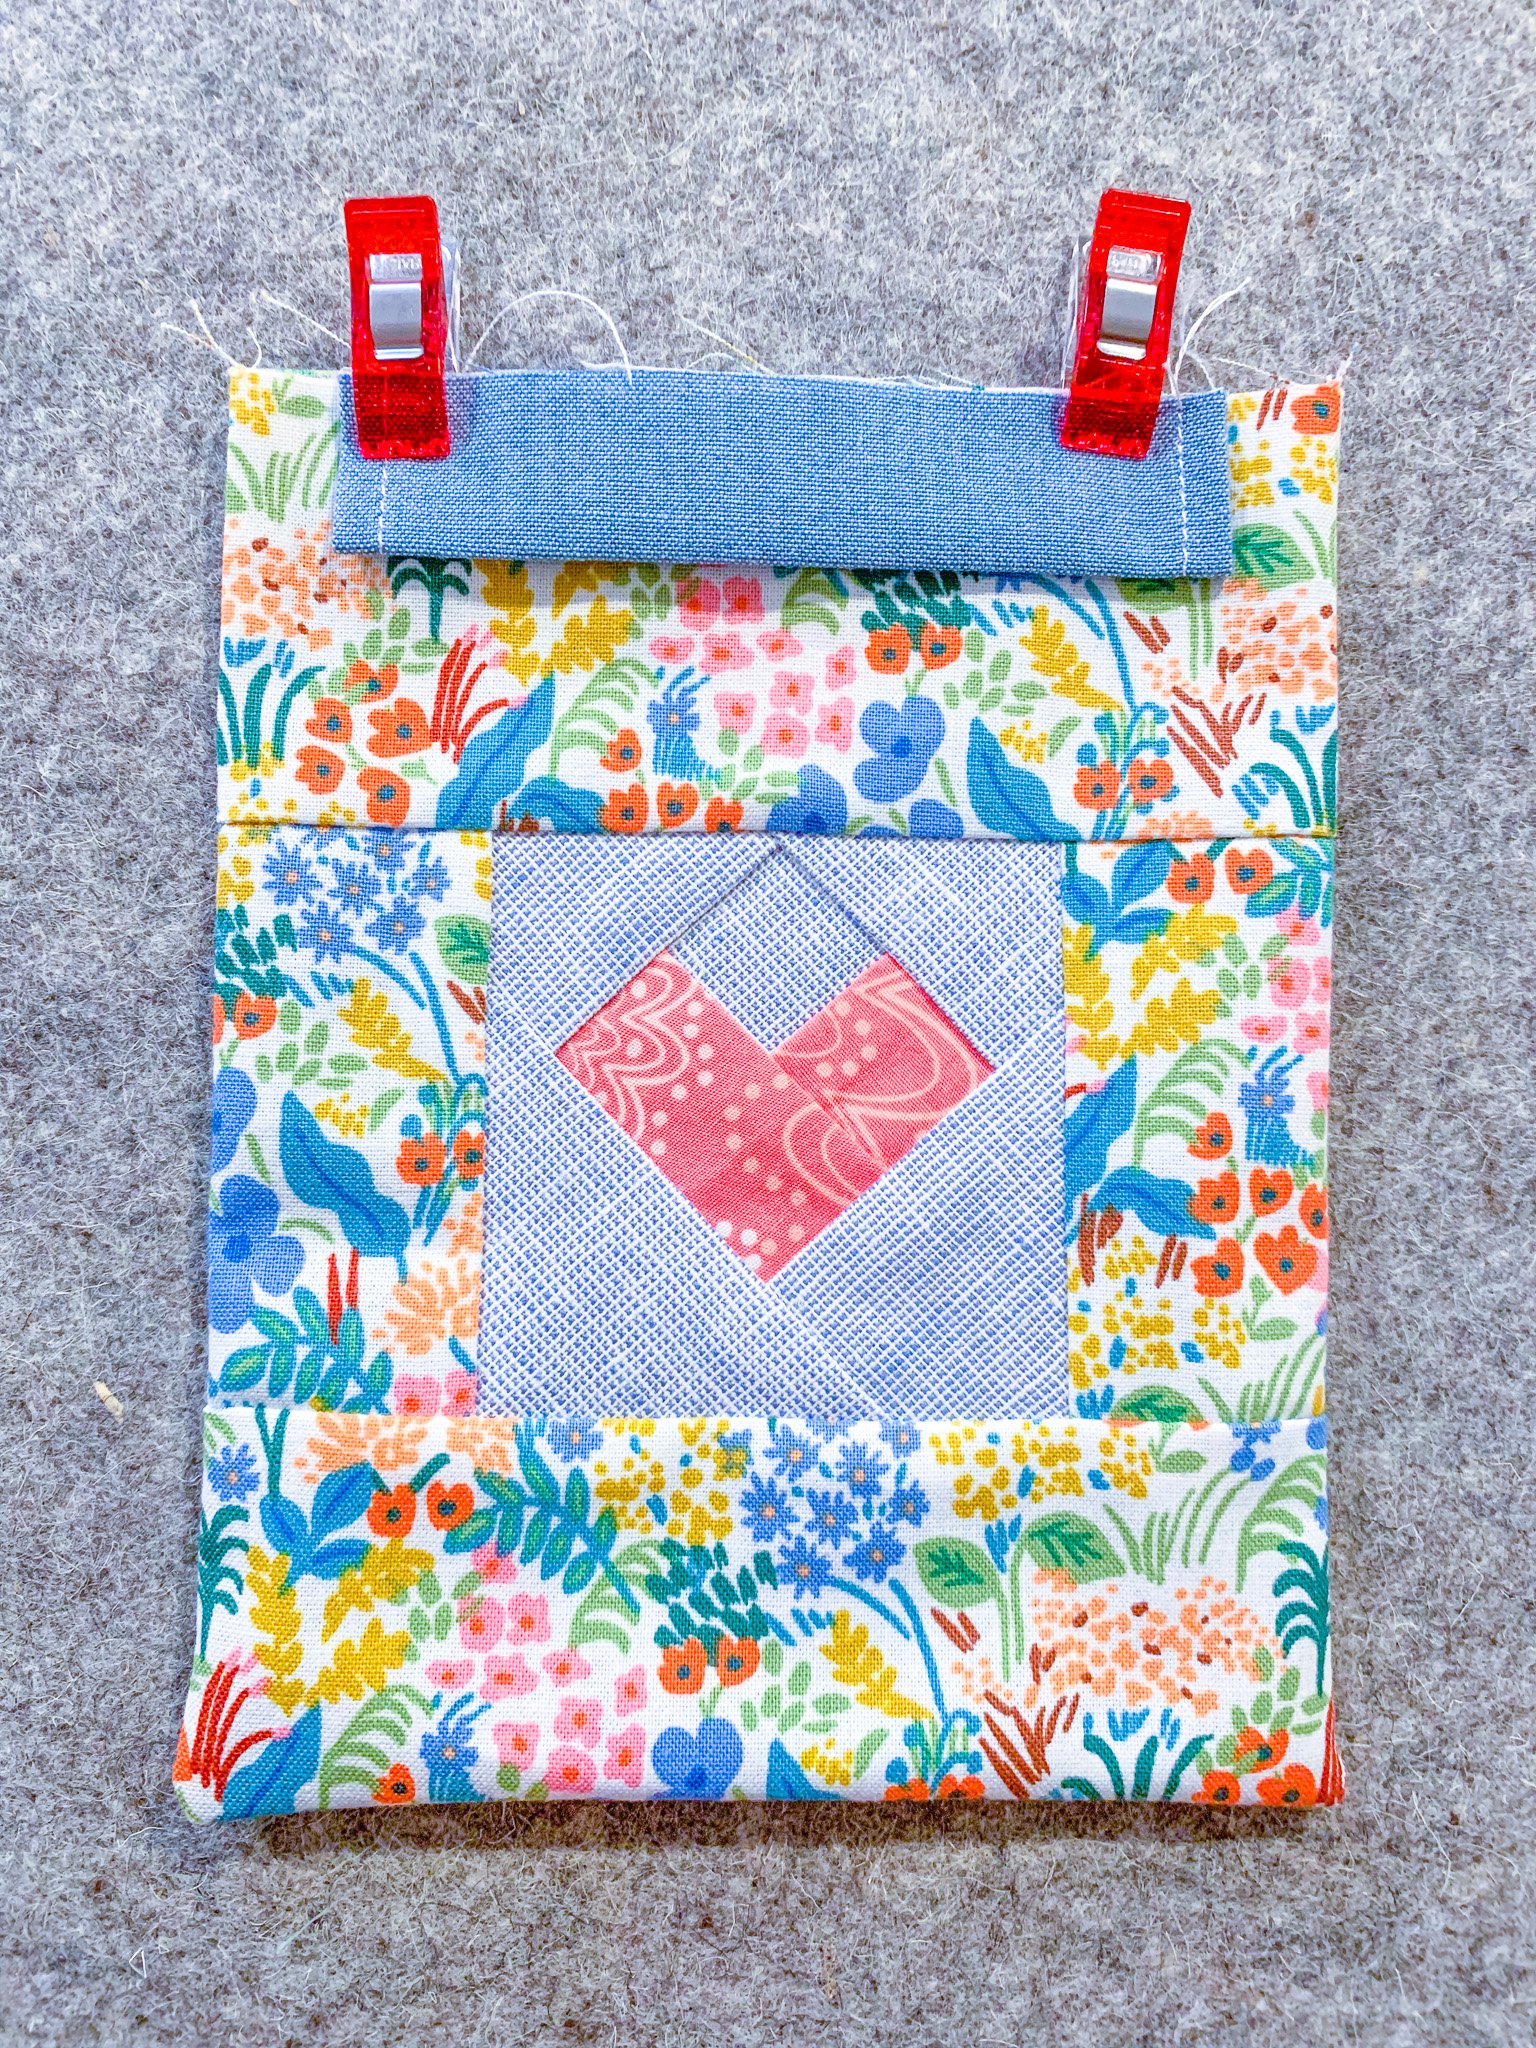
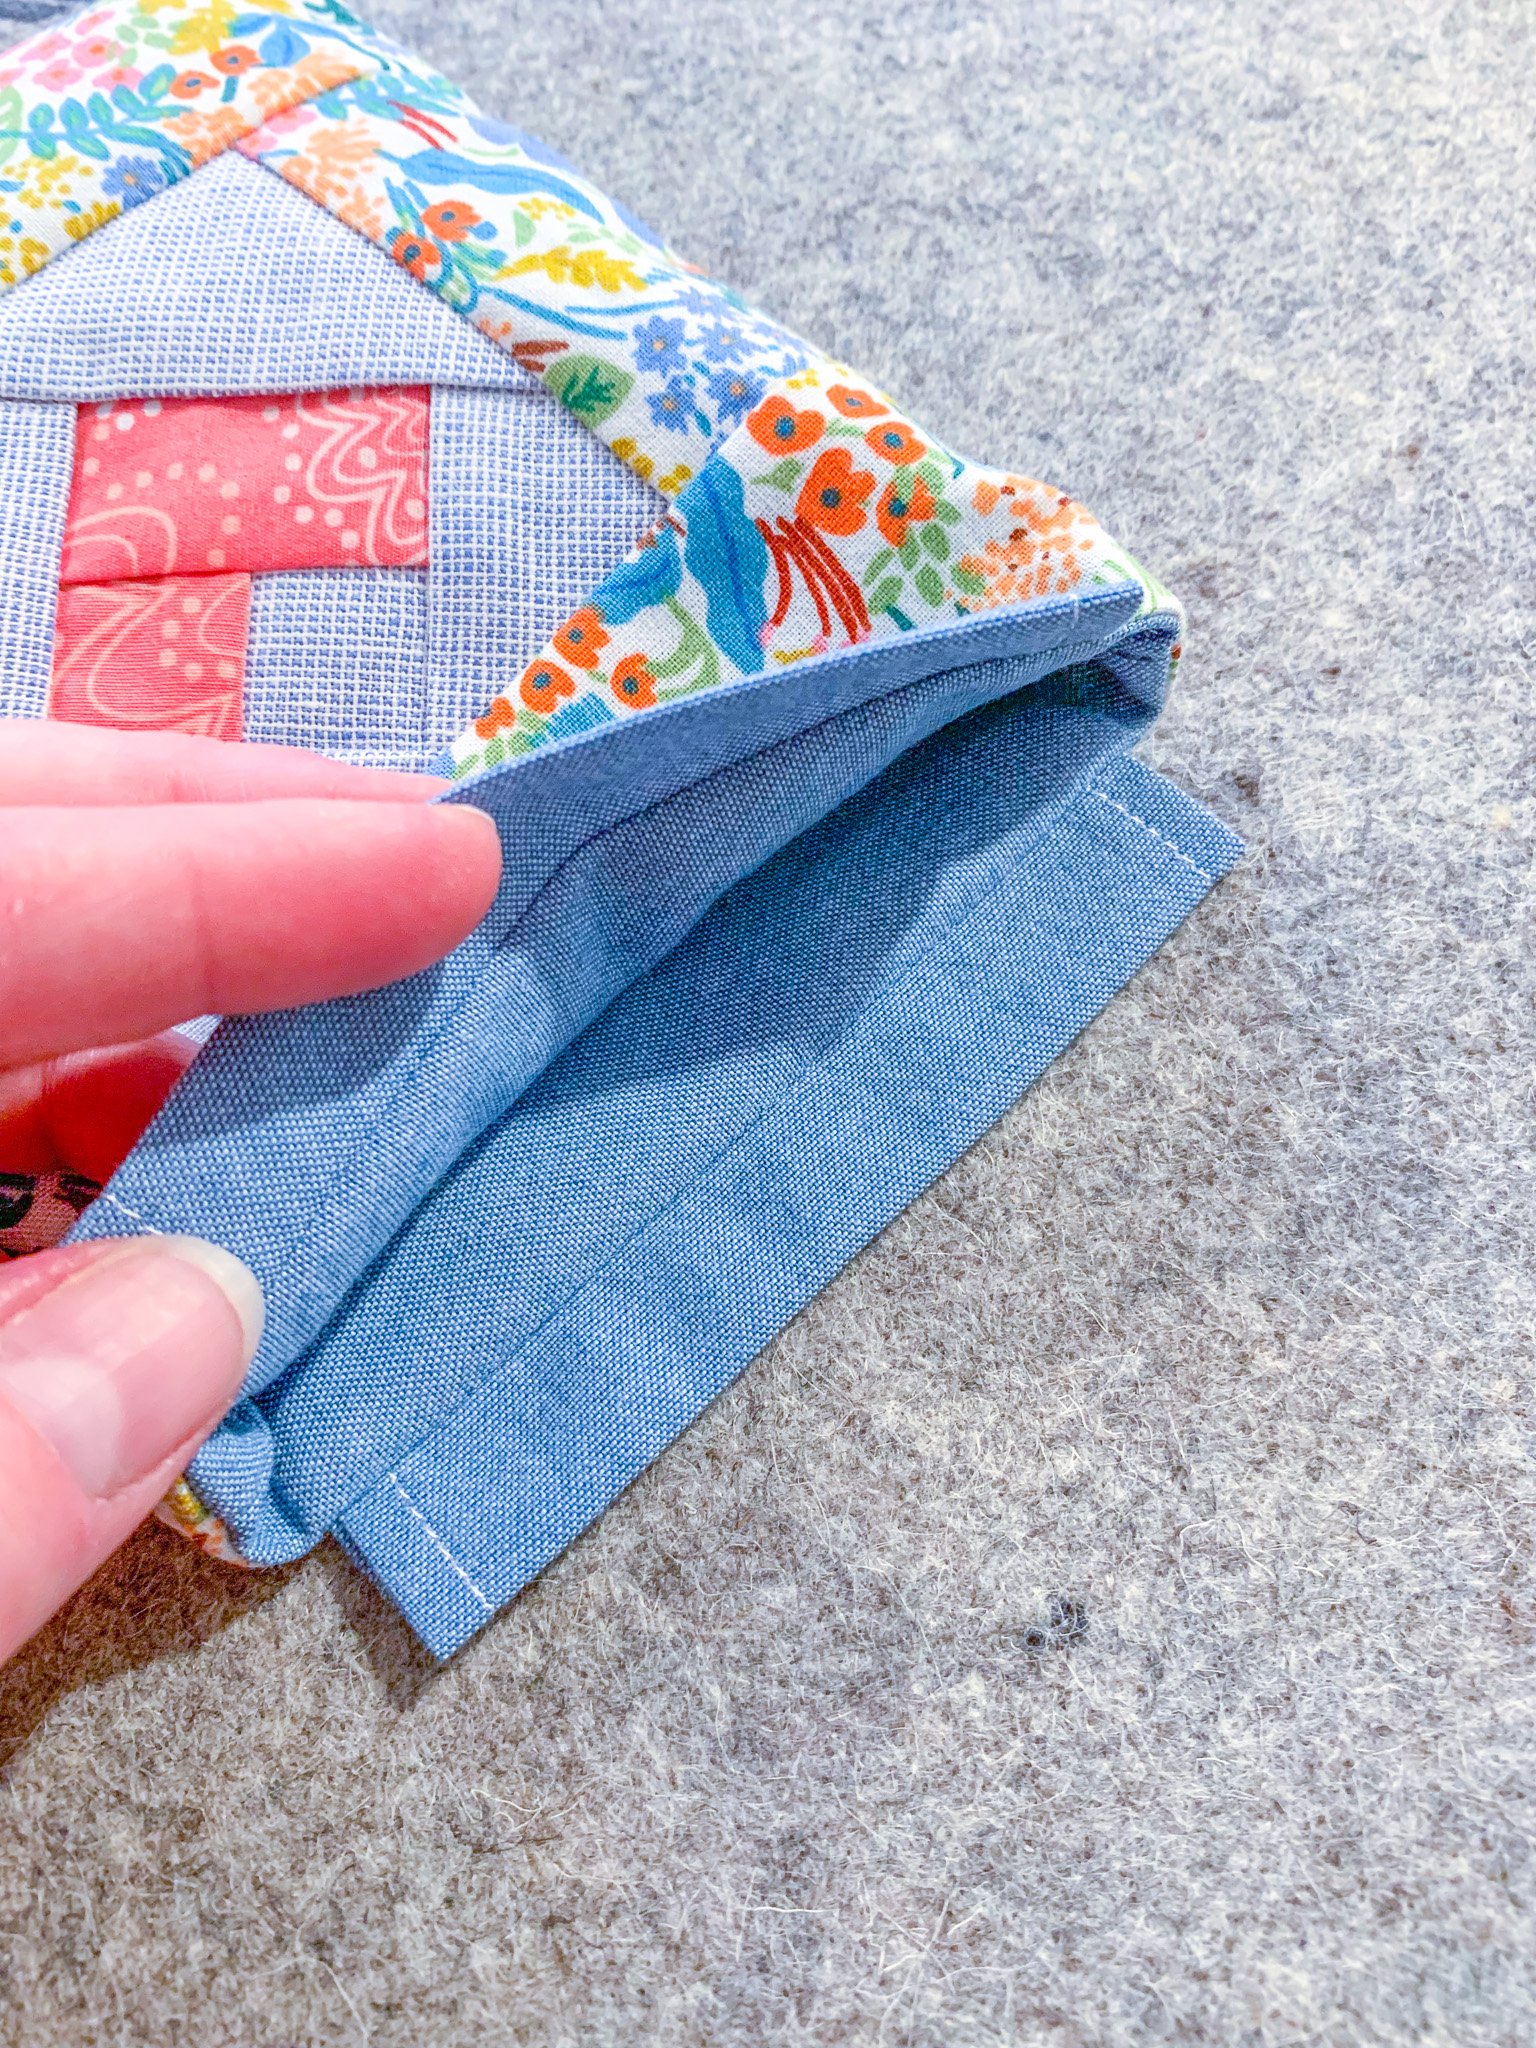
9. Fold one drawstring channel piece in half lengthwise, wrong sides together, and press. Center the piece on the top edge of the front exterior panel, aligning the raw edges. Pin or clip the channel piece in place. Repeat on the back exterior panel with the second channel piece. You can either proceed to Step 10 with the channels clipped or use a basting stitch to secure them so you can remove the clips and ensure they stay securely in place for the next step.
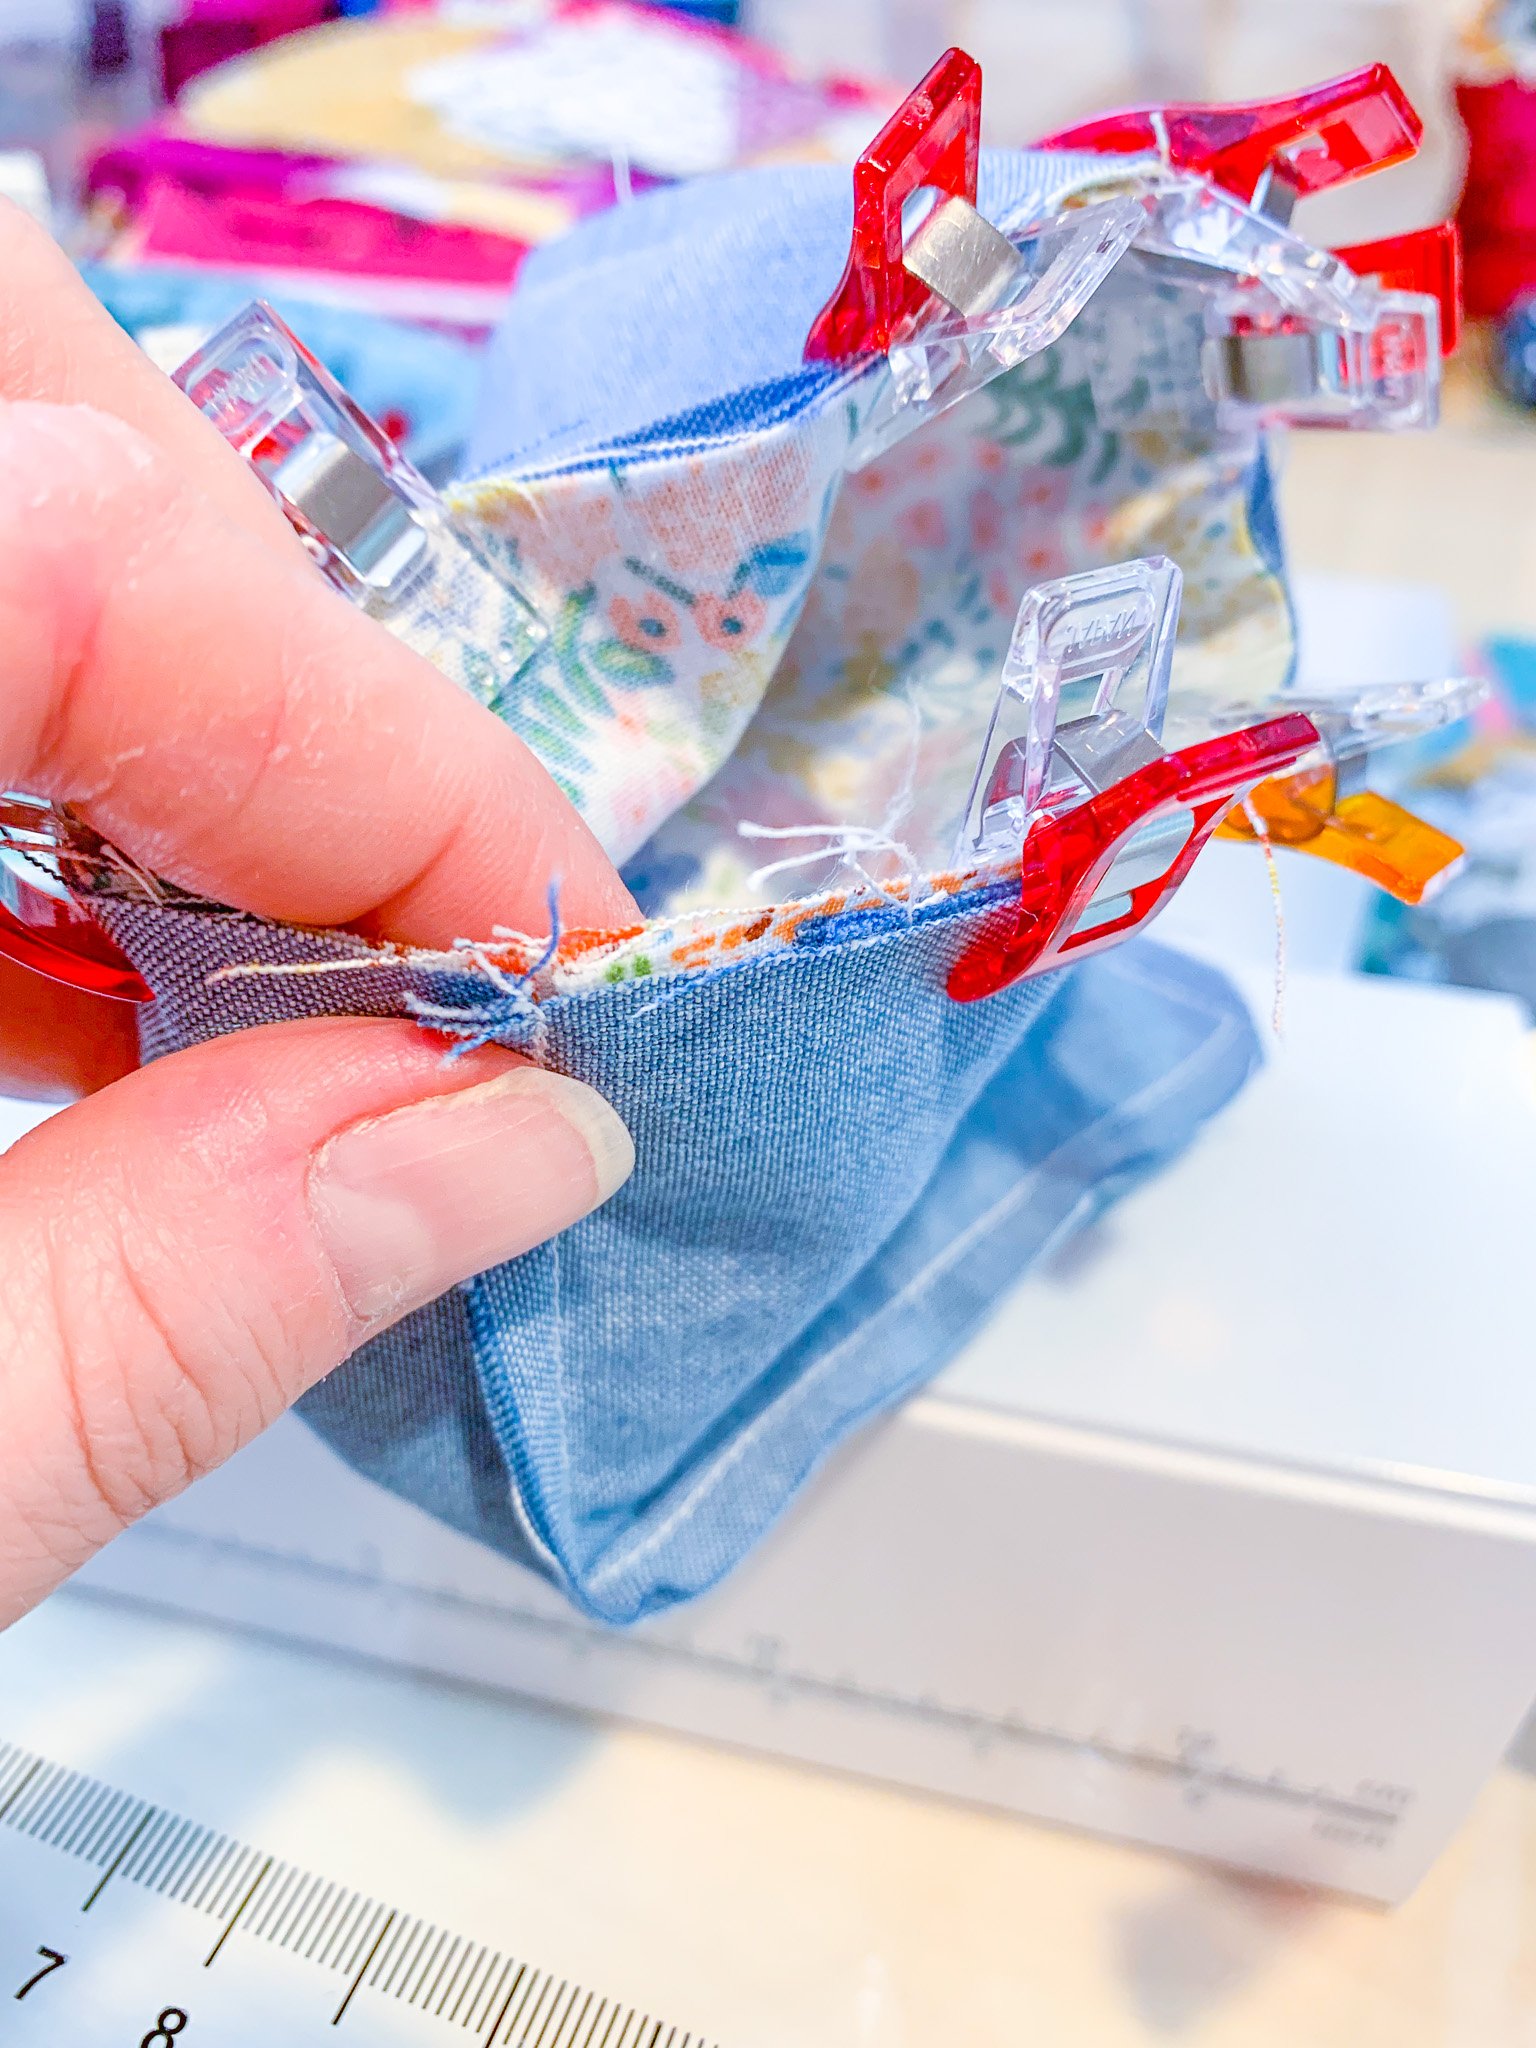
10. Insert the exterior (heart) unit inside the lining unit so the fabrics are right sides together (the lining unit is still turned inside out). The drawstring channels will be sandwiched between the two units. Clip the two units together along the top raw edge using Wonder clips or binding clips. I find it helpful to nest the side seams.
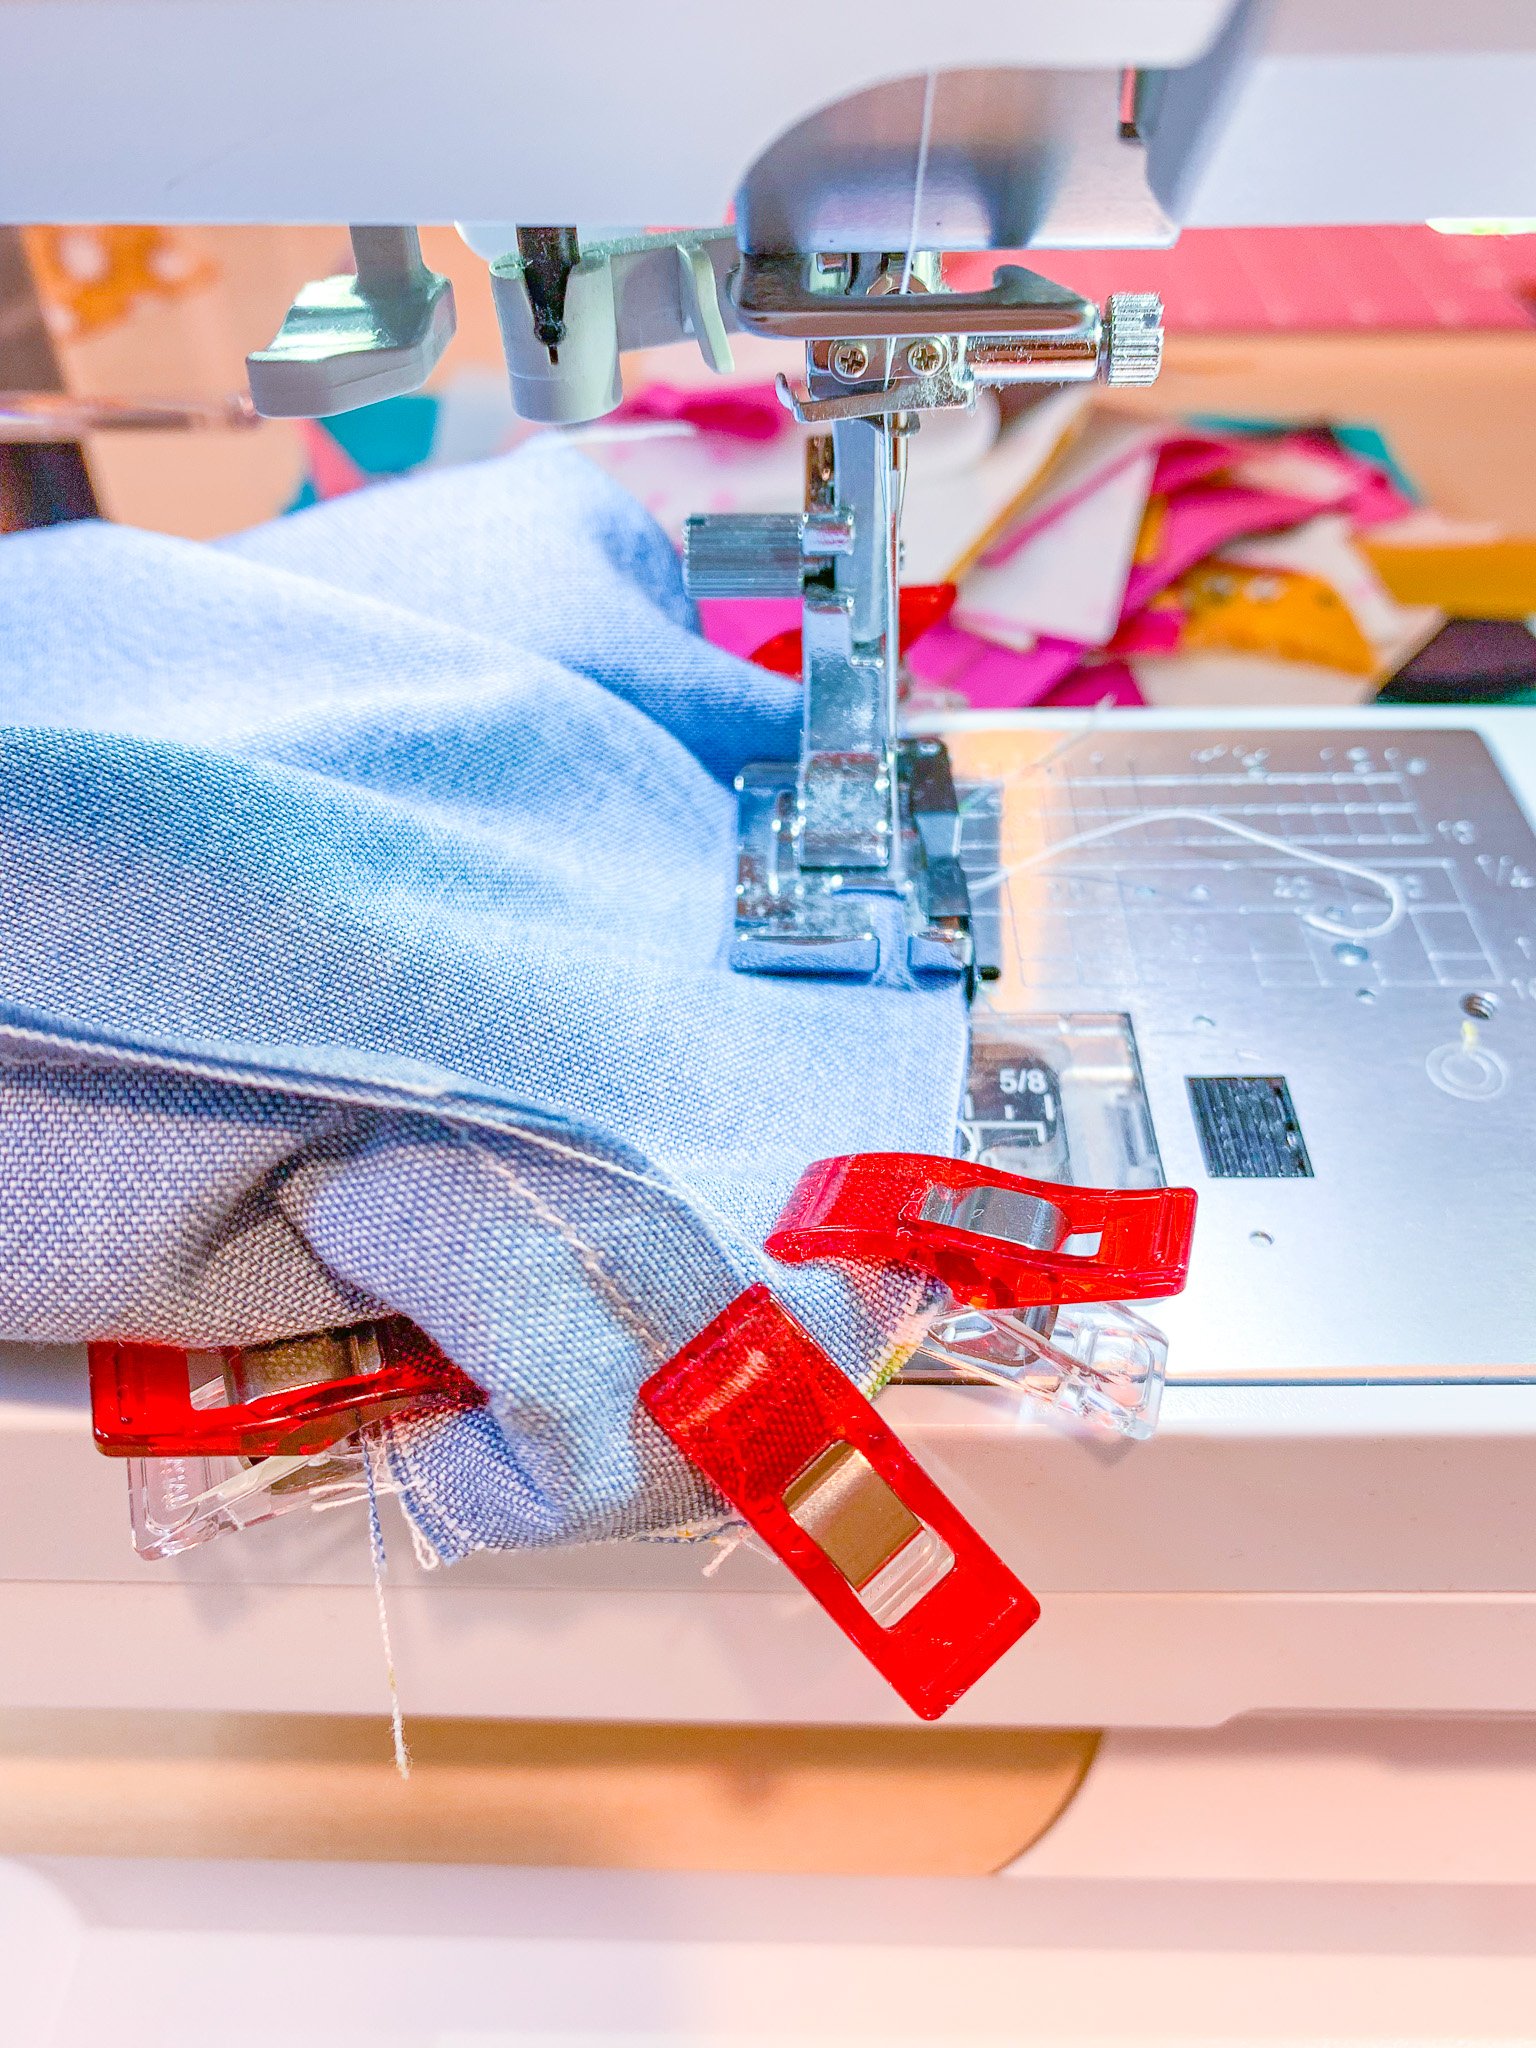
11. Sew the units together along the top edge. This is perhaps the trickiest part of the whole project if you, like me, have a sewing machine with an arm that’s too big to fit inside the bag. If so, just take your time as you sew, checking frequently to make sure the side of the bag opposite the one you’re sewing doesn’t slip under the needle.
12. Turn the bag right side out through the opening in the lining. Use a point turner or similar tool to push out the corners of each unit.
13. Press the opening in the lining flat, tucking in the fabric at the opening. Edgestitch the opening closed.
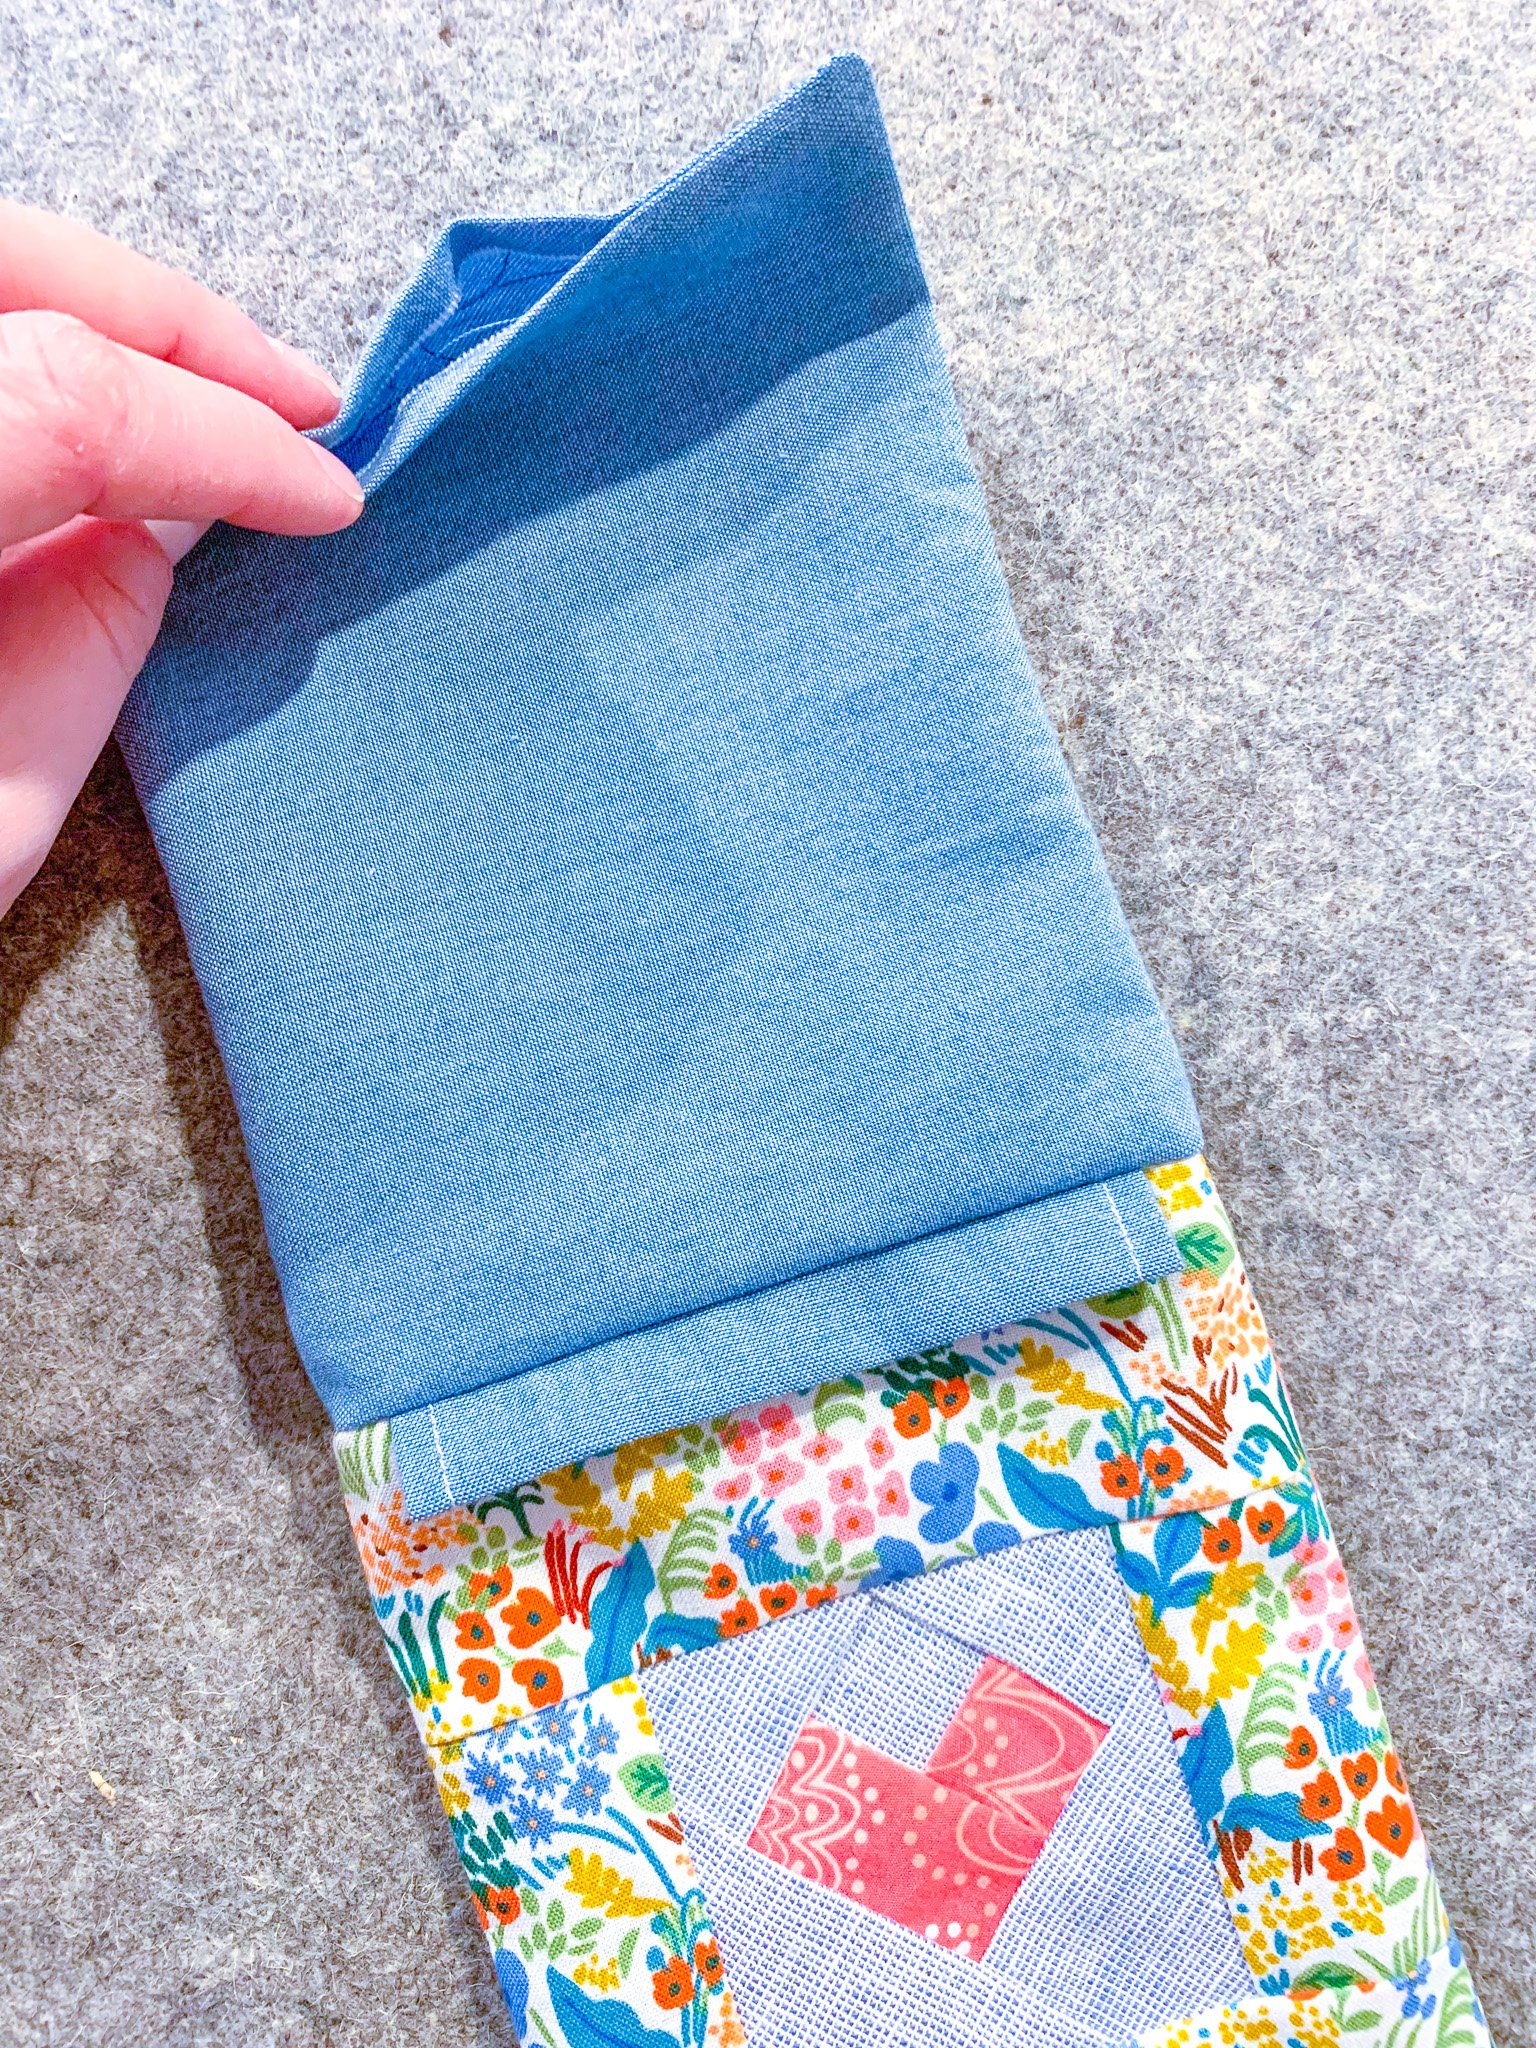
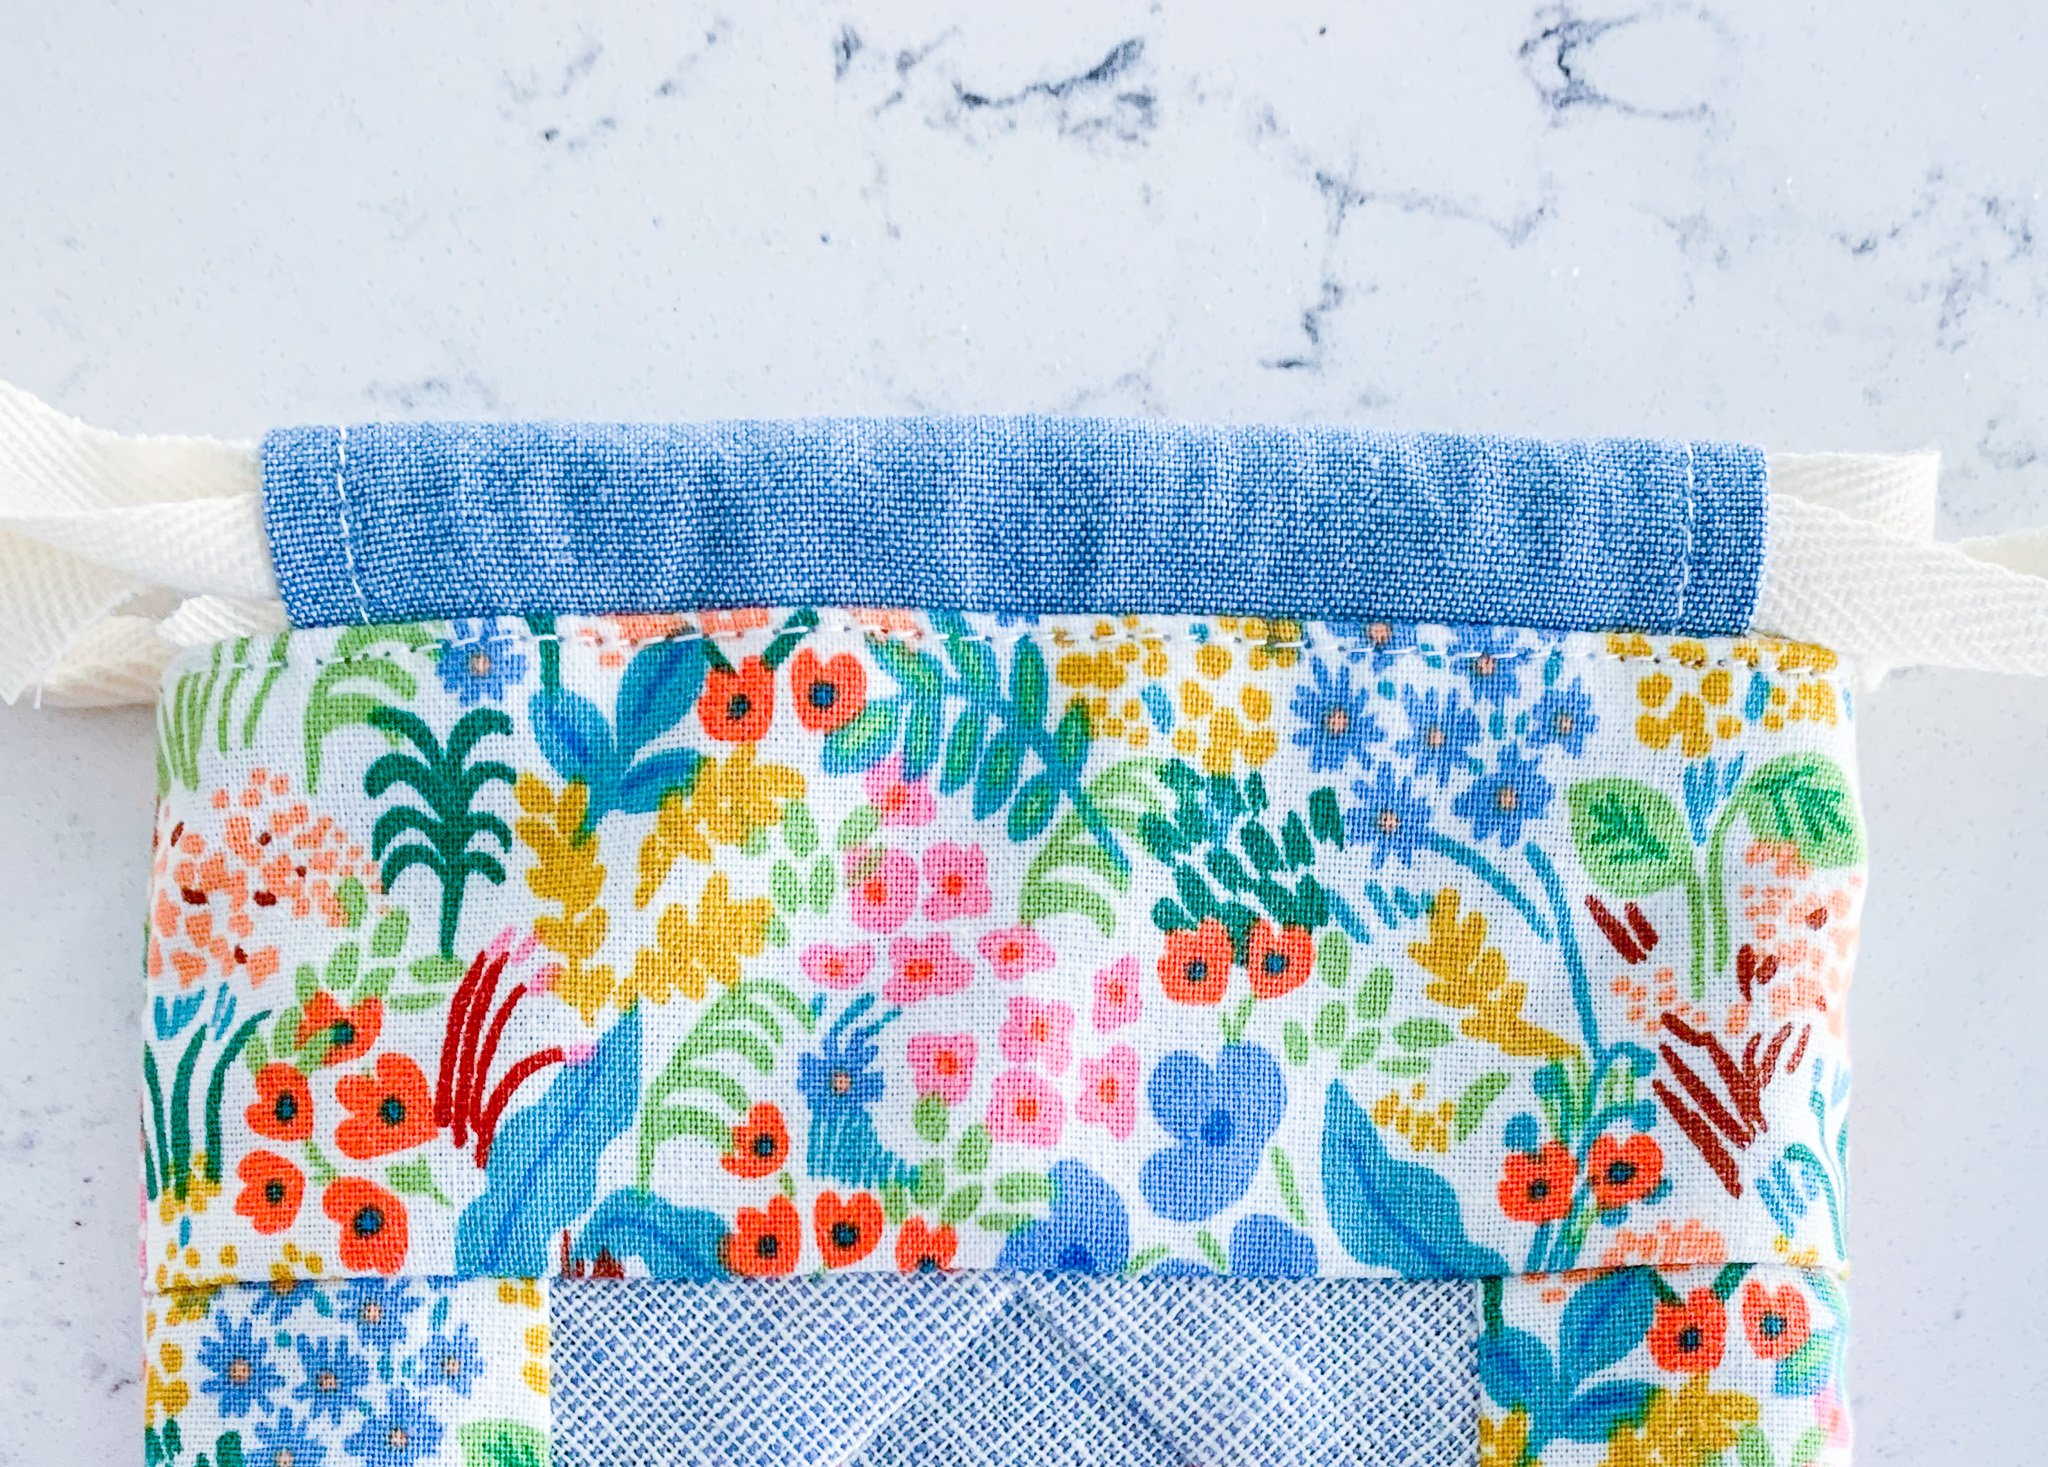
14. Push the lining inside the exterior unit, finessing the two units until the seam runs neatly along the top edge of the bag. Press well, then topstitch around the entire bag 1⁄8” from the top edge. Press.
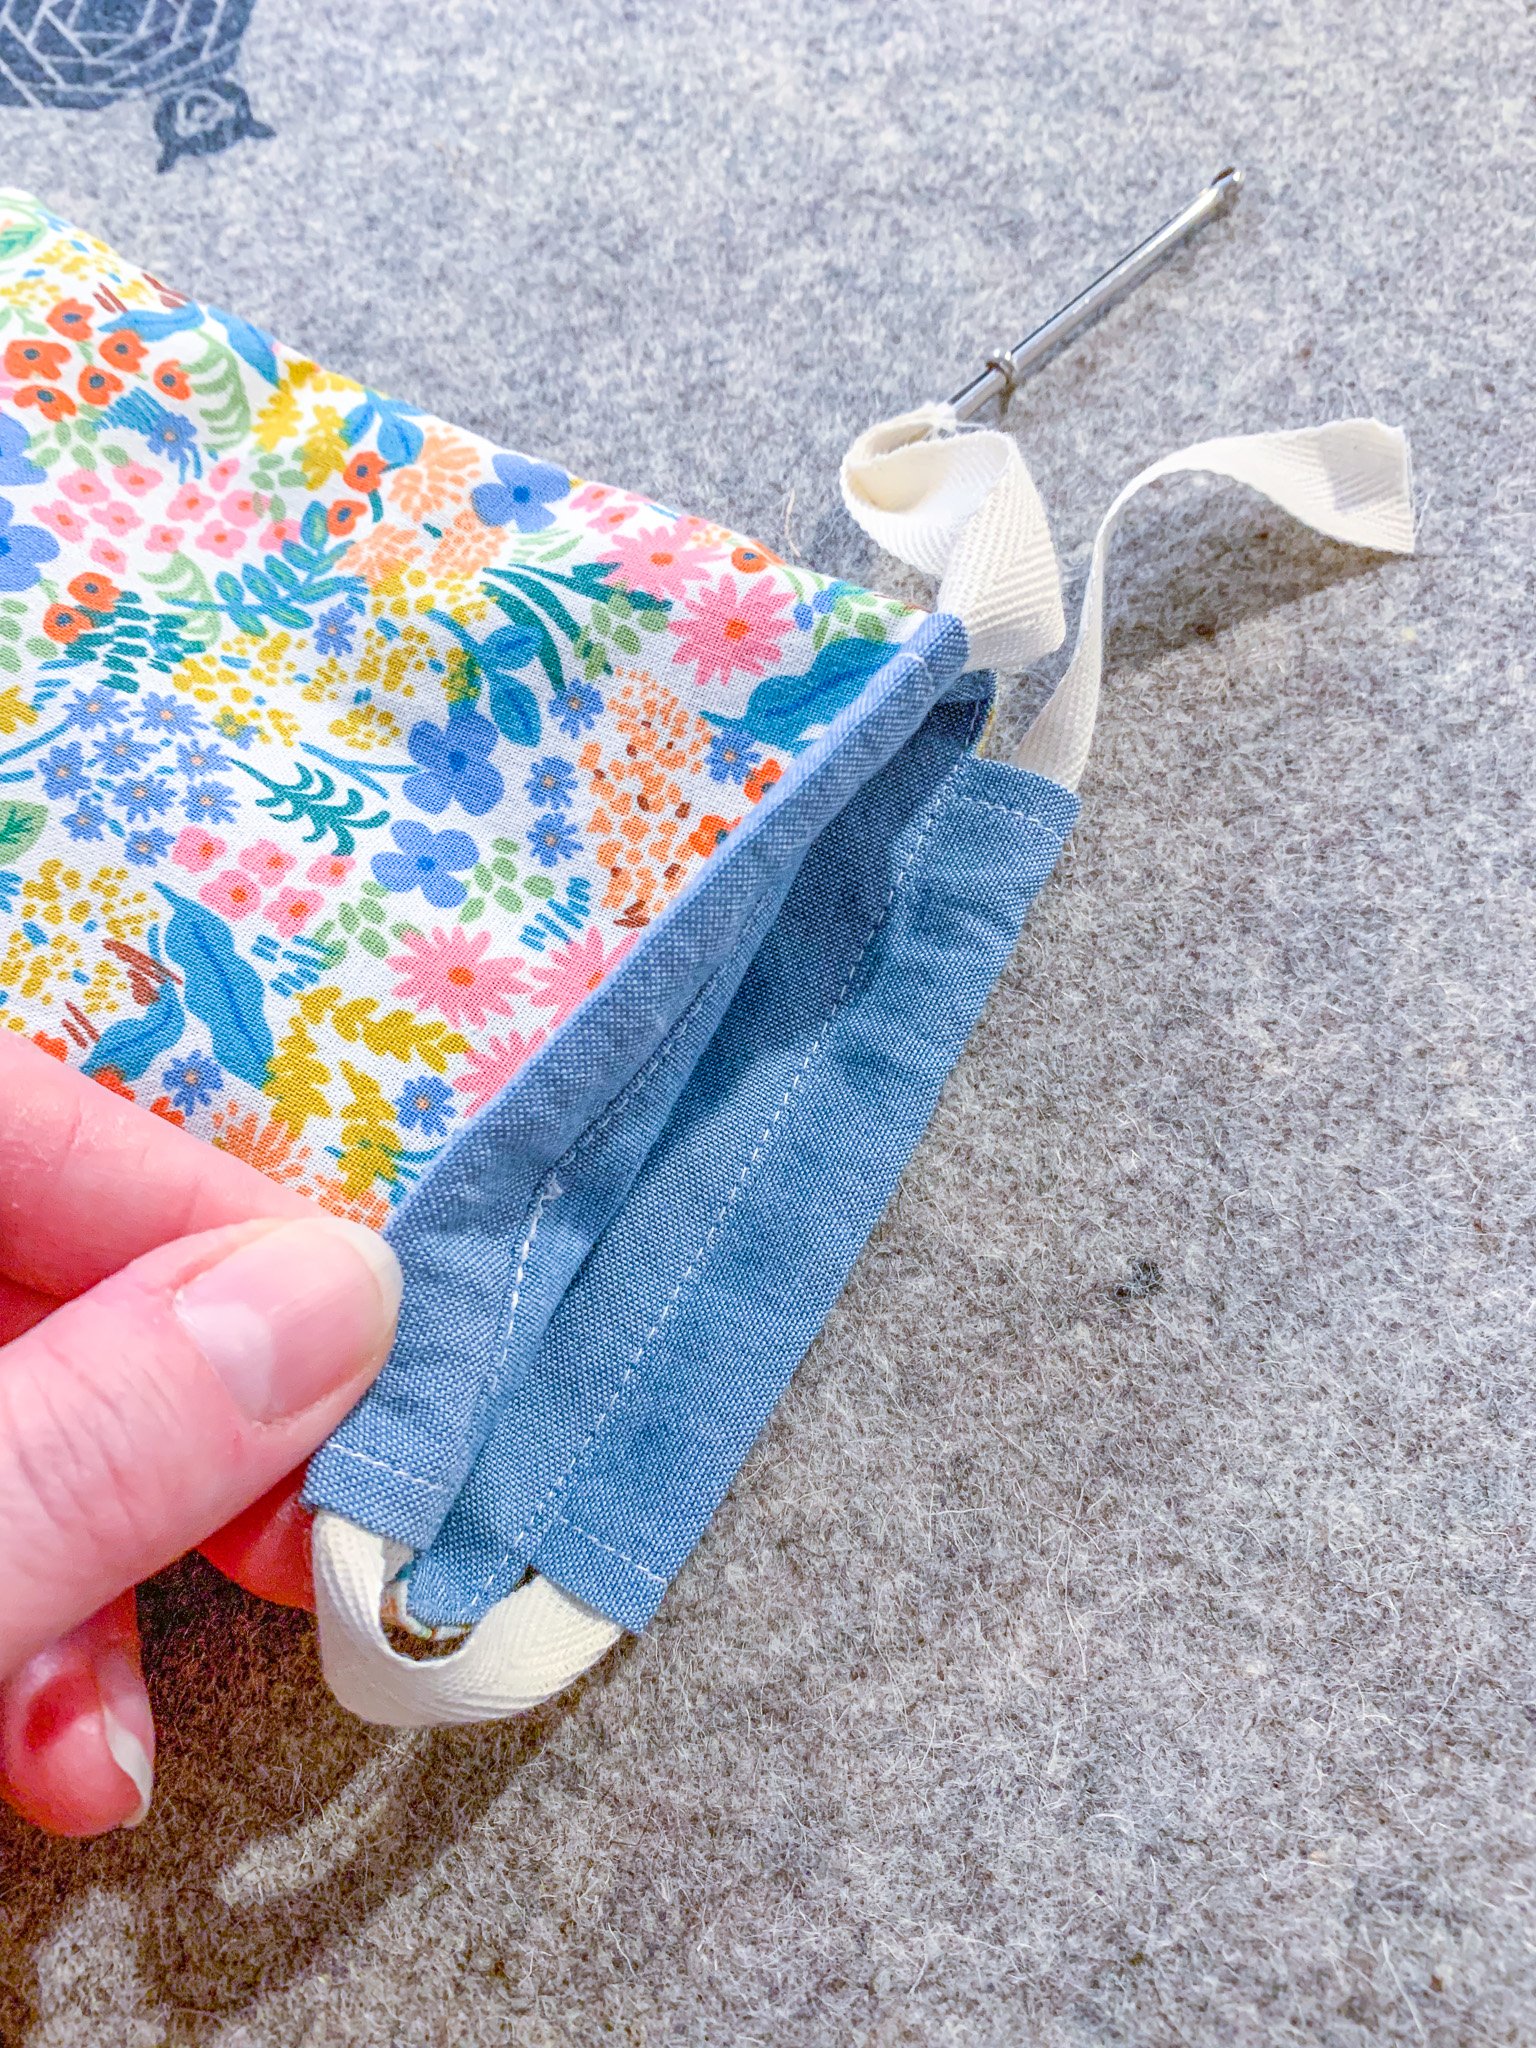
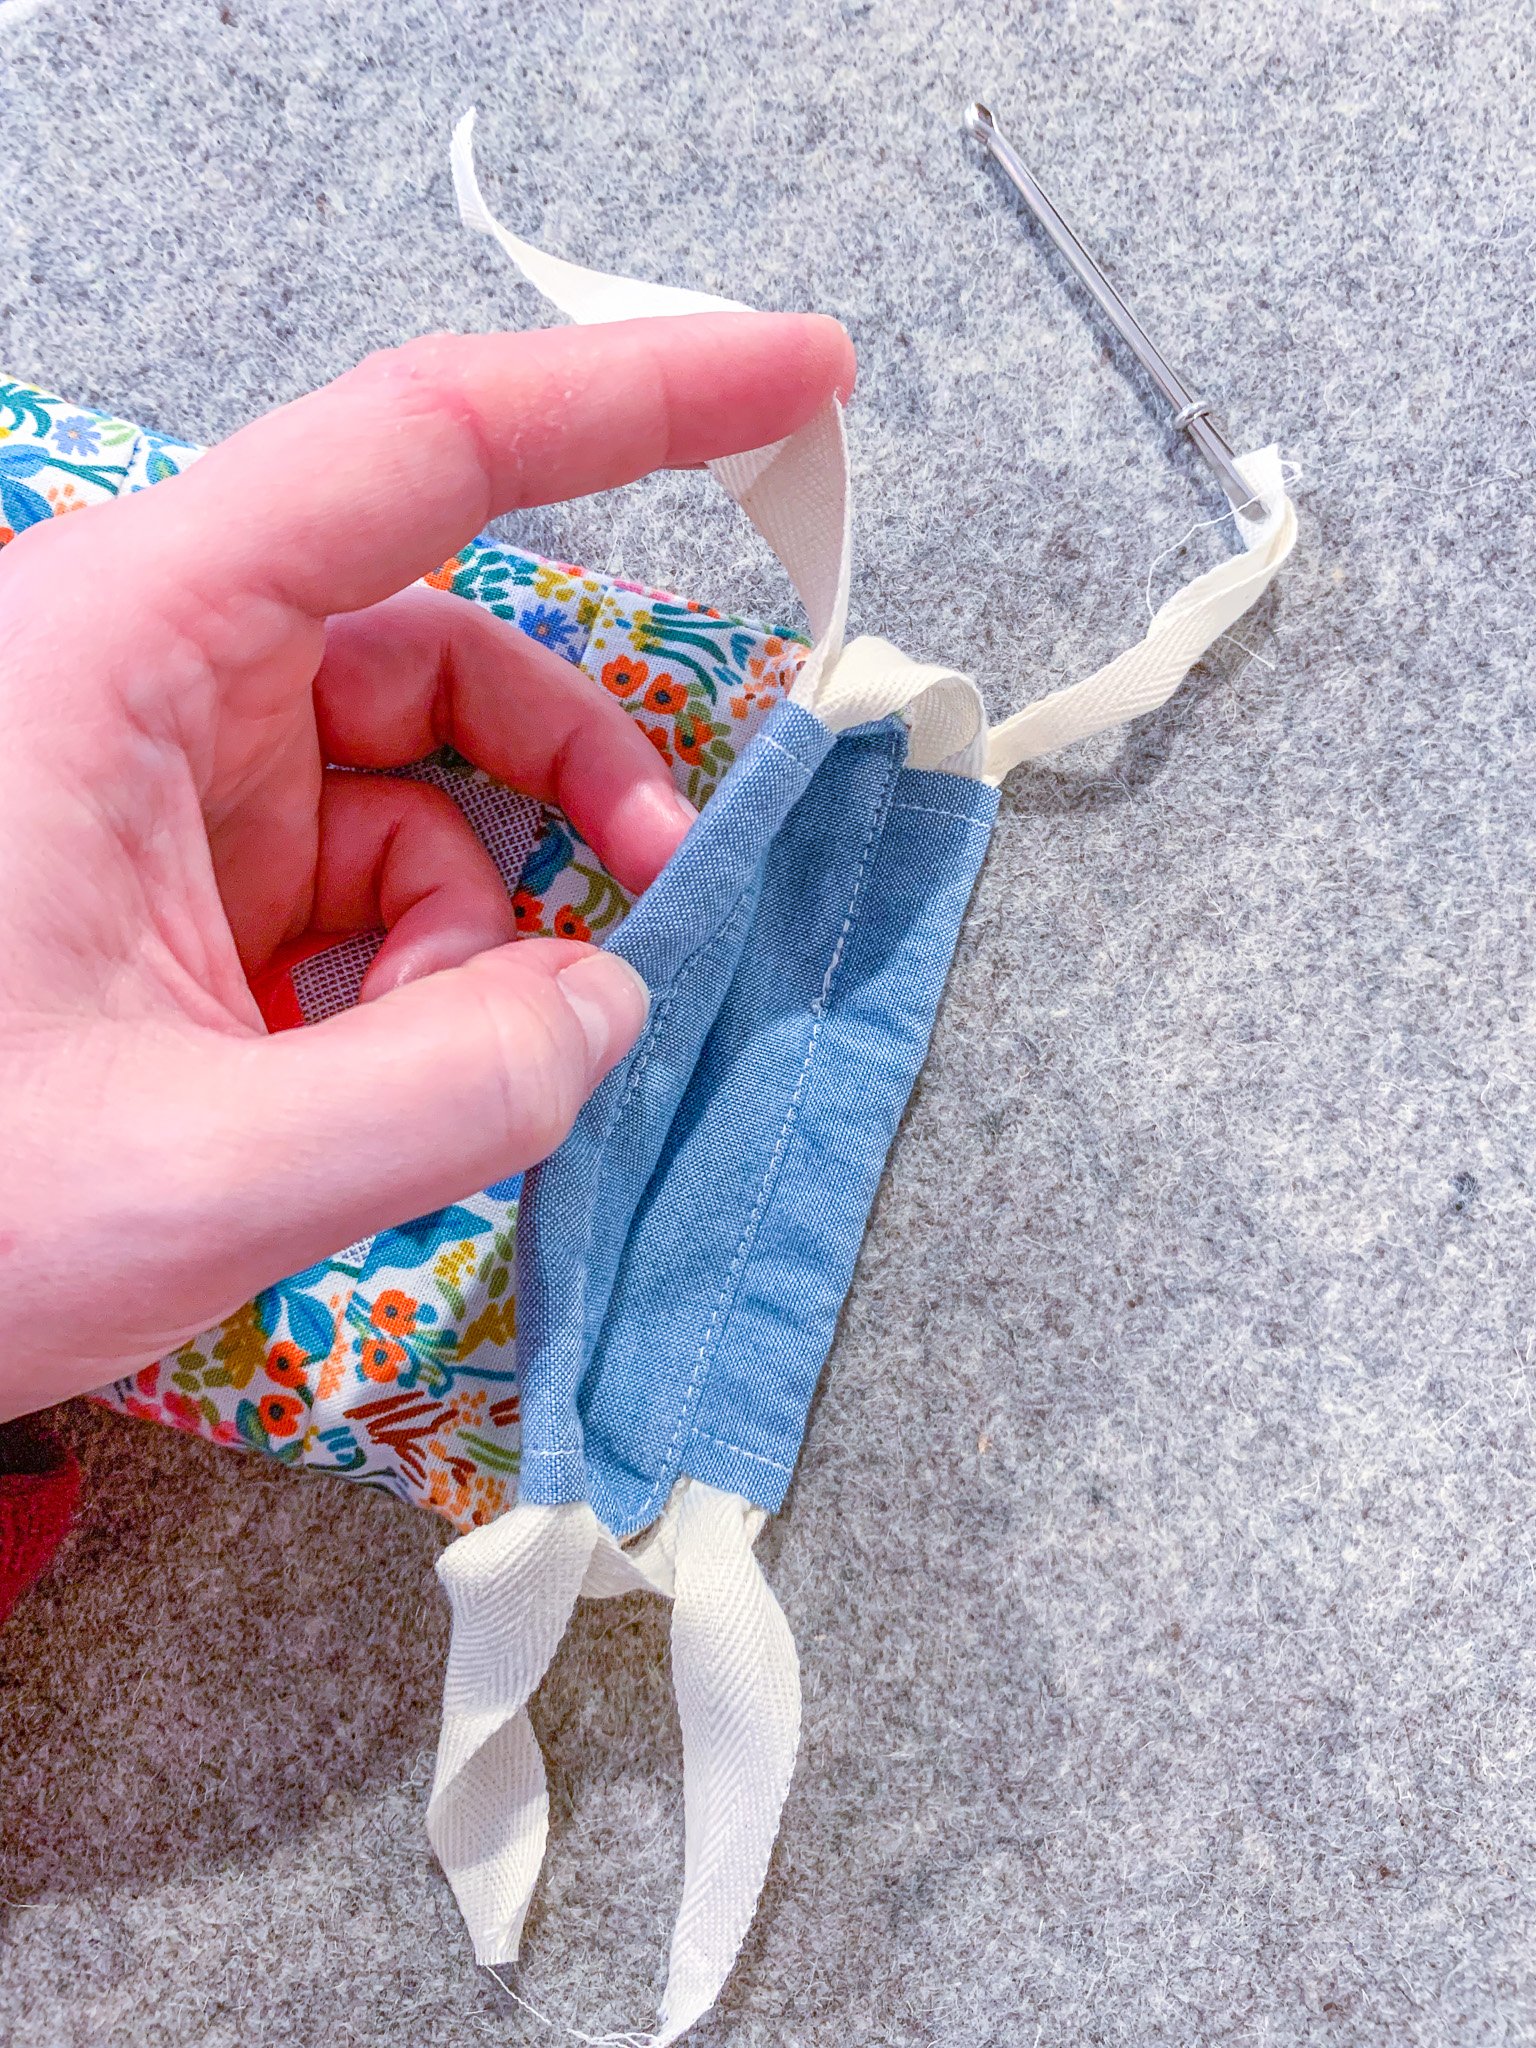
15. Attach your bodkin or safety pin to one end of one of the drawstrings and gently pull it through one channel and then back out the other channel. The ends of the drawstring should be on the same side of the bag. Adjust the string as needed so the ends are roughly the same length.
16. Repeat Step 15 with the second drawstring, but this time, begin inserting the drawstring from the opposite side of the bag (where the “loop” of the first drawstring is). When you’re done, the two ends of this drawstring should be on the opposite side of the ends of the first drawstring.
17. Tie the ends of each drawstring together into a knot. Add Fray Check to the ends of the drawstrings if needed/desired.

18. Fill your little bag with goodies, cinch it up, and enjoy! And don’t forget to share your finished bag via social media using #MakersHeartMiniPouch!