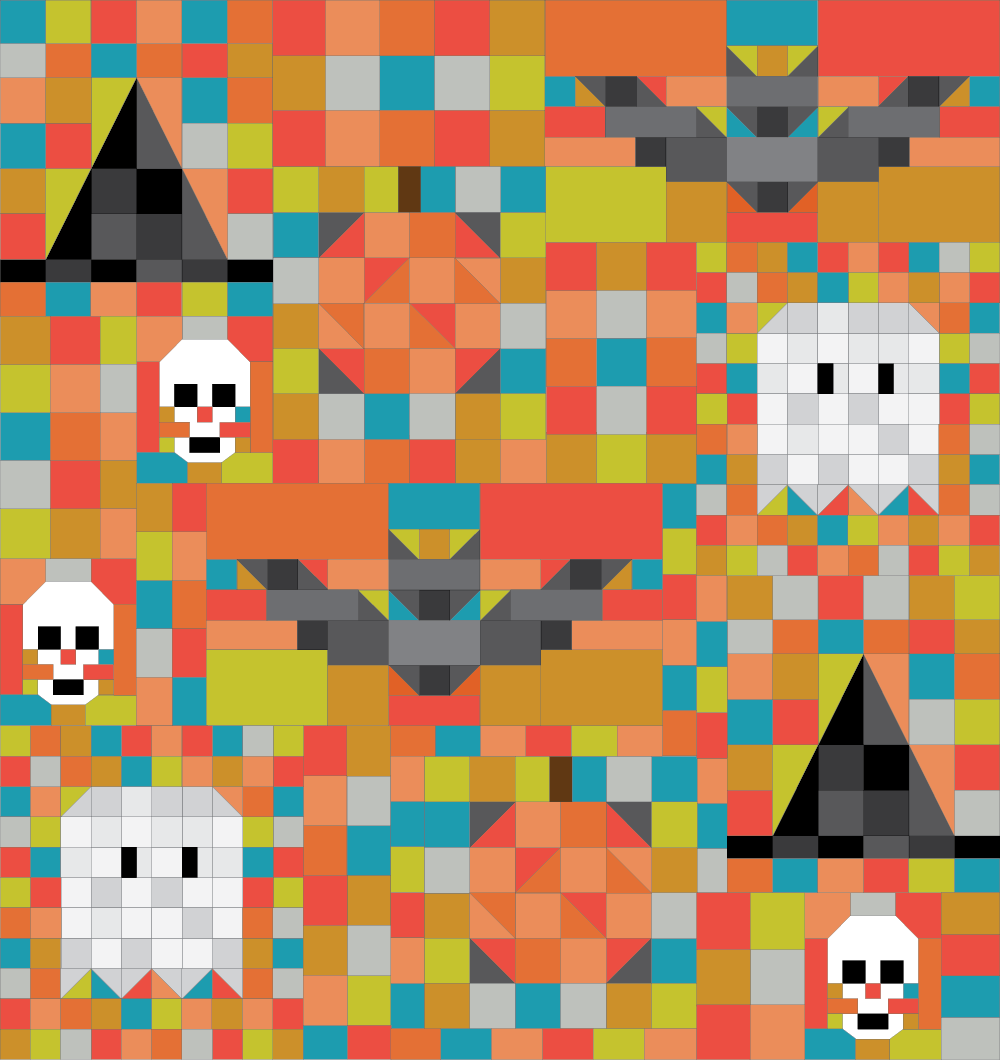
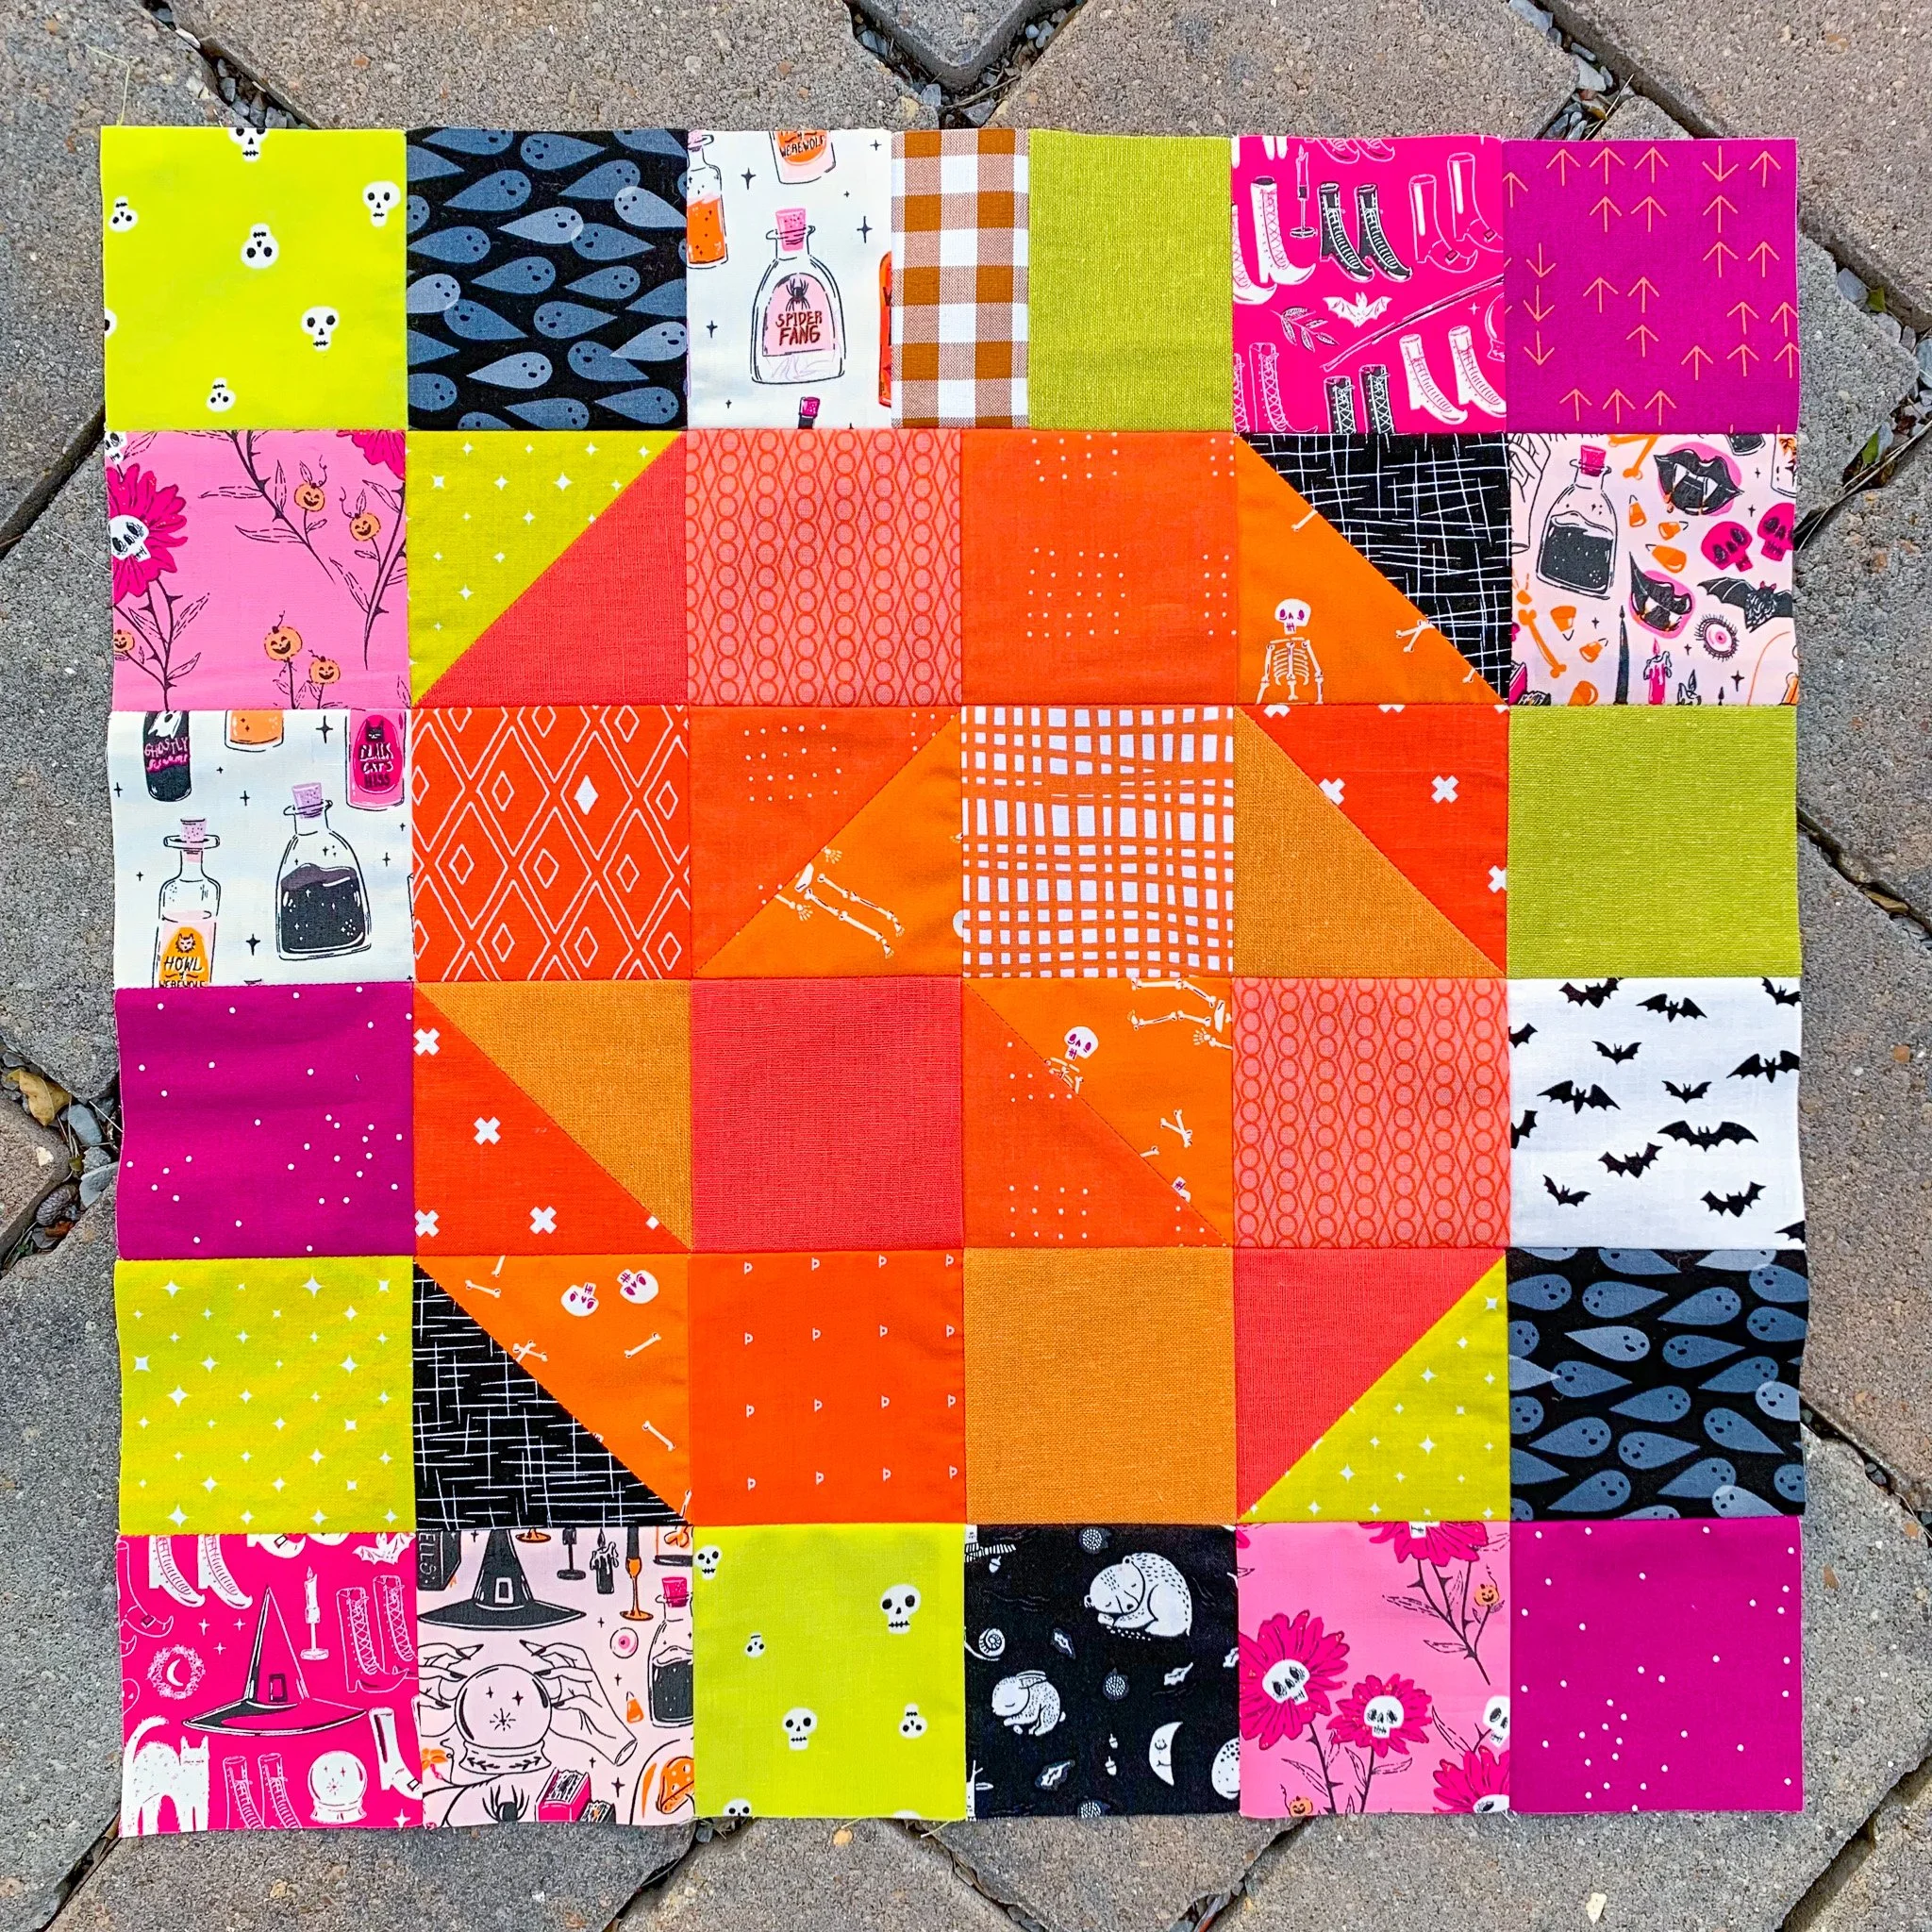
A Scrappy Halloween Quilt Sampler
Recently, I released the One Scrappy Witch block pattern (and an accompanying tote tutorial), followed by the free One Scrappy Pumpkin block tutorial, and I hope you’ve already taken advantage of them and started making all the spooky blocks! The One Scrappy Witch pattern includes two block size options — 12.5” and 18.5” — which you can use in all sorts of ways, but after seeing a few other scrappy spooky-themed blocks pop up, I started brainstorming my own scrappy sampler Halloween quilt. I think we can pretty well assume that I won’t be getting around to making it this year, but I’m all for getting a head start on next year, and I’m here to enable you, too. How cute is this?


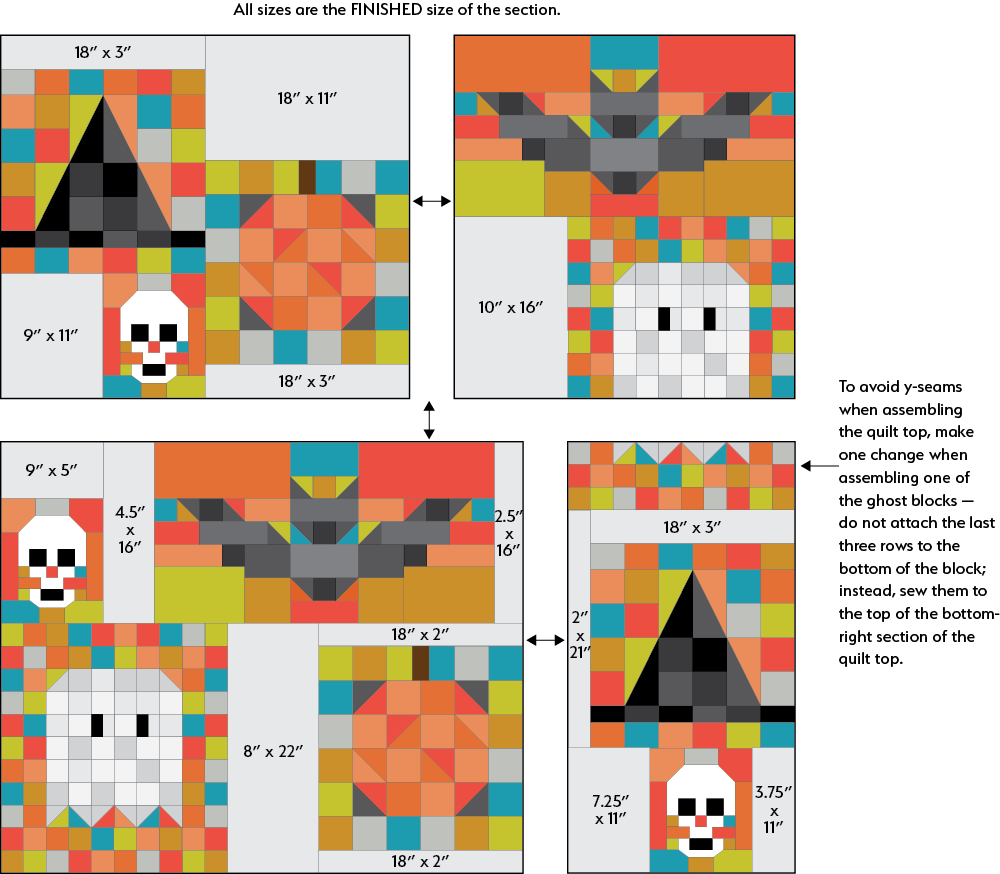
The sampler as shown would be a throw size measuring about 66” x 70”. You could easily scale it up by adding more scrappy blocks to the outside or more multiples of the designated blocks below.
The mockups show approximations of the other quilt blocks (the ones besides my One Scrappy Witch and One Scrappy Pumpkin blocks) because they’re not my blocks, and I expect you to seek out the originals, but they’re close enough to give you an idea and are at scale with one another. Bonus: all but two of these blocks are free (and the two that aren’t are only $3 — support your makers and their hard work)!
Below you will find the links to all the blocks and instructions for putting them all together so you can get started on your own version!

One Scrappy Witch Block by me!
Purchase the pattern here. Make 2.
18” square finished (be sure to make the larger block in the pattern — or make the smaller one and add more scrap “filler” around it)

Batty Quilt Block by Laura Loewen of Quilt Fort Co.
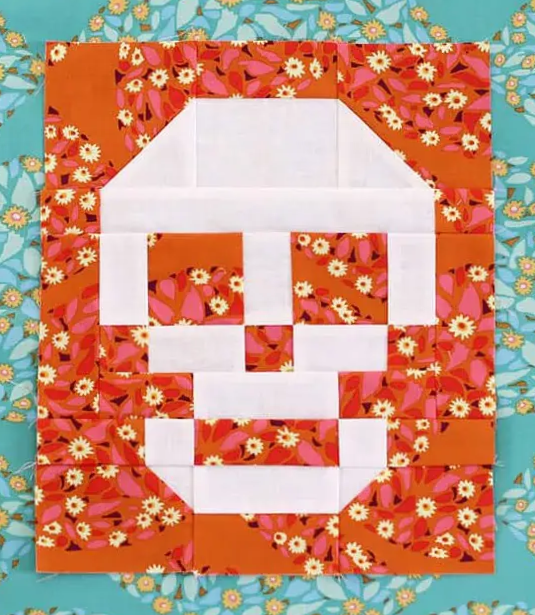
Patchwork Skull Block by Kirsty Cleverly of Bonjour Quilts

Boos & Ghouls Blocks by Rebecca Bryan of Bryan House Quilts
Download the free pattern here. Make 2.
You can use either or both of the “Boo” or “Ghoul” blocks included in the pattern. Additional sew-along post here.
Important! See the layout instructions below for a change you need to make to one of your ghost blocks during piecing.
20” x 22” finished (Note: the pattern says the block finishes at 20” square, but it is slightly longer than wide and actually finishes at 22” long.)
Photo, block, and pattern by Rebecca Bryan.
One Scrappy Pumpkin Block by me!
Find the free tutorial here. Make 2.
18” square finished
Once all your blocks are made, arrange them in the layout shown below. Then, piece together scraps in various shapes and sizes to fill in the “background” sections in the sizes shown. You can do this however you choose, including simply using whole pieces of fabric (solid or print) cut to the size shown plus 1/2” seam allowance. Important! The sizes shown are the FINISHED sizes of the sections, so be sure to account for the additional seam allowance. For example, the “background” section above the witch hat block in the upper-left corner should measure 18.5” x 3.5” before being added to the quilt top (the section will finish at 18” x 3” after being pieced into the quilt top).
Piece the blocks and “background” scrap sections into the four units shown. Then, sew the top two units together, followed by the bottom two units, and press. Finally, sew the two halves together and press.
If you want to make your quilt larger, feel free to add on additional blocks, “background” scrap sections, and/or borders. If you make the throw as shown, you’ll need 4 1/8 yards for your backing (includes 4” of overage on each side). For the binding, cut 8 WOF strips in your preferred width. For 2 1/2”-wide strips, you’ll need 5/8 yard for binding. Baste, quilt, and bind as preferred, then get ready to snuggle!