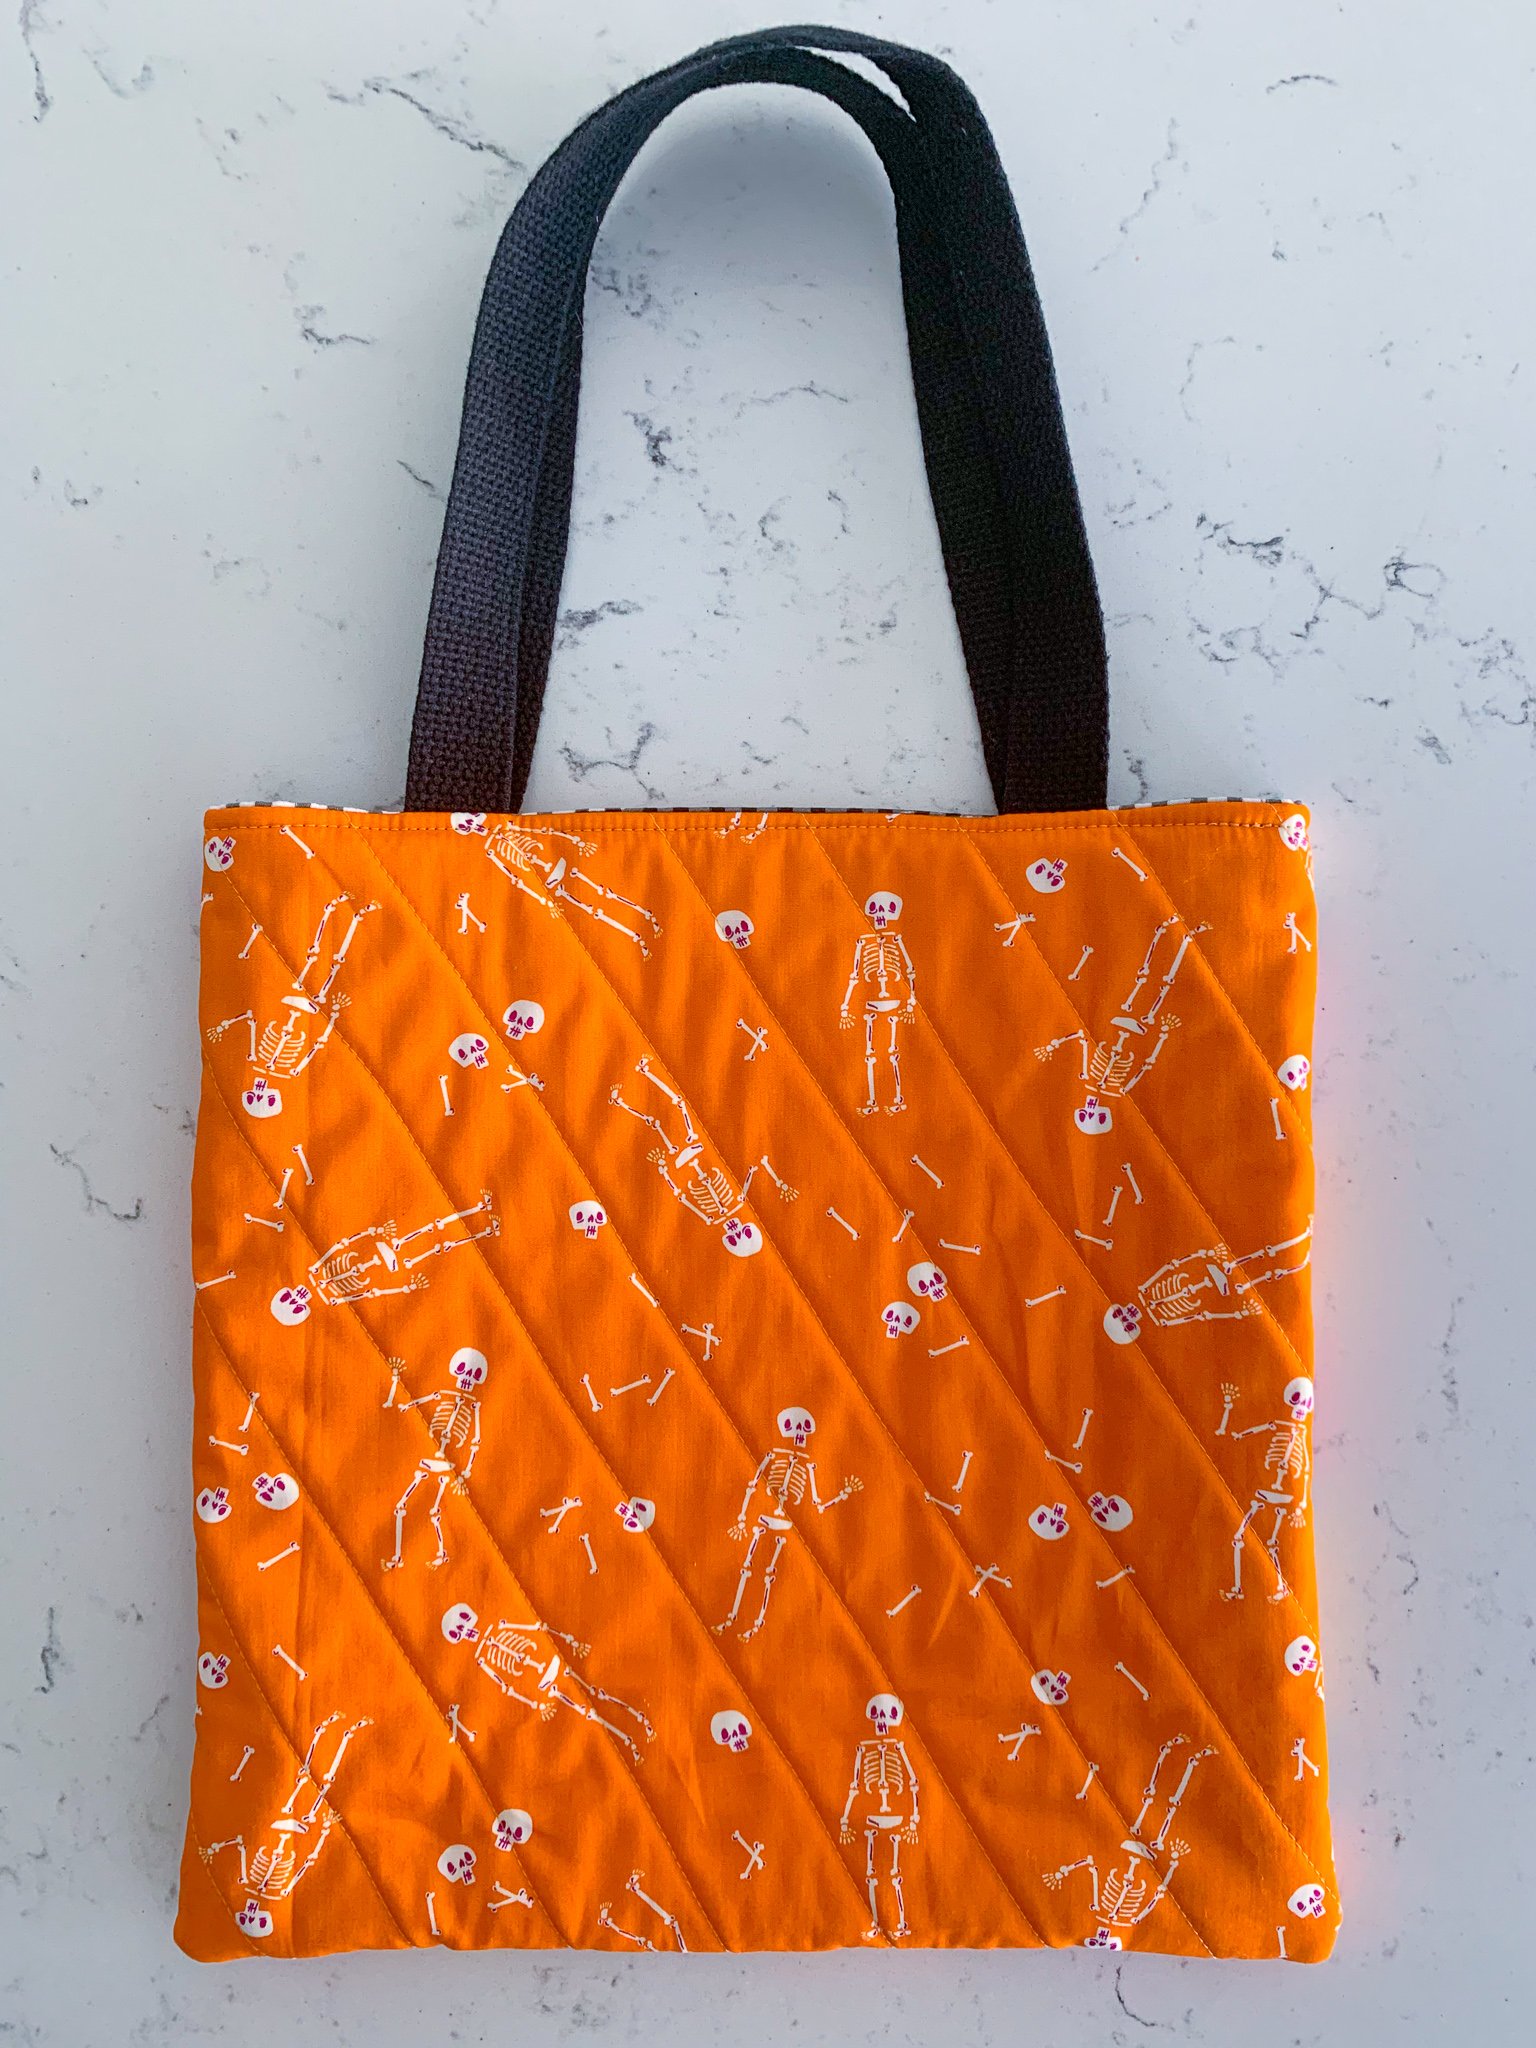
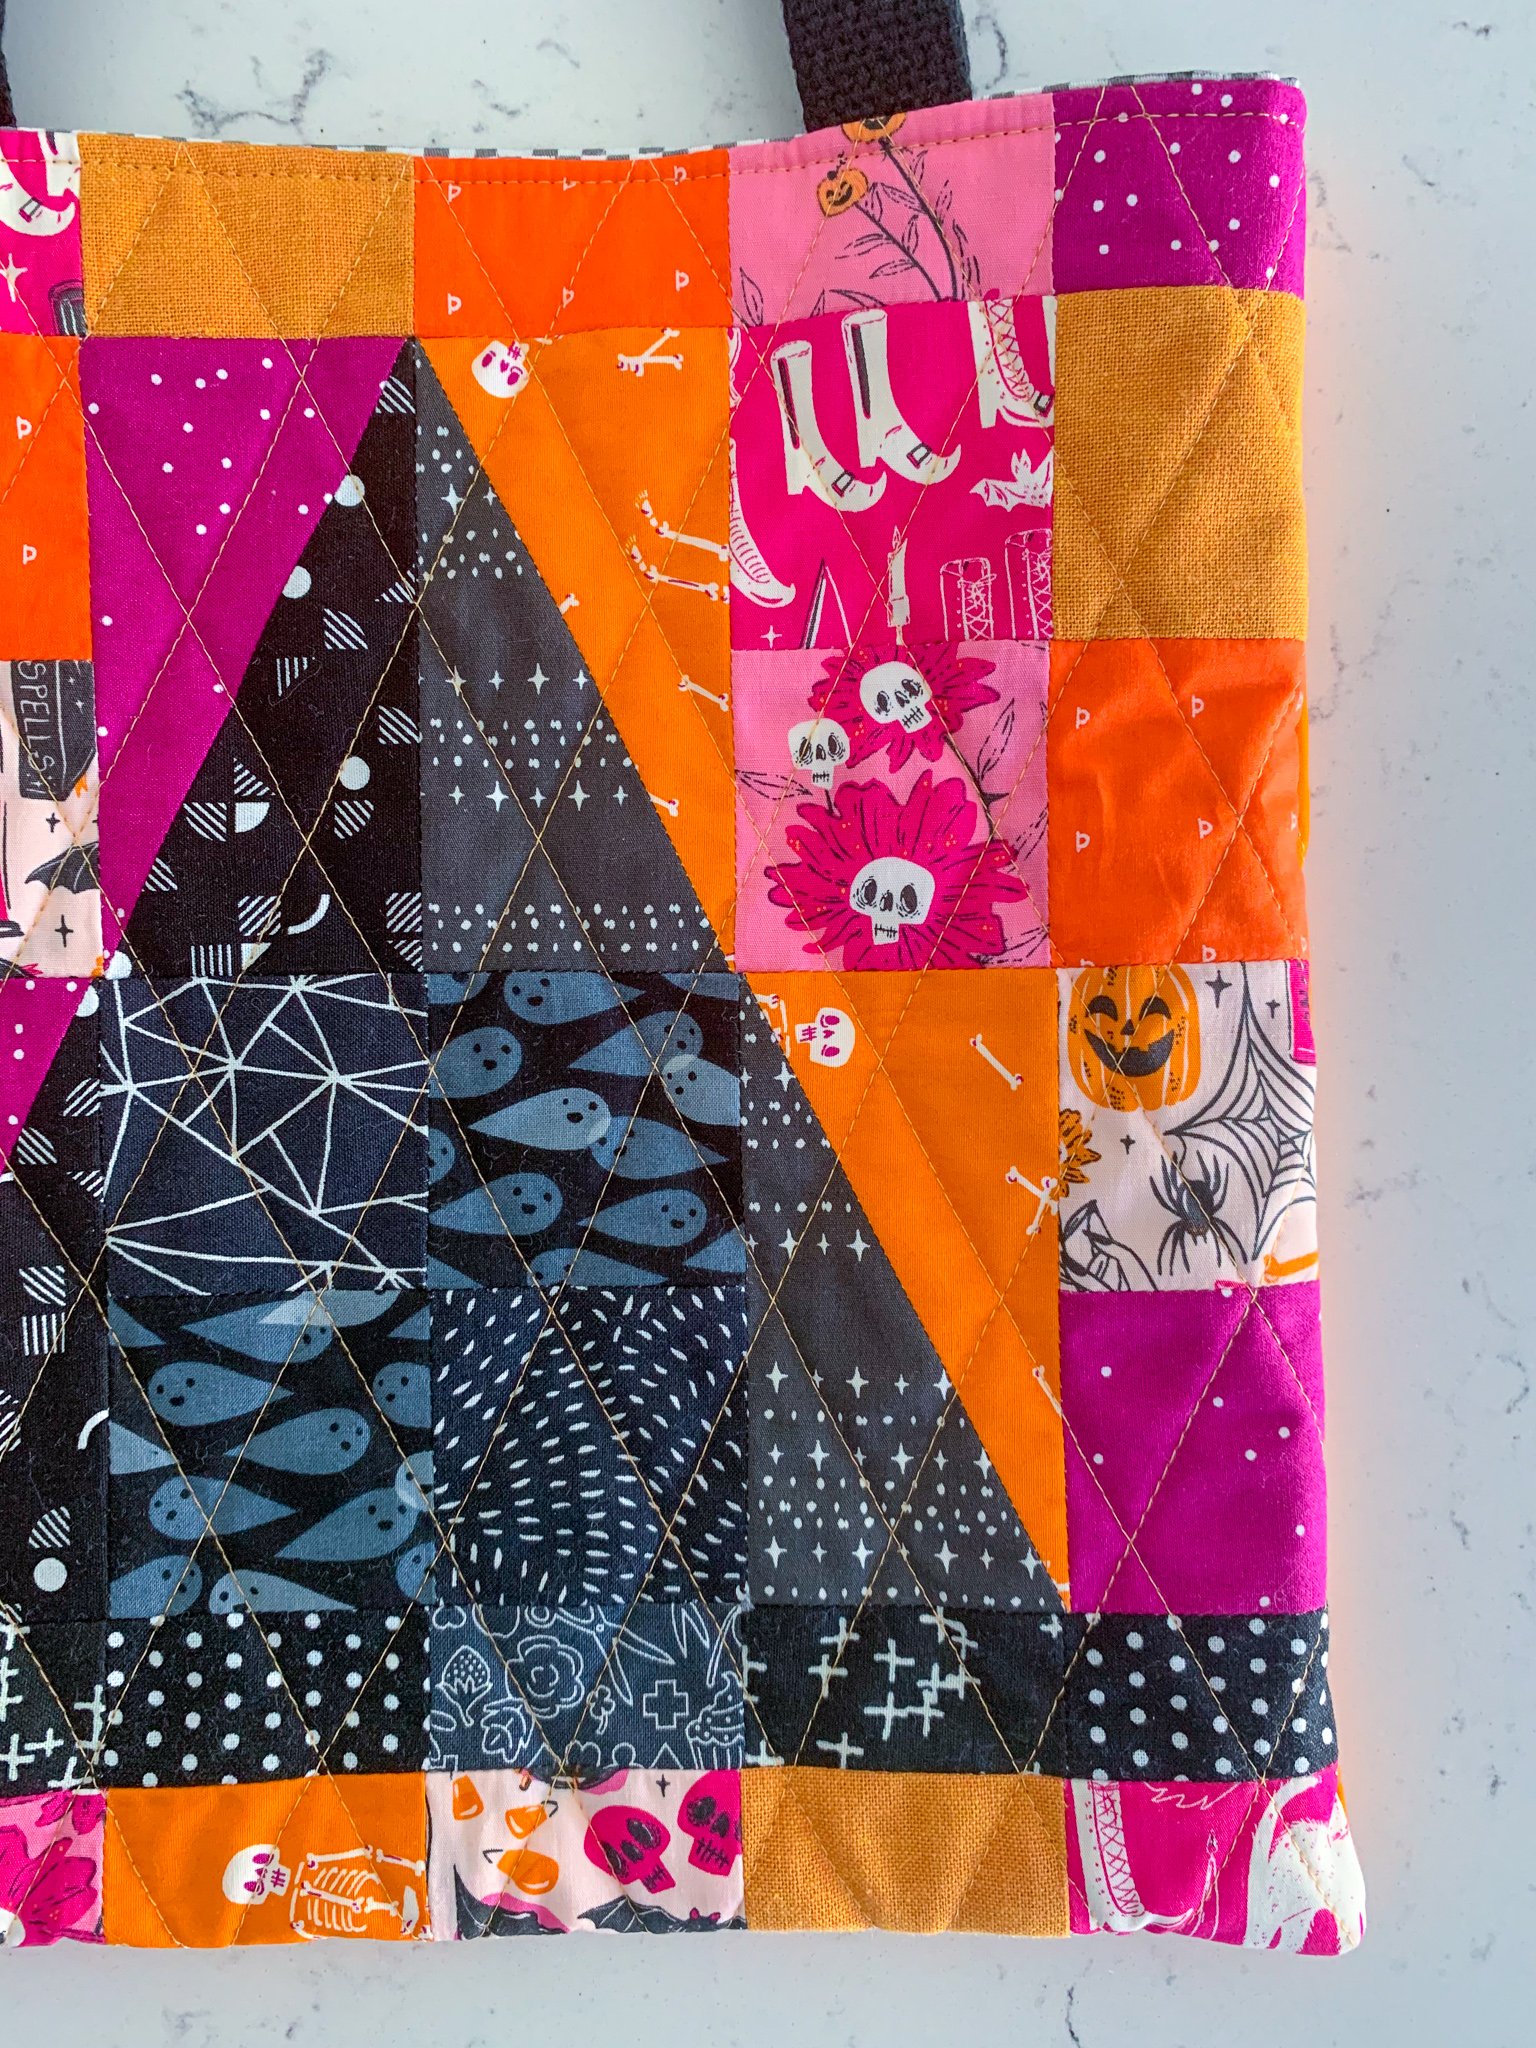
A Witchy Halloween Tote (Tutorial)
Yesterday, I released the One Scrappy Witch block pattern, and I hope you’re already loving it! The pattern includes two versions of the fun, scrappy block: 12.5” and 18.5”. You can, of course, use the blocks for any number of crafts — a Halloween sampler quilt (or combine multiples of the blocks on their own for a quilt), a spooky wall hanging, you name it — but it turns out the 12.5” block is perfect for a candy tote for trick-or-treating, and today I’m here to show you how to make your own!

Supplies
(1) 12.5” One Scrappy Witch quilt block (or any 12.5” quilt block or piece of fabric) for the front exterior
(1) 12.5” square coordinating fabric for the back exterior
(2) 12.5” squares second coordinating fabric for the lining
Optional: (2) 14.5” squares batting (if you wish to quilt your exterior panels; batting also adds structure and strength to the tote, but you can make a thinner tote without it)
1 yd. 1”-wide cotton webbing for the handles (subcut into (2) 18” lengths)
Coordinating thread
Optional: Pins*, point turner*, and Wonder Clips or binding clips
*Disclaimer: To assist you in finding some of the products I use in my work, this blog sometimes uses Amazon affiliate links. As an Amazon Associate, I may earn a small commission from qualifying purchases made by clicking on one of the links (marked with an asterisk). This is another way you can help support my business, and I thank you! That being said, if you're able to purchase the item locally, I strongly encourage you to do so. I only feature products that I would use myself.

Instructions
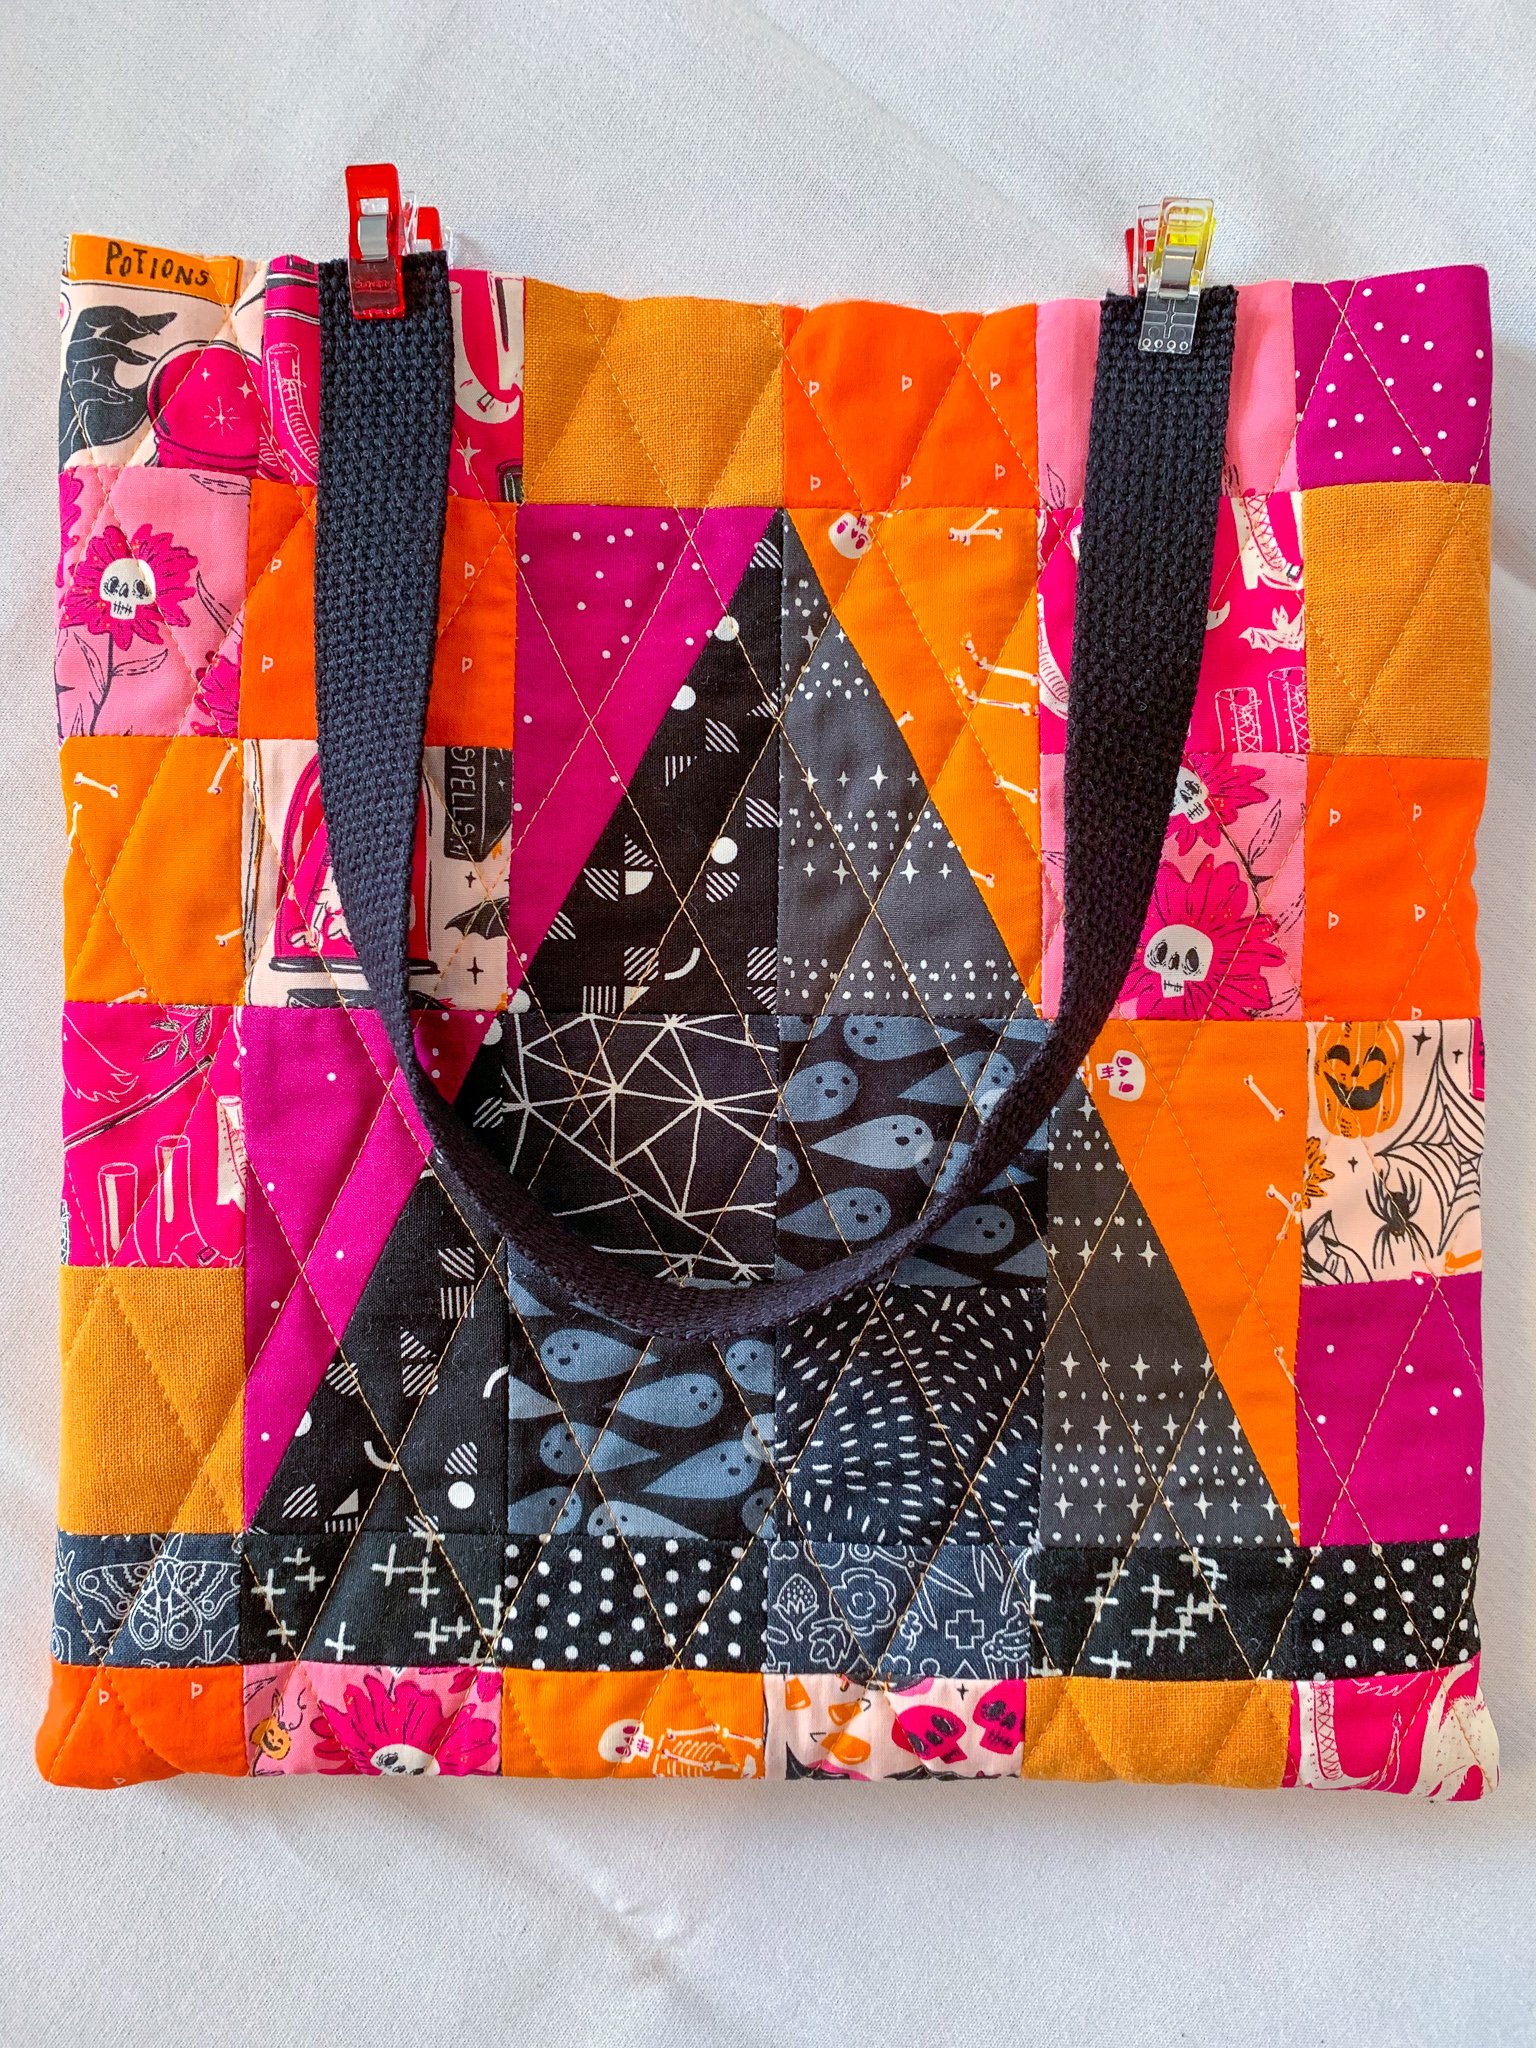
1. If desired, center the 12.5” One Scrappy Witch block on top of one piece of batting, right side up. Baste and quilt as desired. Repeat with the 12.5” square of coordinating fabric for the exterior back and the second piece of batting. Trim the quilted panels to 12.5” square.
Note: I used a 3/8” seam allowance throughout the rest of the tutorial to add a bit more security than a 1/4” seam but without taking away as much fabric as a 1/2” seam allowance would. Any of the three seam-allowance options is fine, so use what works best for you — just be consistent, especially when sewing the exterior pieces together and the lining pieces together.
2. Place the two (quilted) exterior panels right sides together and pin or clip along the sides and bottom edge. Using a 3/8” seam allowance, sew along the sides and bottom, leaving the top open. Be sure to backstitch at the start and end of the seam. Clip the sewn corners to reduce bulk (do not clip through the seam allowance).
3. Place the two lining squares right sides together and pin or clip along the sides and bottom edge, leaving a 4” opening in the bottom for turning. Sew along the sides and bottom, leaving the top open. Be sure to backstitch at the start and end of the seams, including around the bottom opening. Clip the sewn corners to reduce bulk.

4. Turn the (quilted) exterior unit right sides out and use a point turner or similar tool to push out the bottom corners.
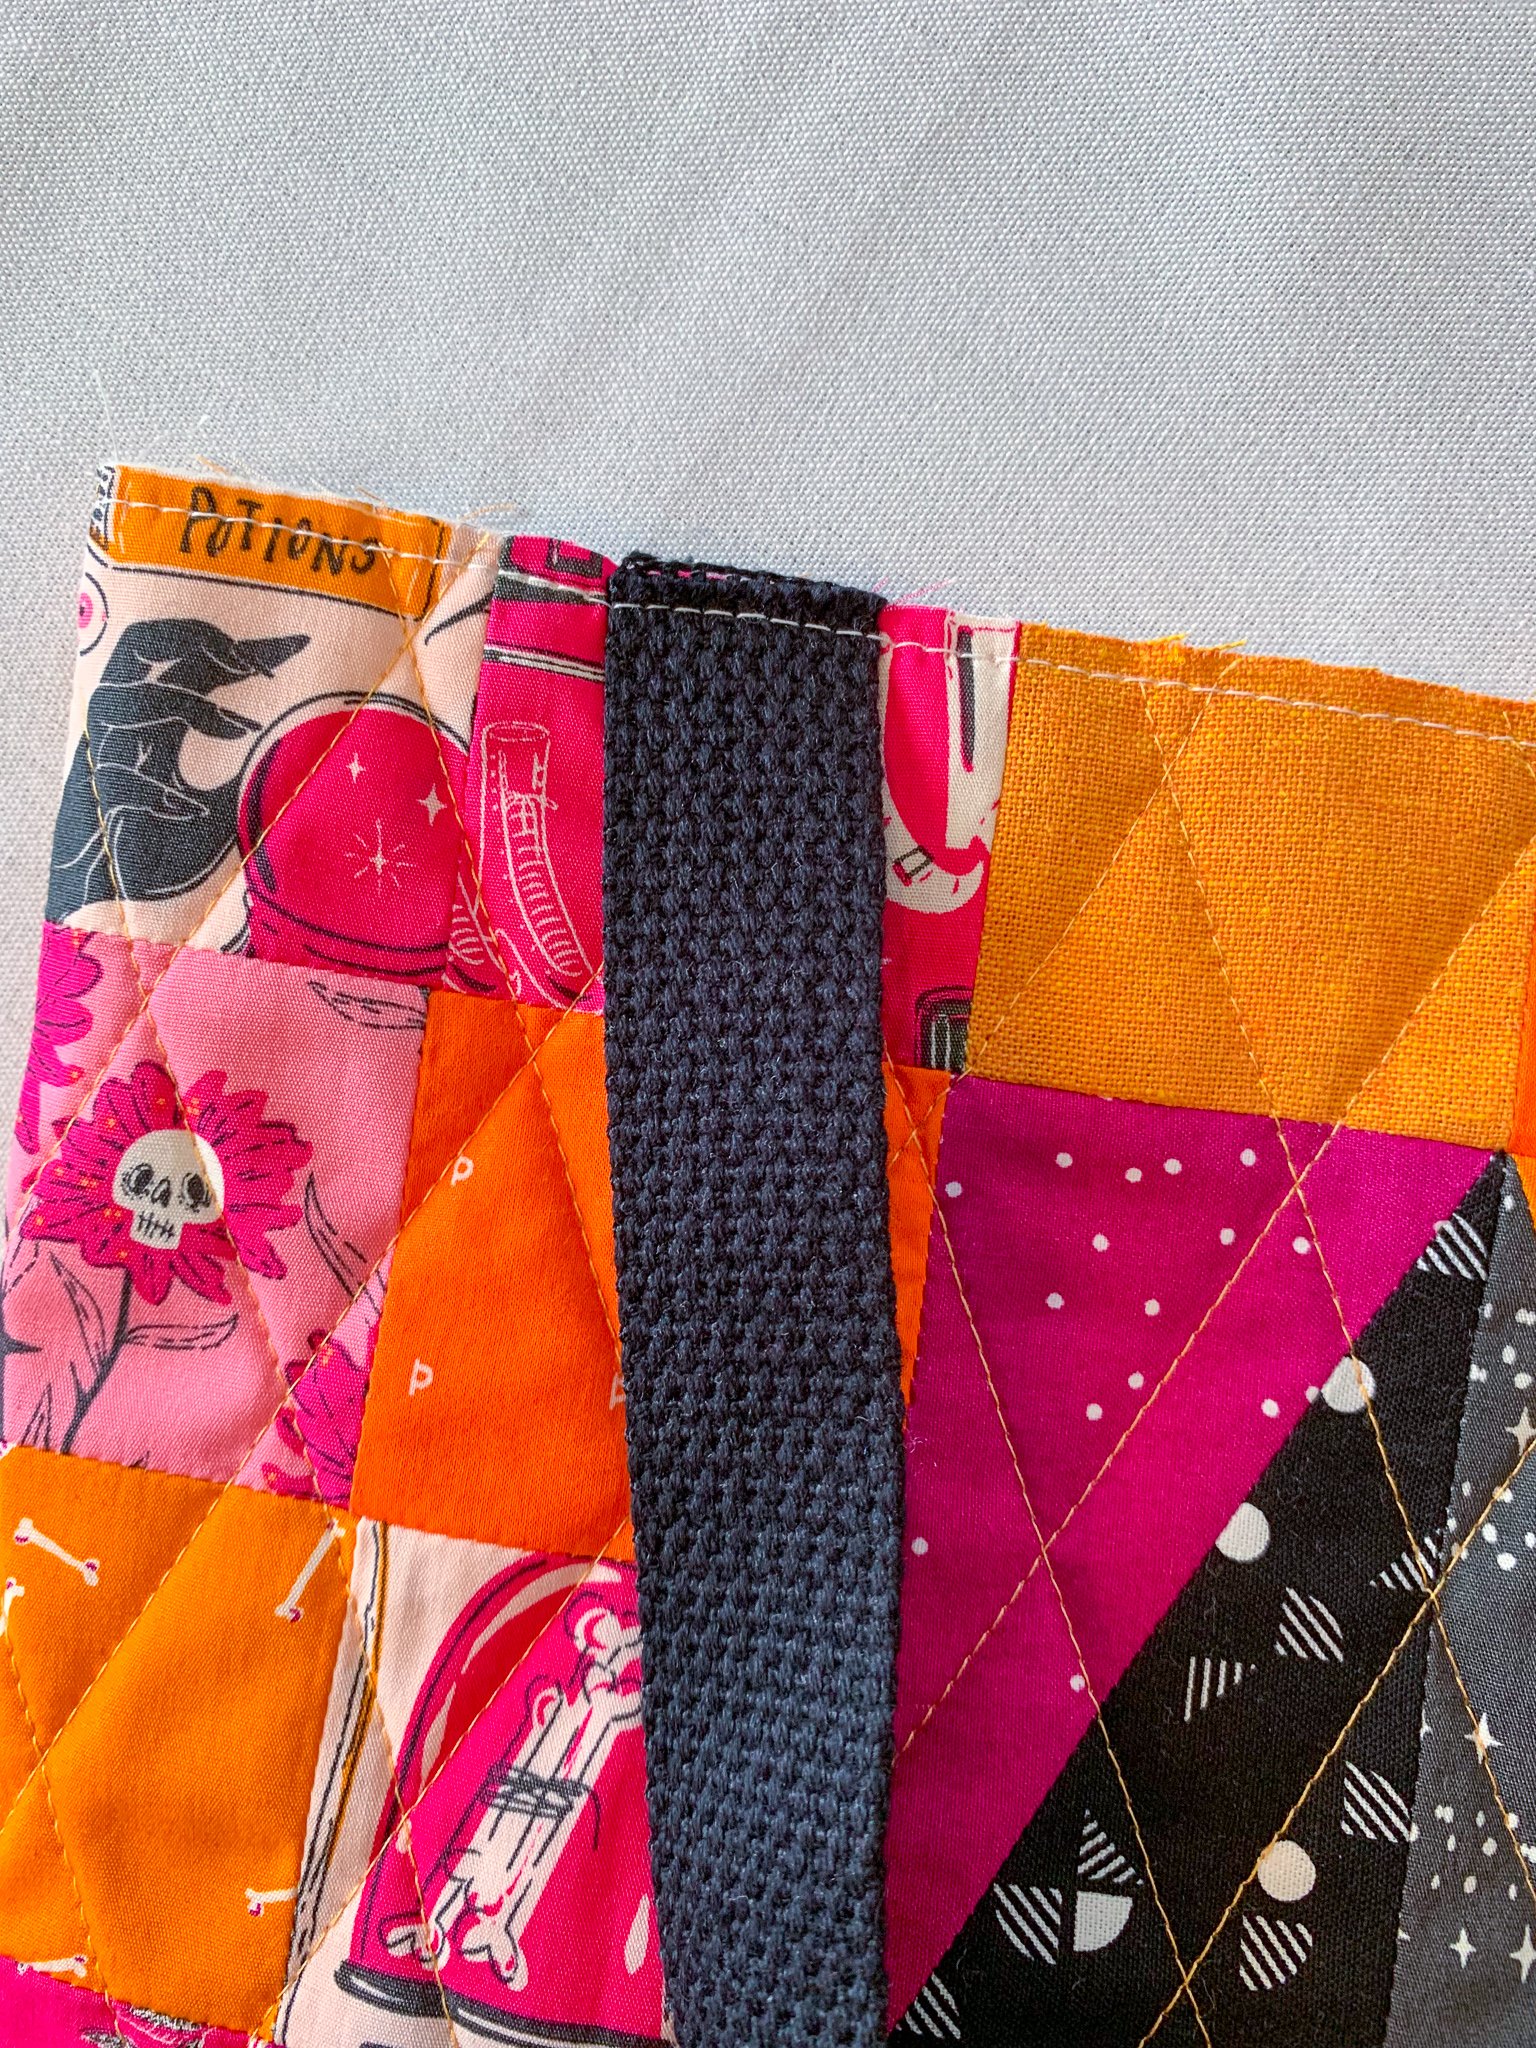
5. Center one cotton webbing strap on the front exterior panel. The ends of the strap should be centered in the 2nd and 5th rectangles at the top of the quilt block (the outside edge of the strap should be roughly 2 1/4” from the side seam). Repeat on the back exterior panel. Check to make sure the straps aren’t twisted, then clip the strap ends in place. You can either proceed to Step 6 with the straps clipped or use a basting stitch to secure the straps (as I did) so you can remove the clips and ensure the straps stay securely in place for the next step.
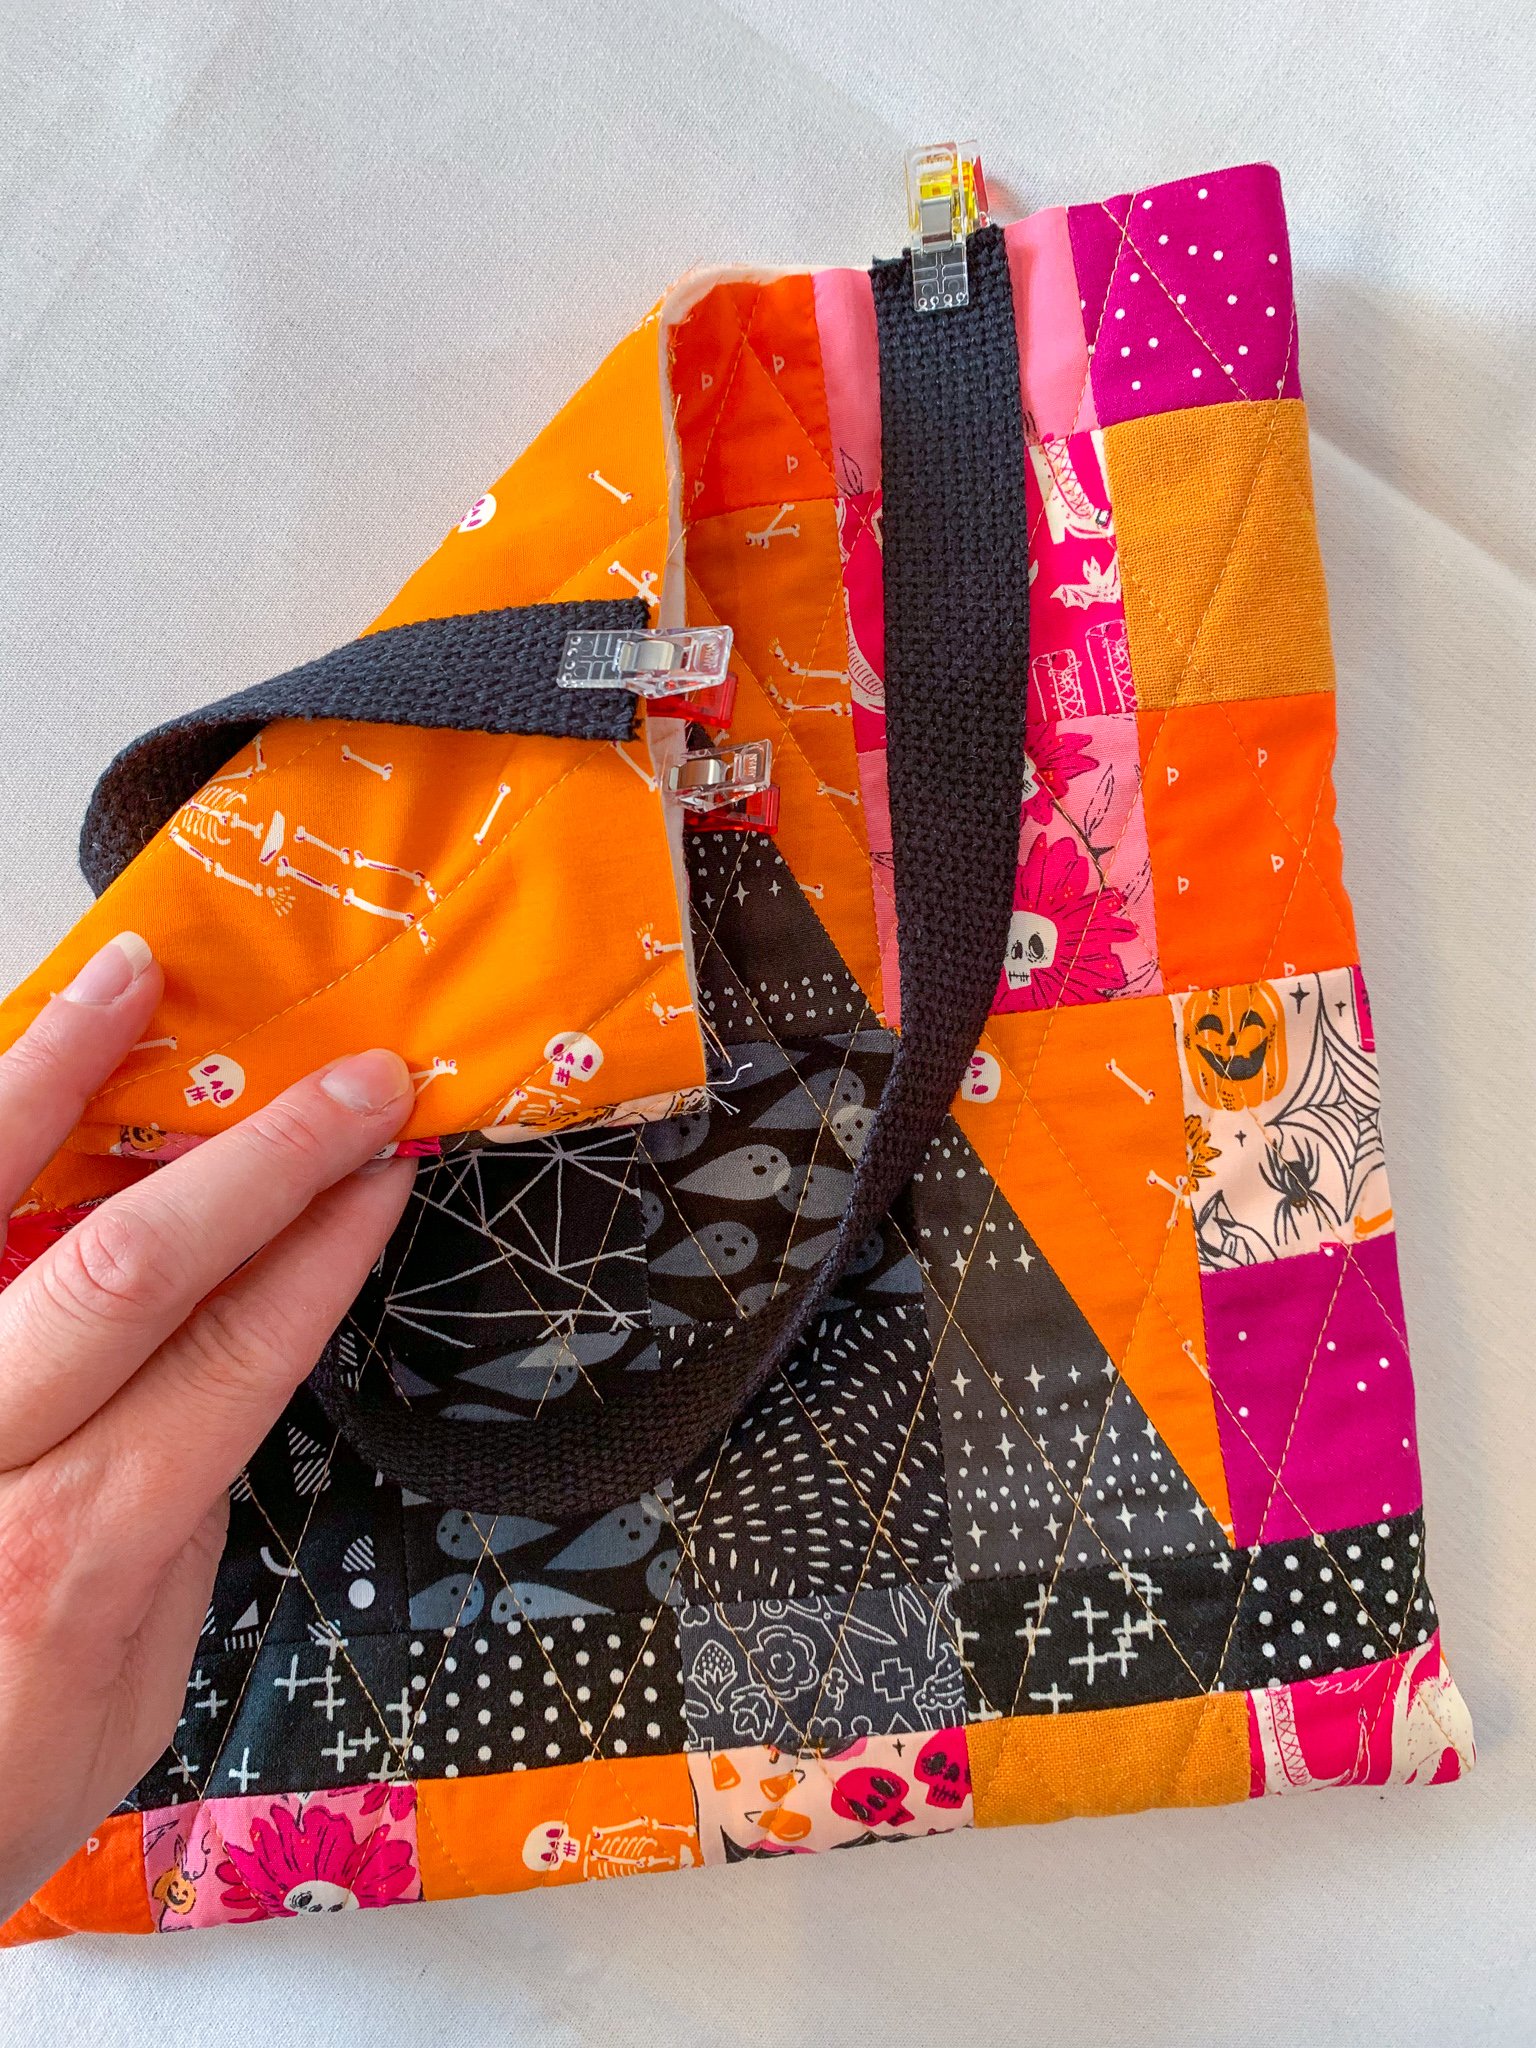
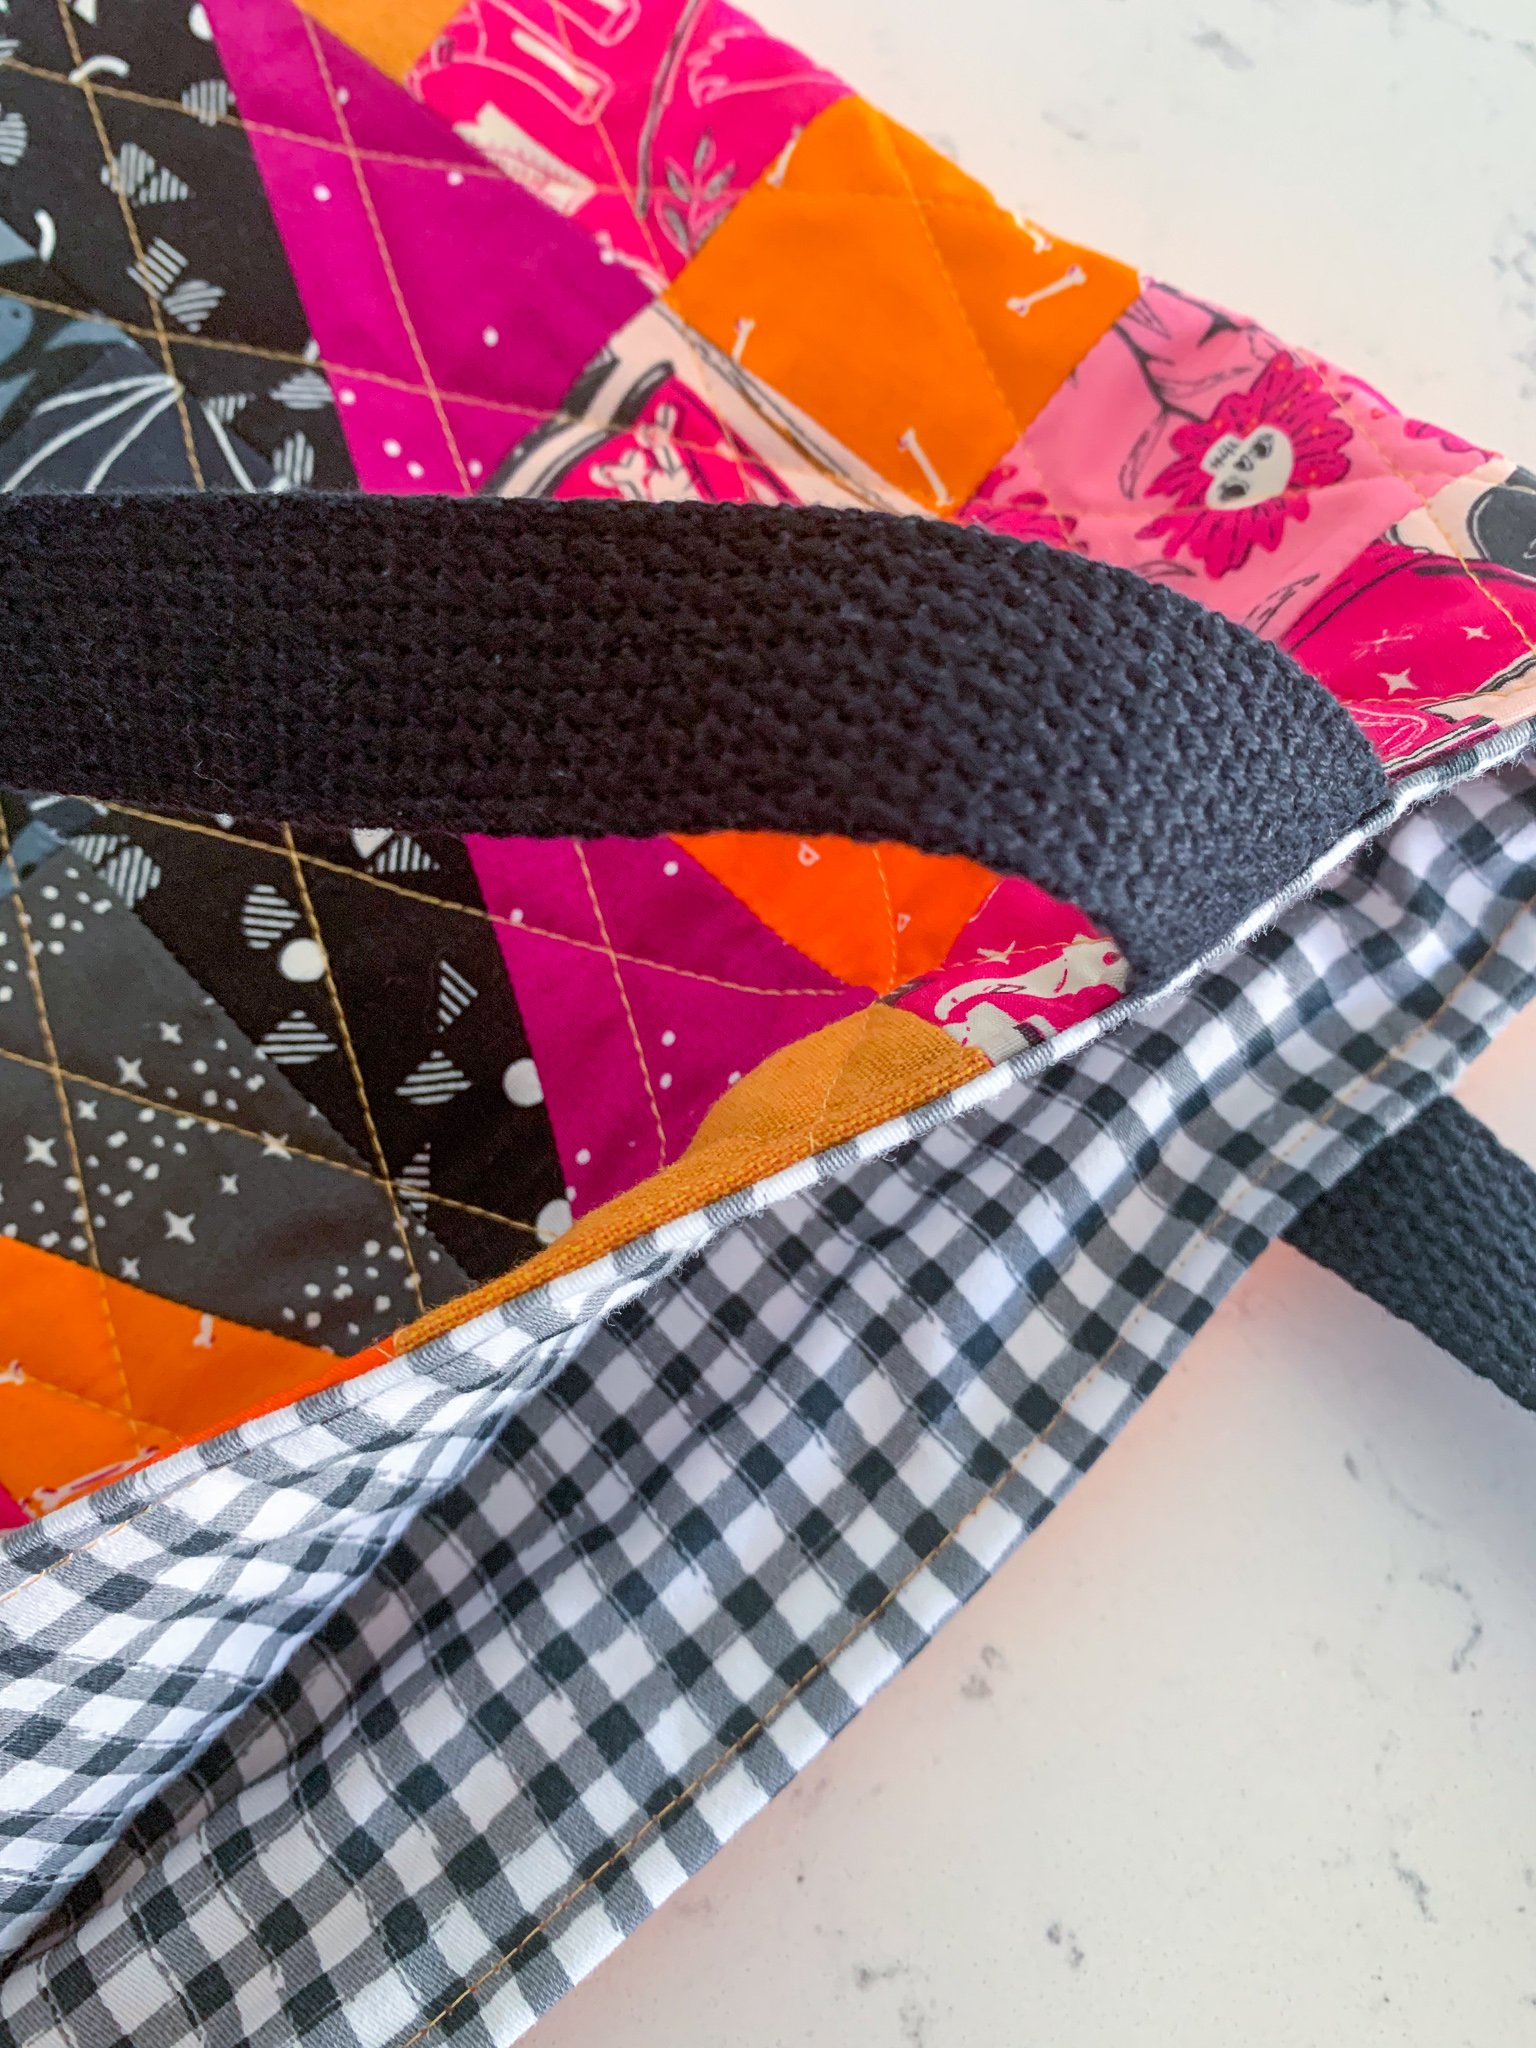
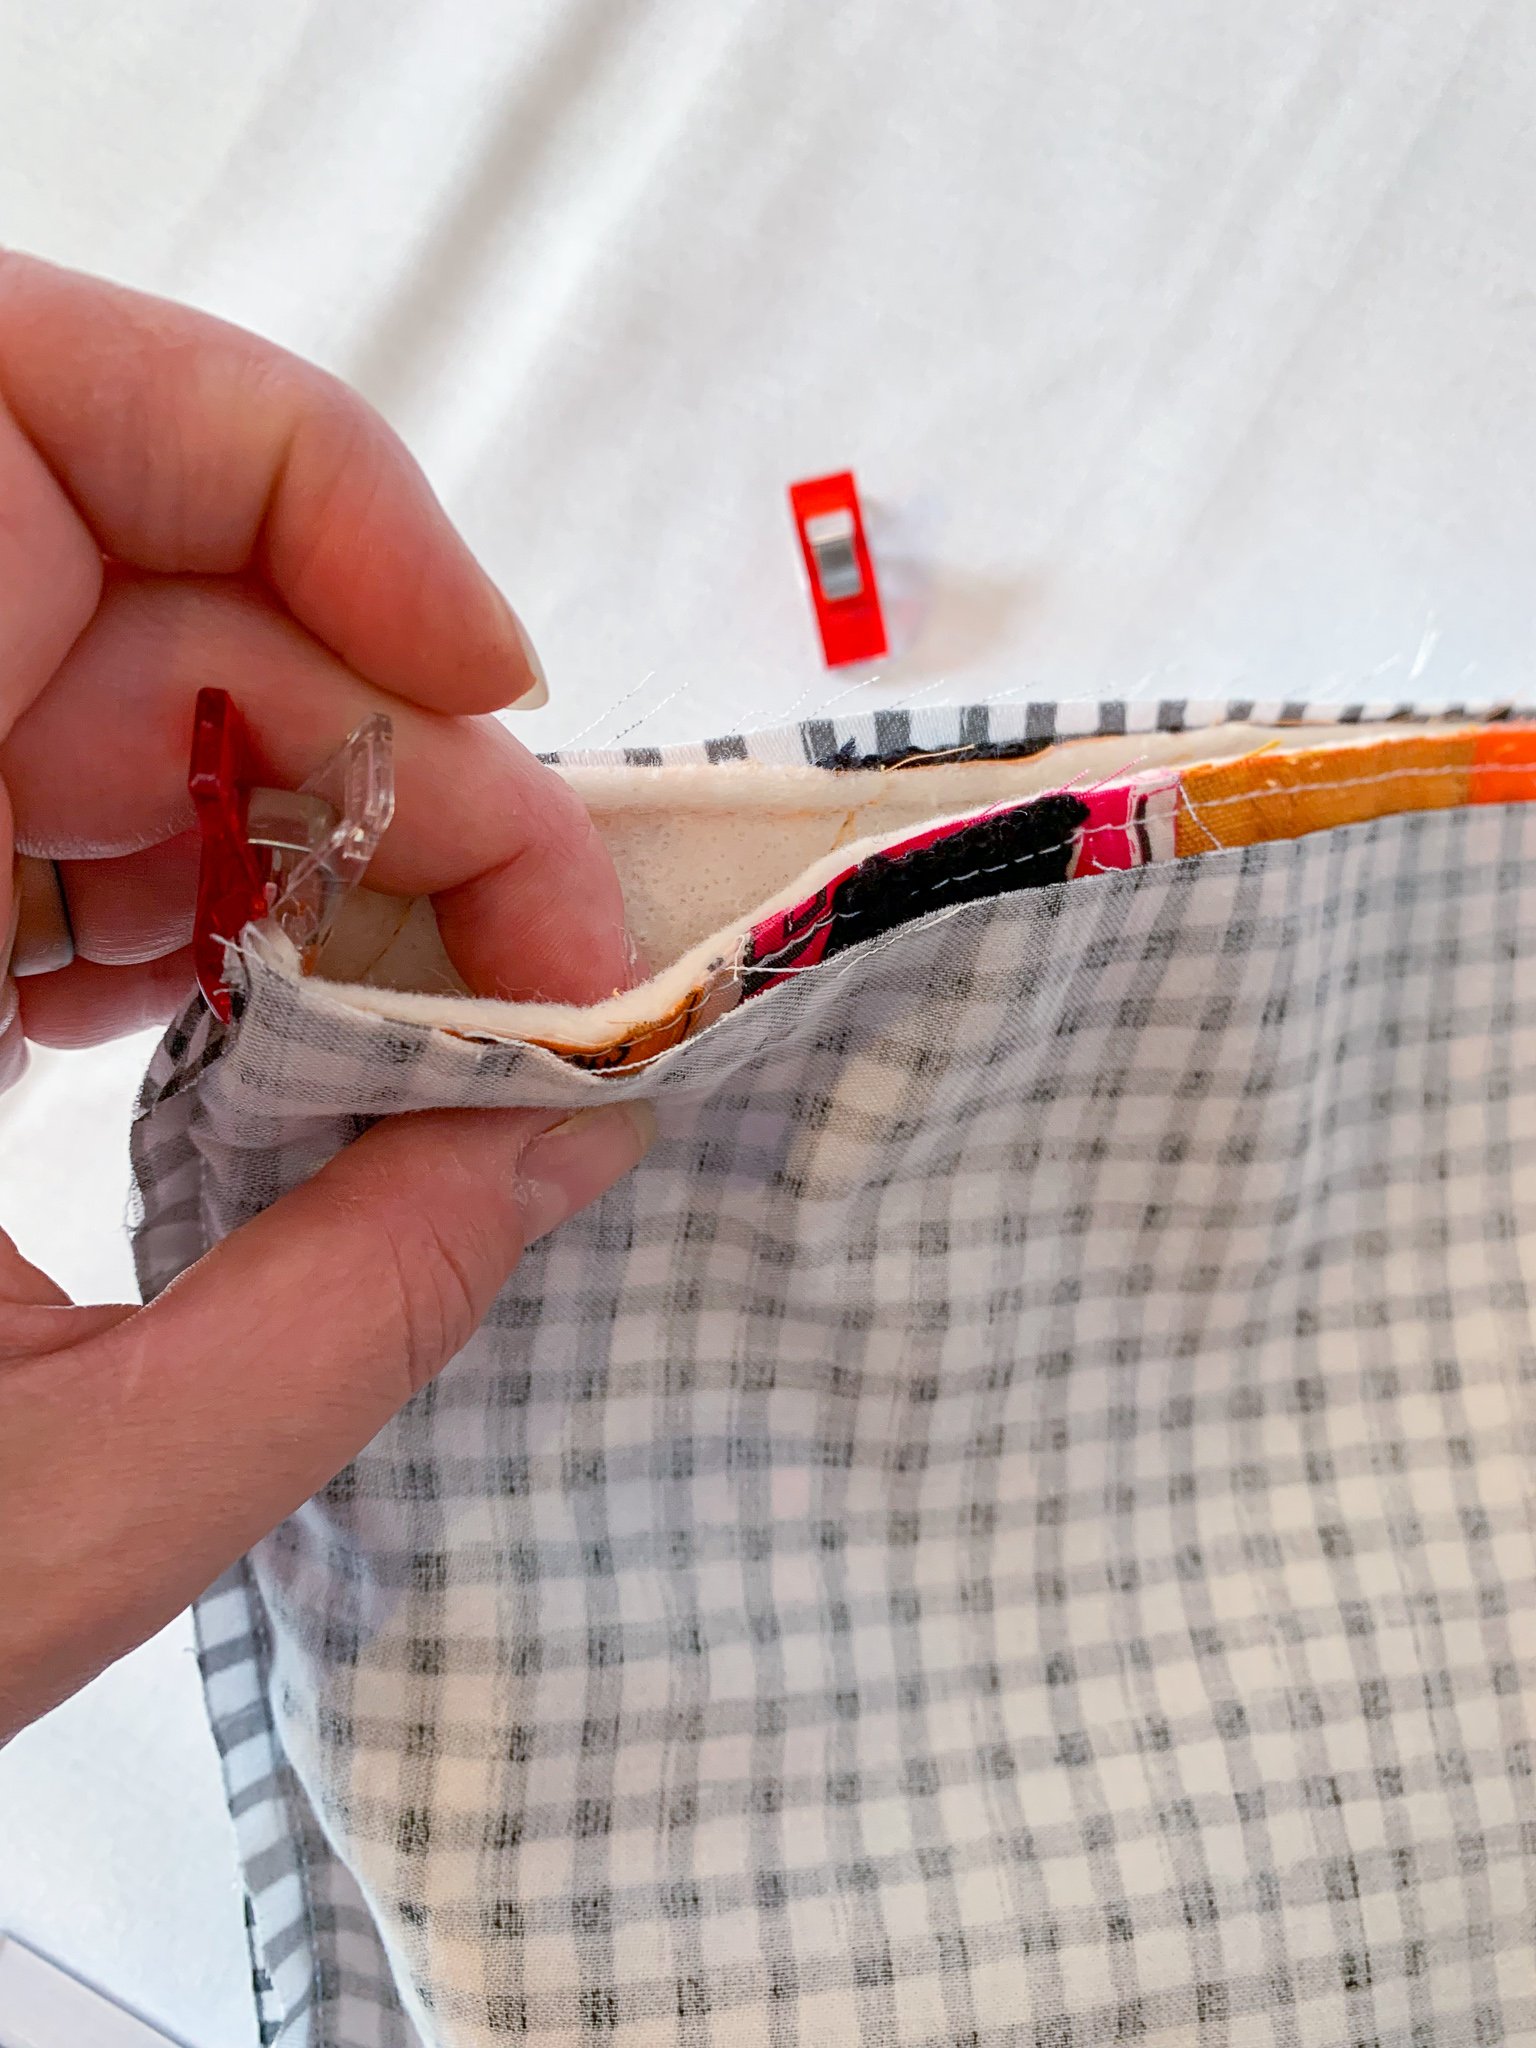
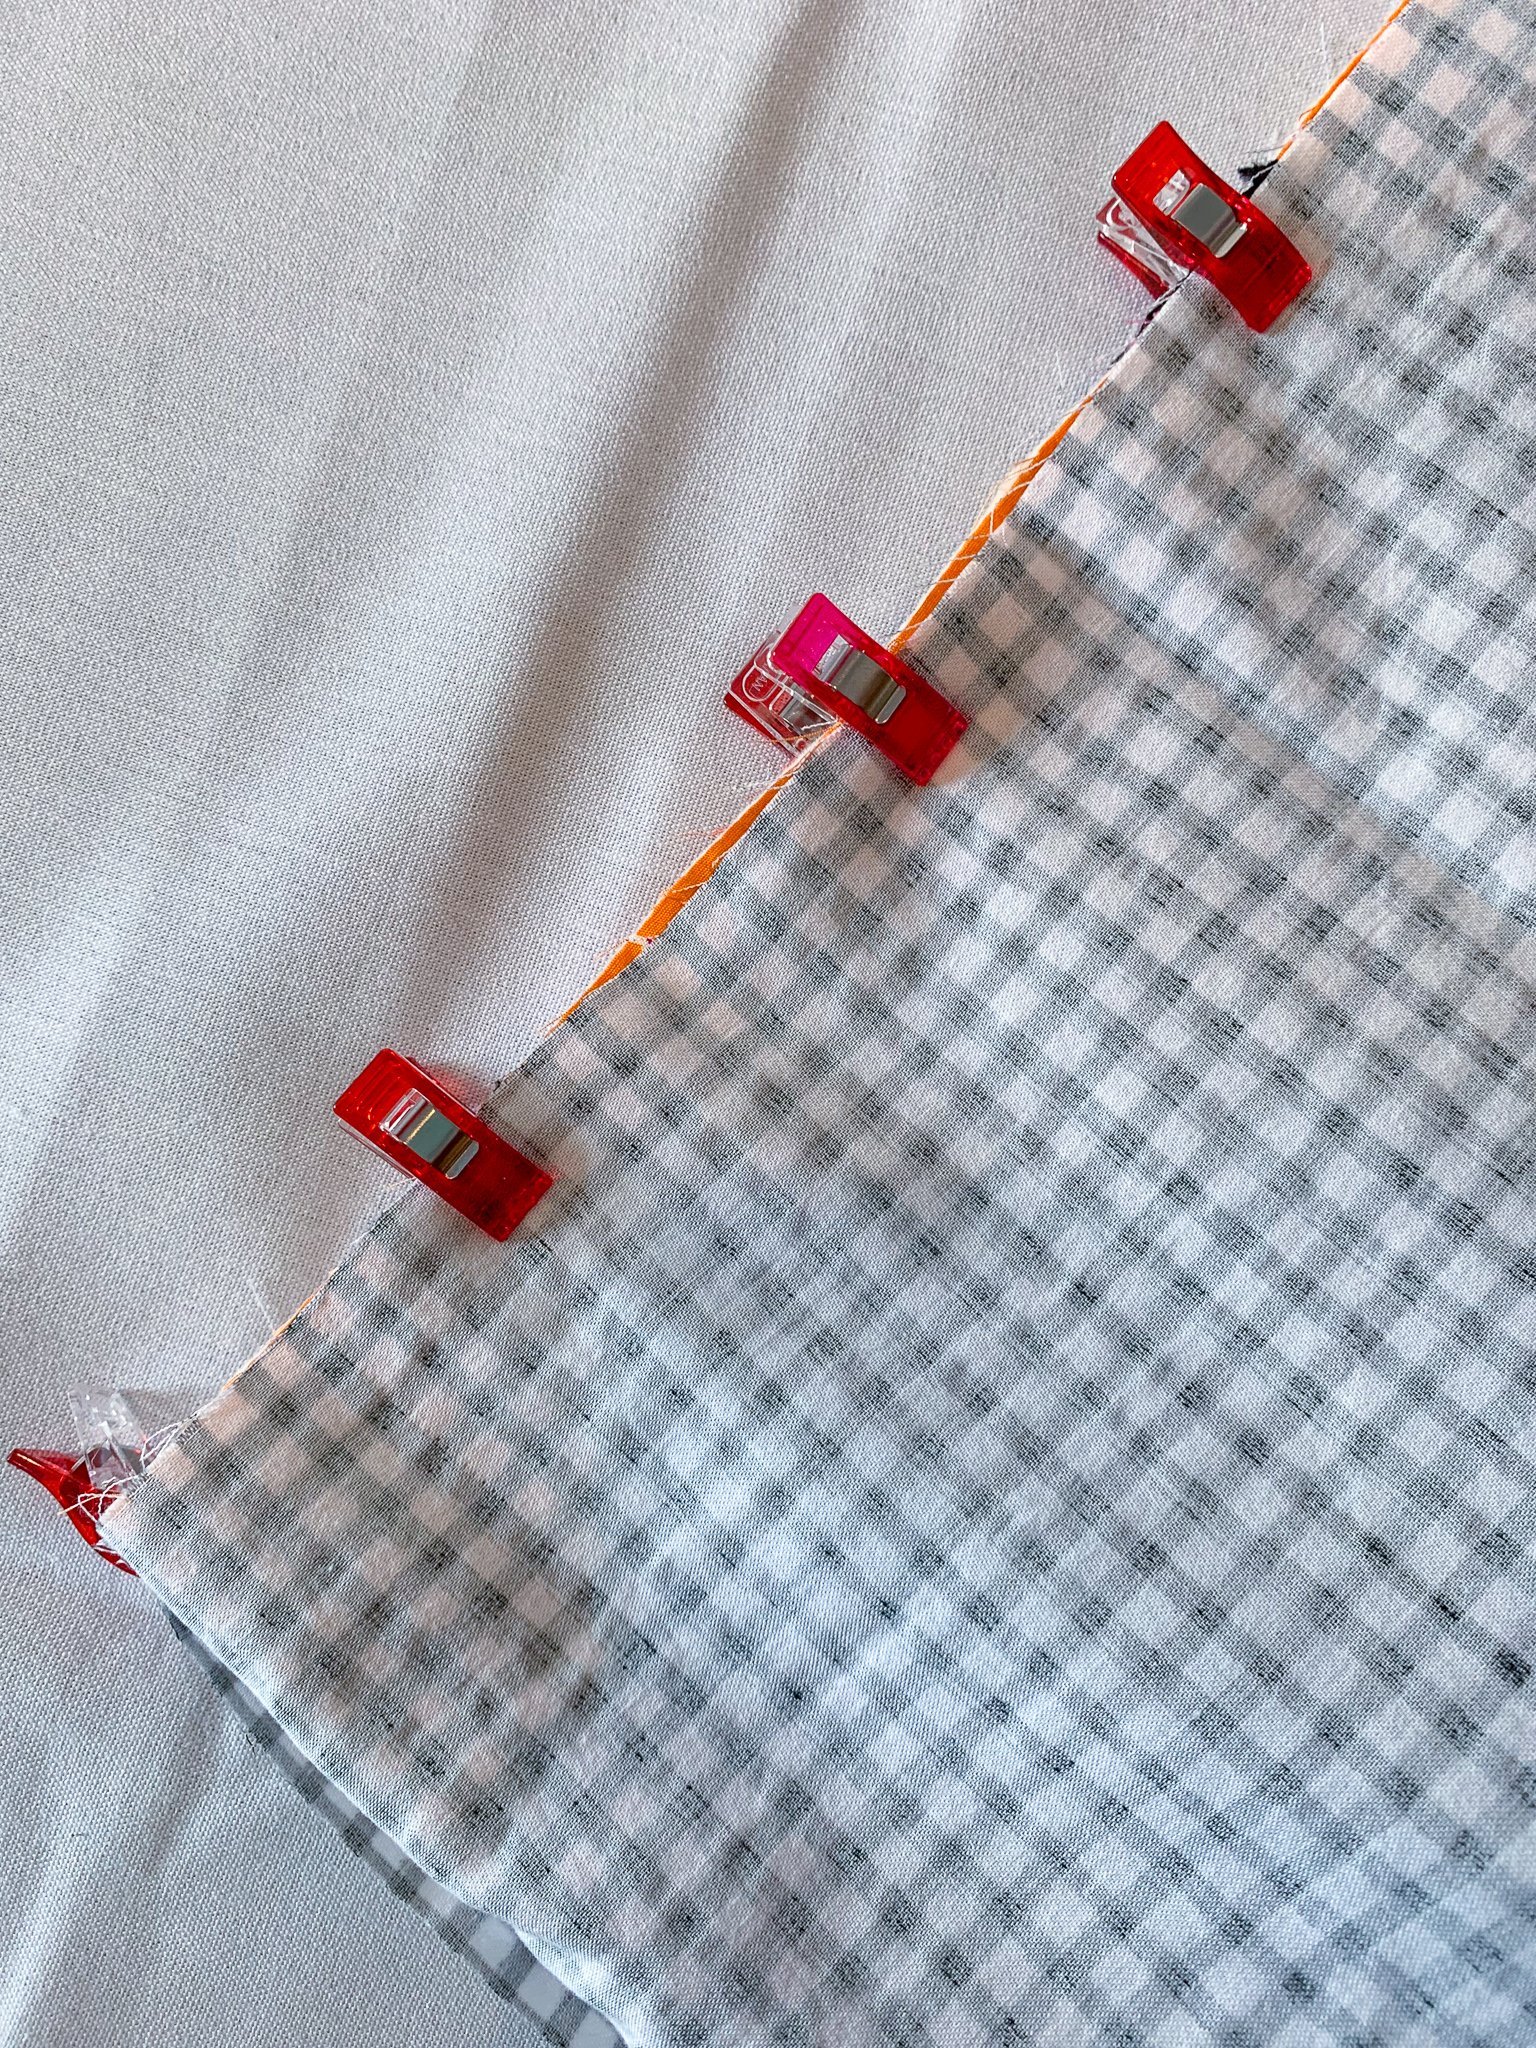
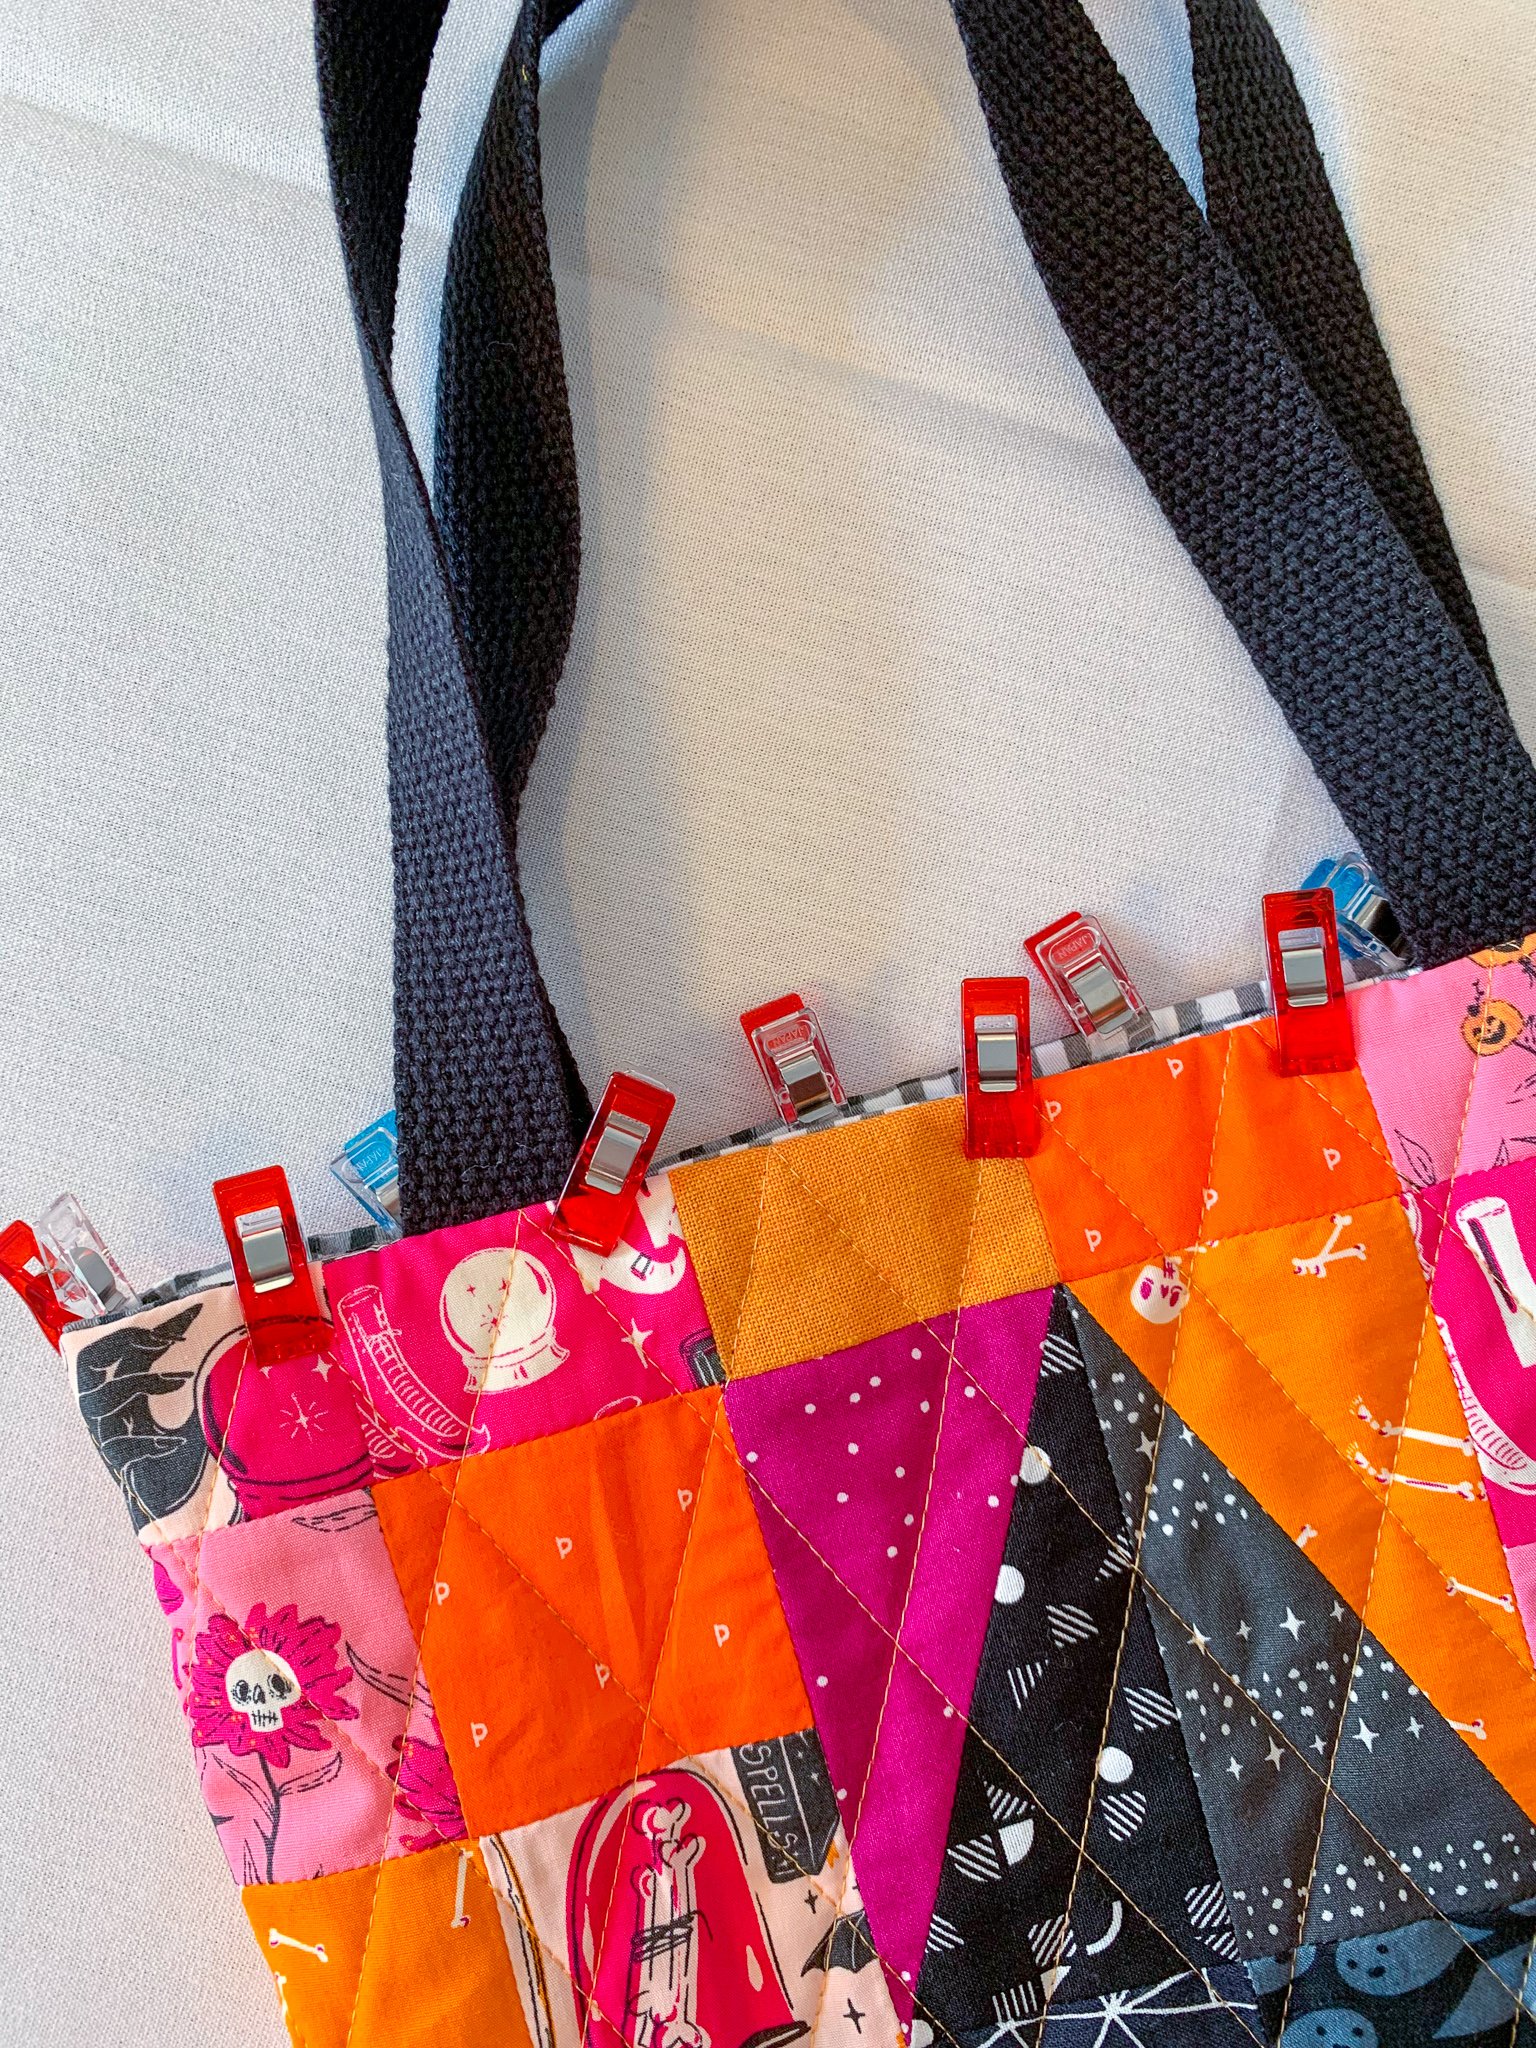
6. Insert the (quilted) exterior unit inside the lining unit so the fabrics are right sides together (the lining unit is still turned inside out). The handles will be sandwiched between the two units. Clip the two units together along the top raw edge using Wonder clips or binding clips.
7. Sew the units together along the top edge.
8. Turn the bag right side out through the opening in the lining. Use a point turner or similar tool to push out the corners of each unit.
9. Press the opening in the lining flat, tucking in the fabric at the opening. Edgestitch the opening closed.
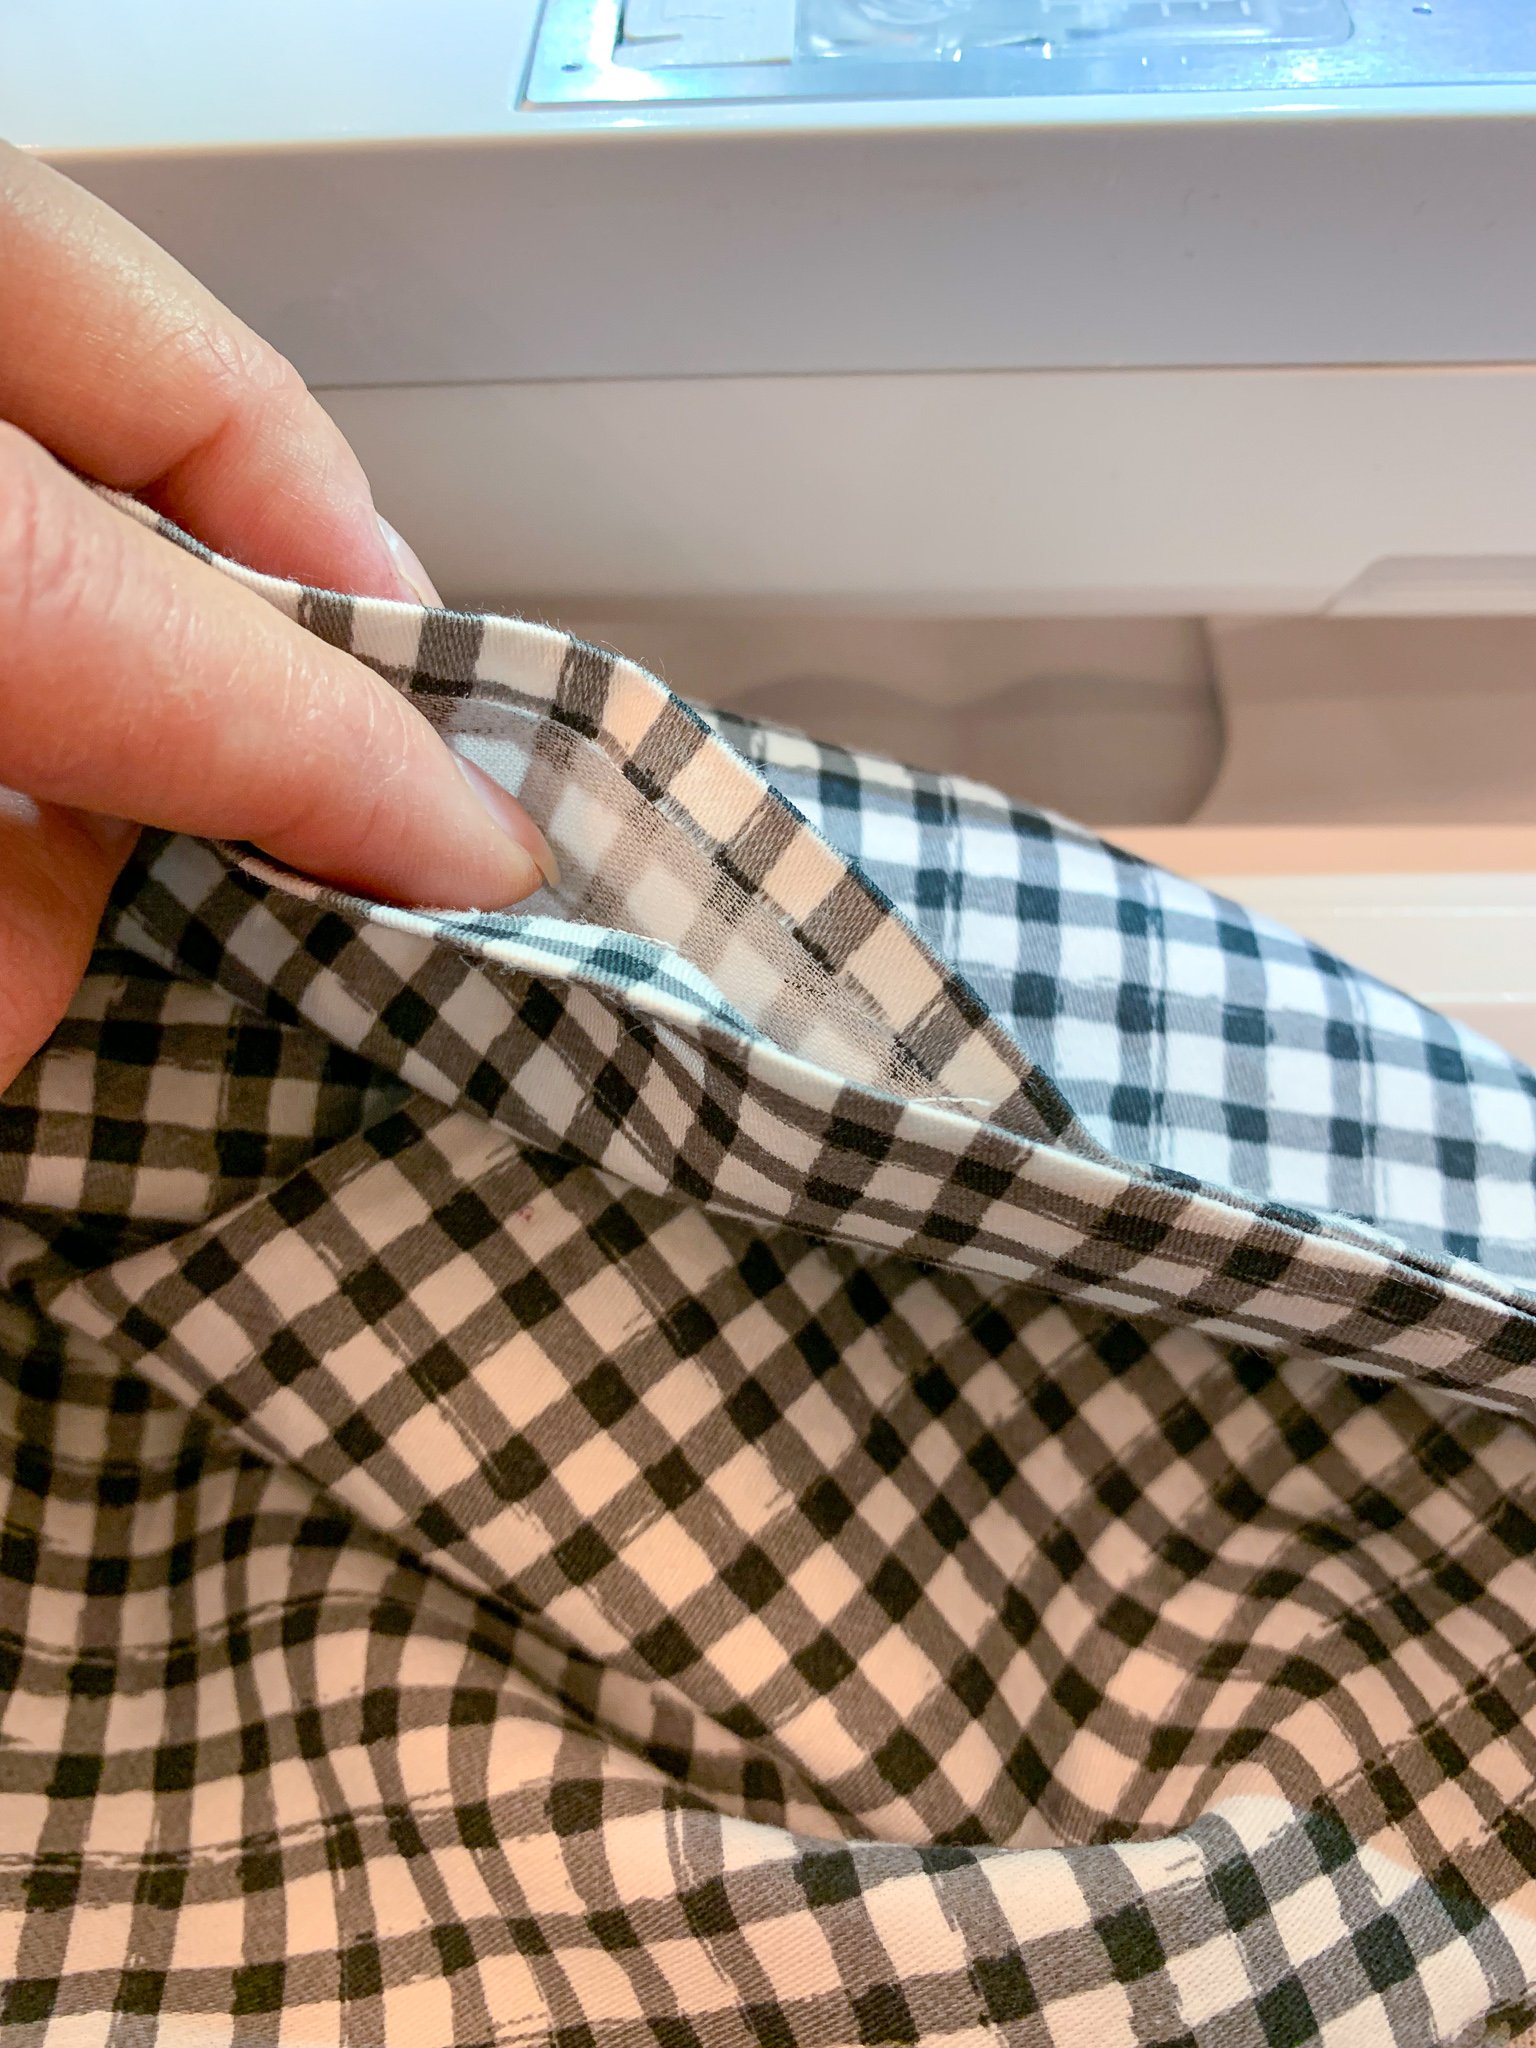
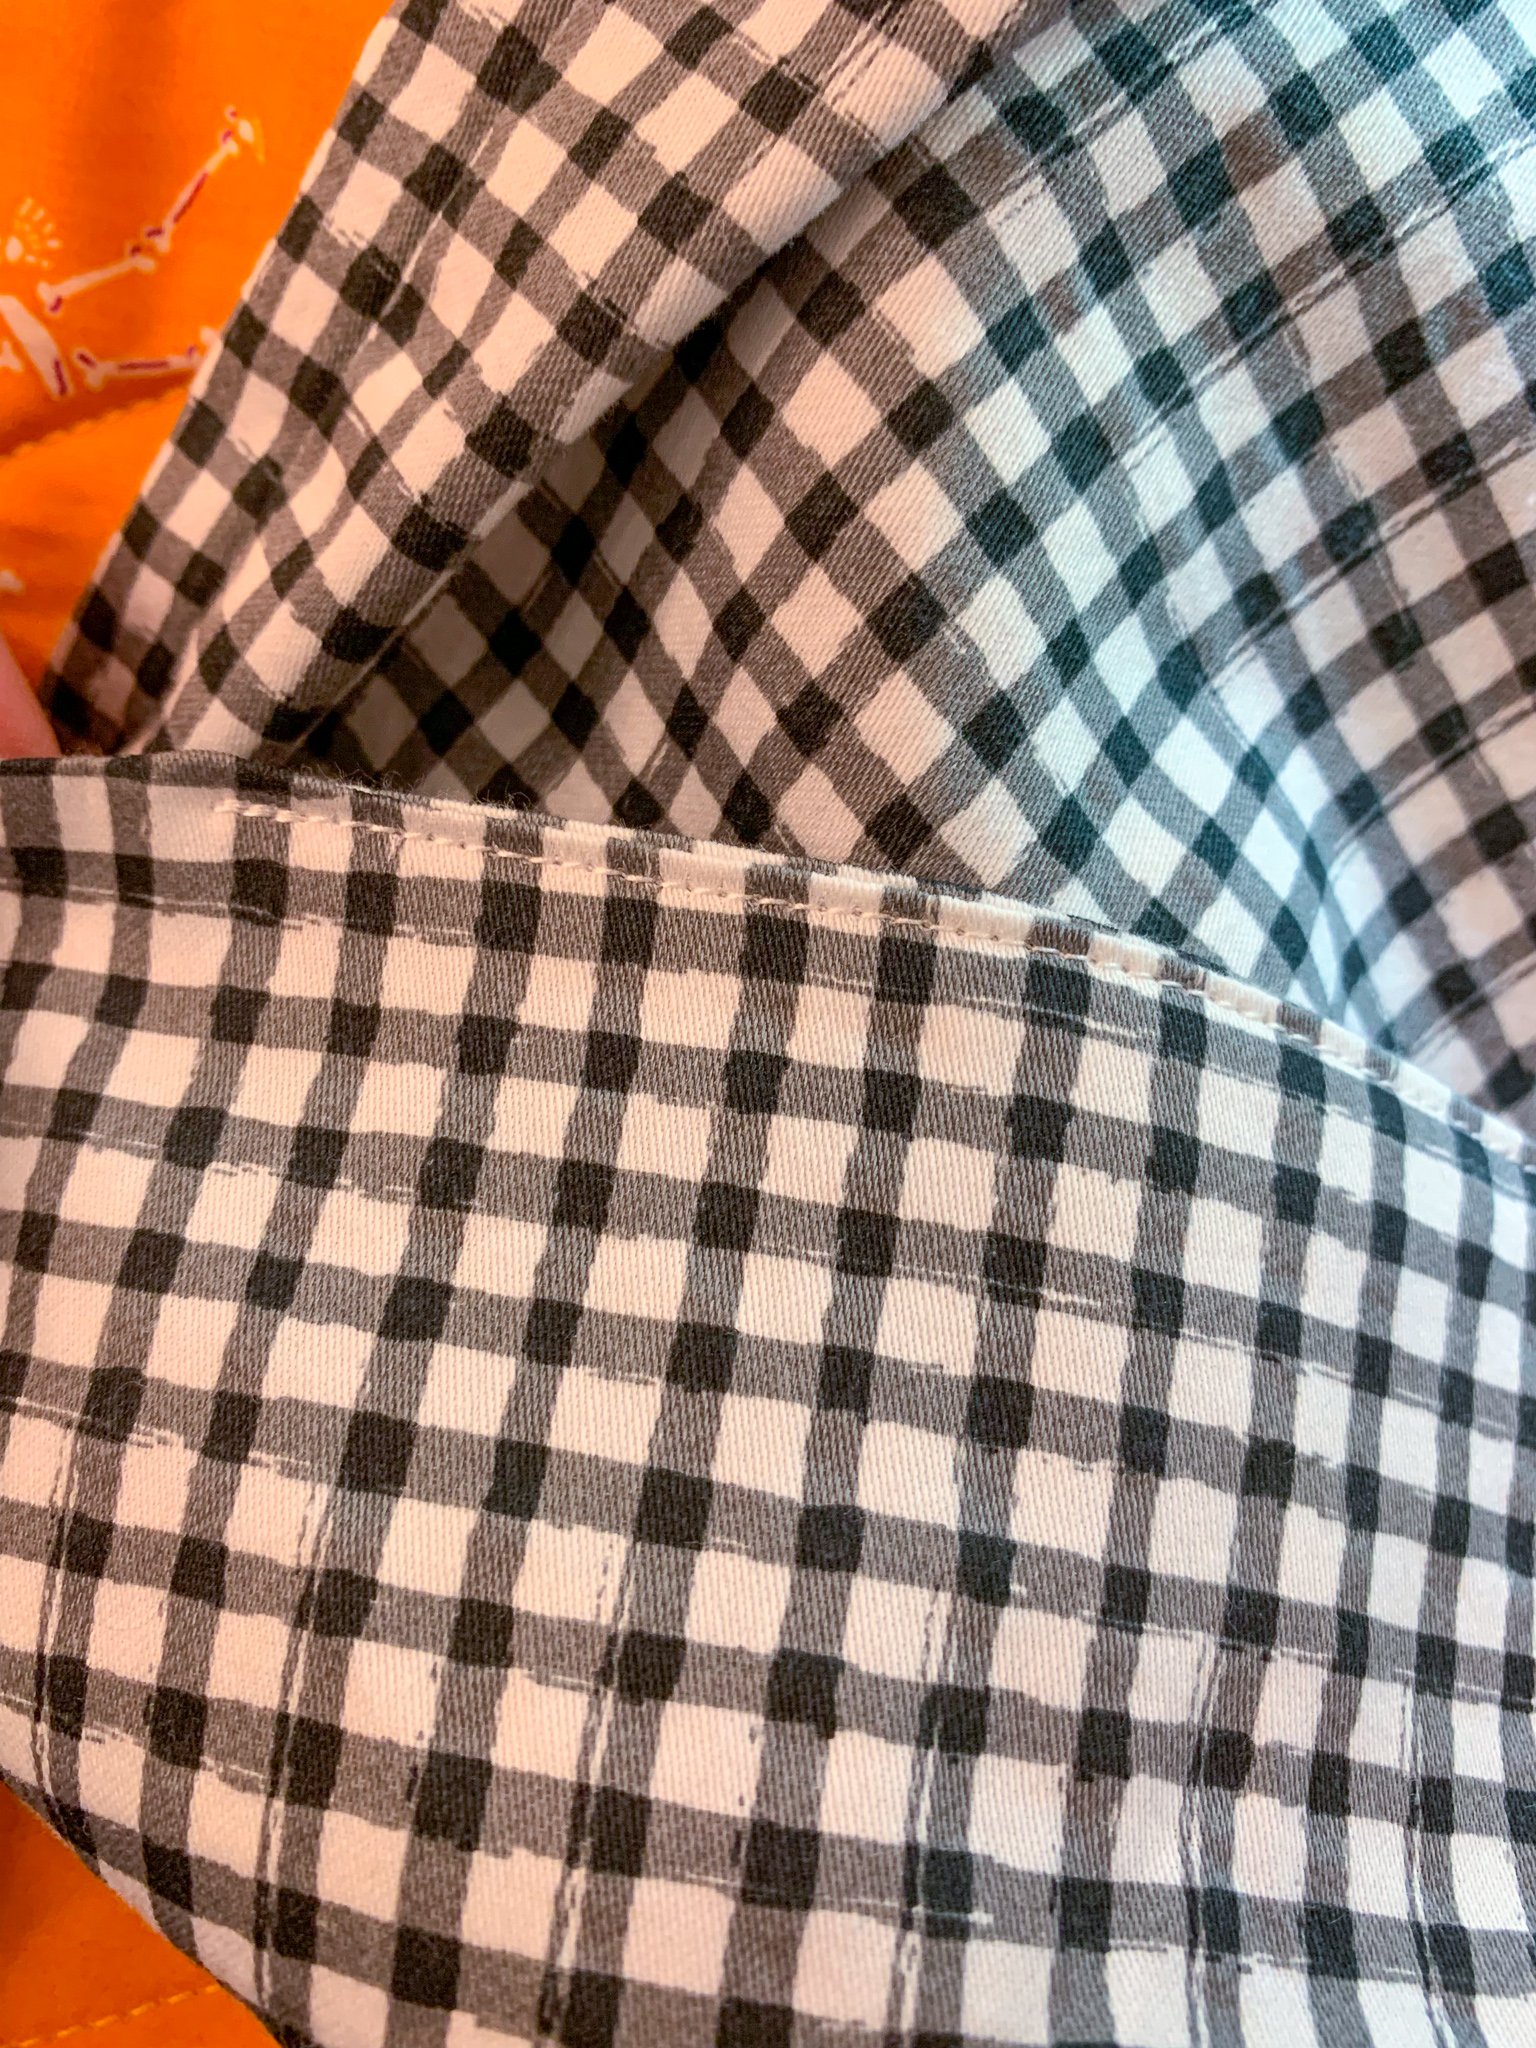
10. Push the lining inside the exterior unit, finessing the two units until the seam runs neatly along the top edge of the tote. Clip along the top edge to keep the straps down and the lining in place, then topstitch around the entire tote 1⁄8” from the edge. Press.

11. Hand the tote to a little one and send them on their way to fill it with goodies! And don’t forget to share your finished tote via social media using #OneScrappyWitchTote!