Mini Foldover Baskets (Tutorial)
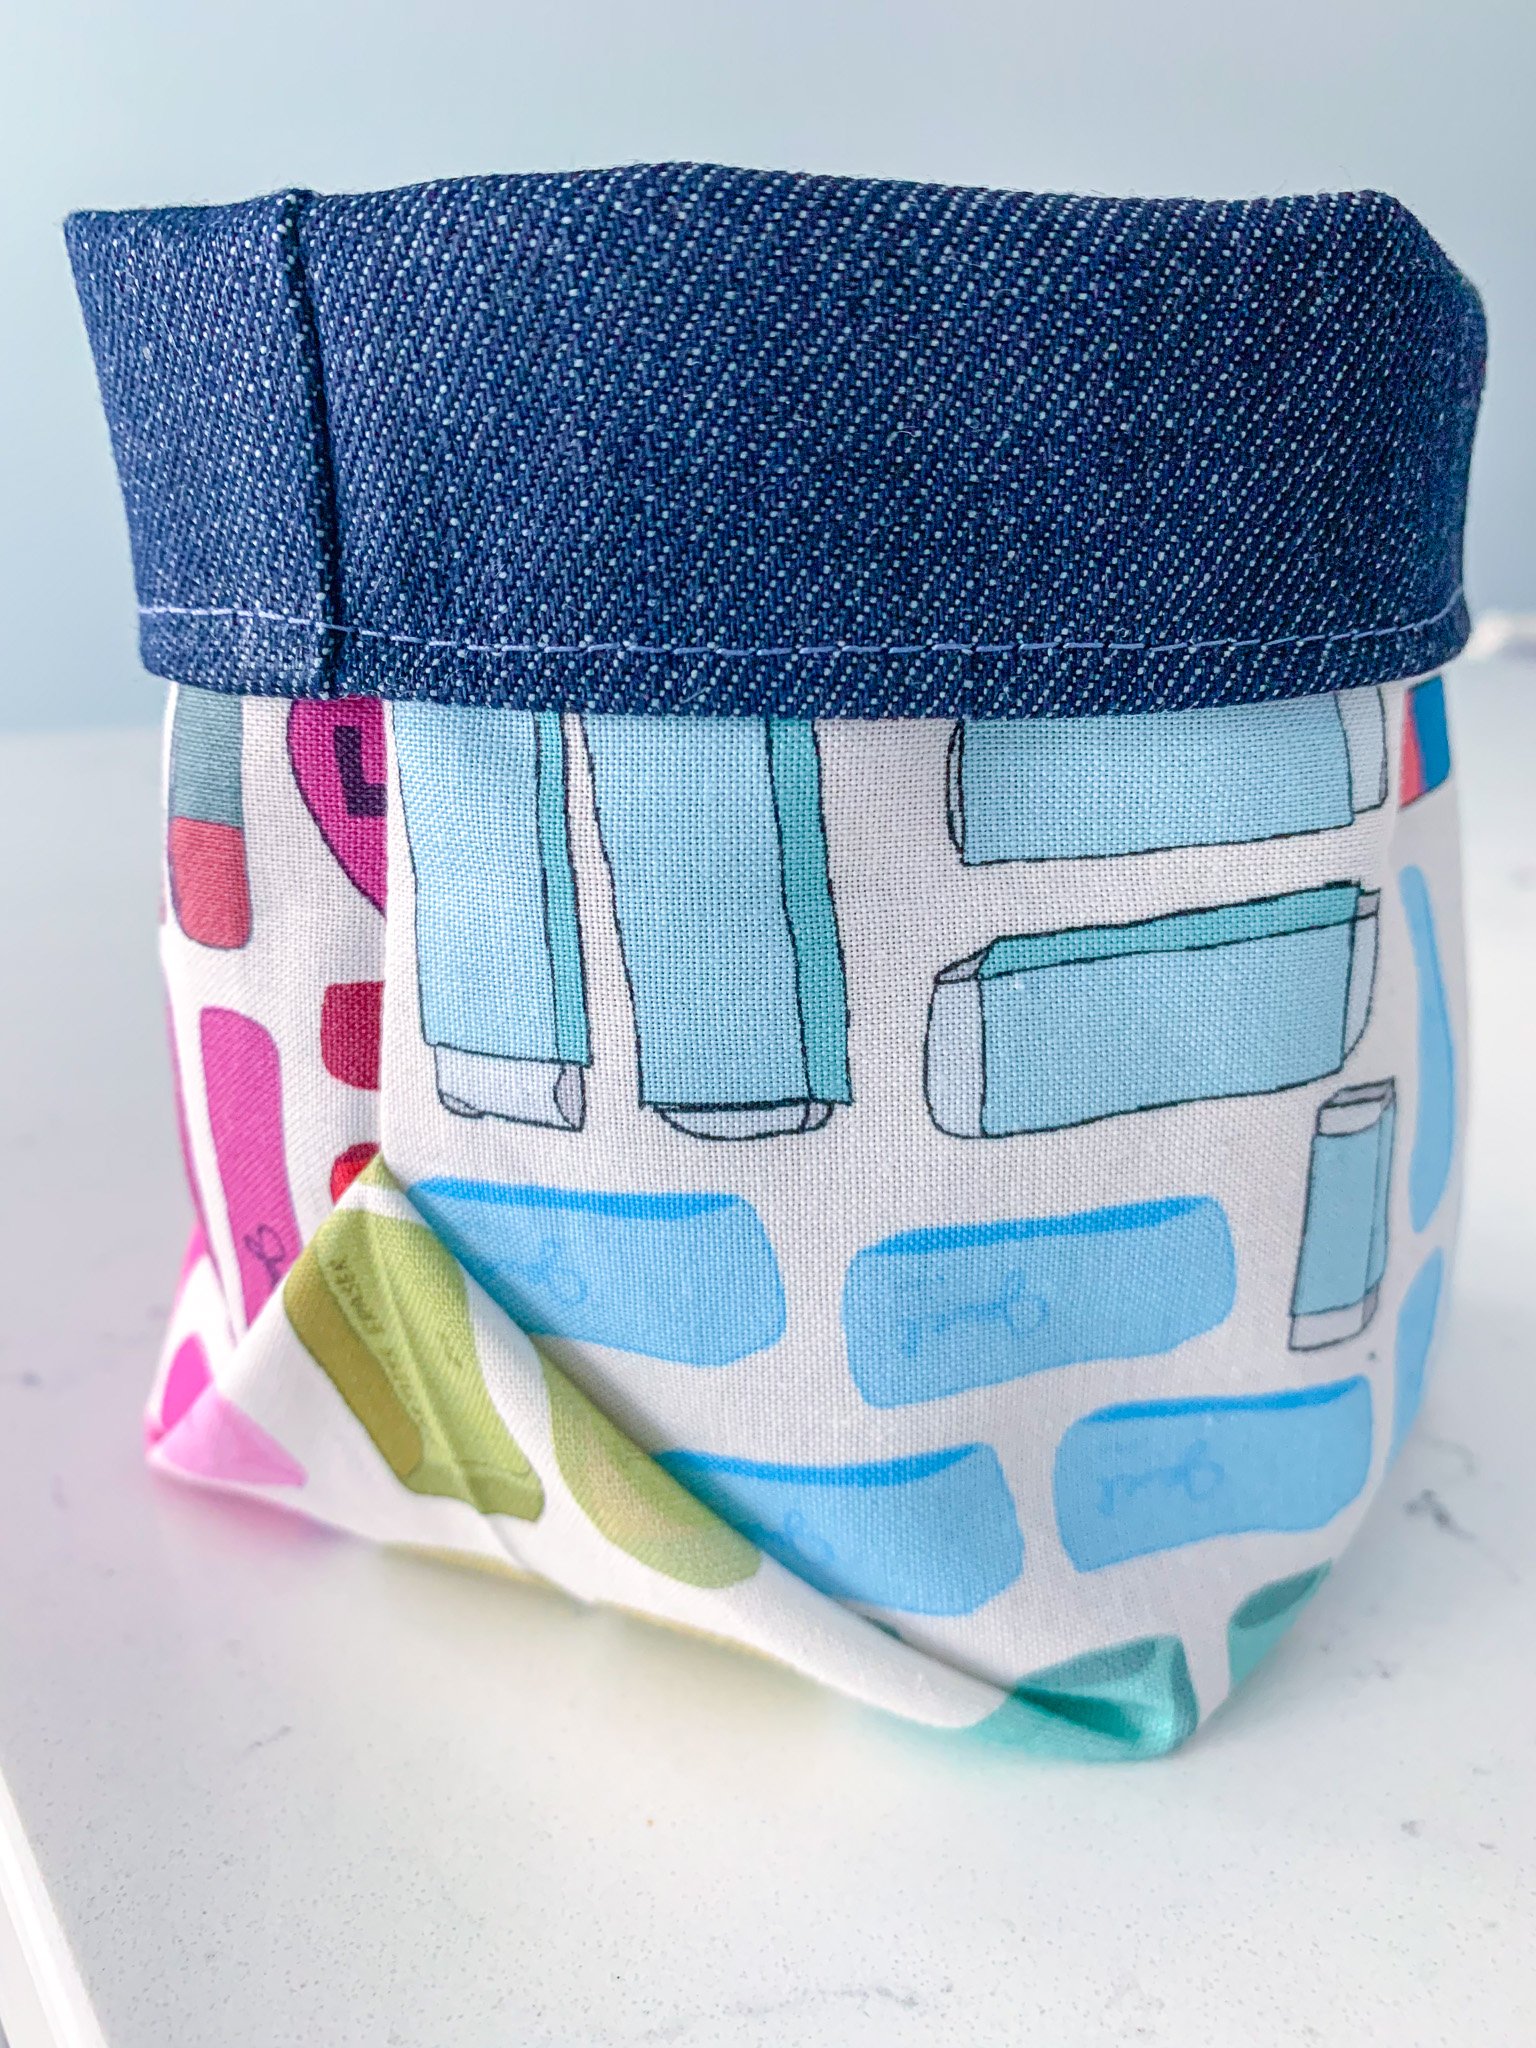
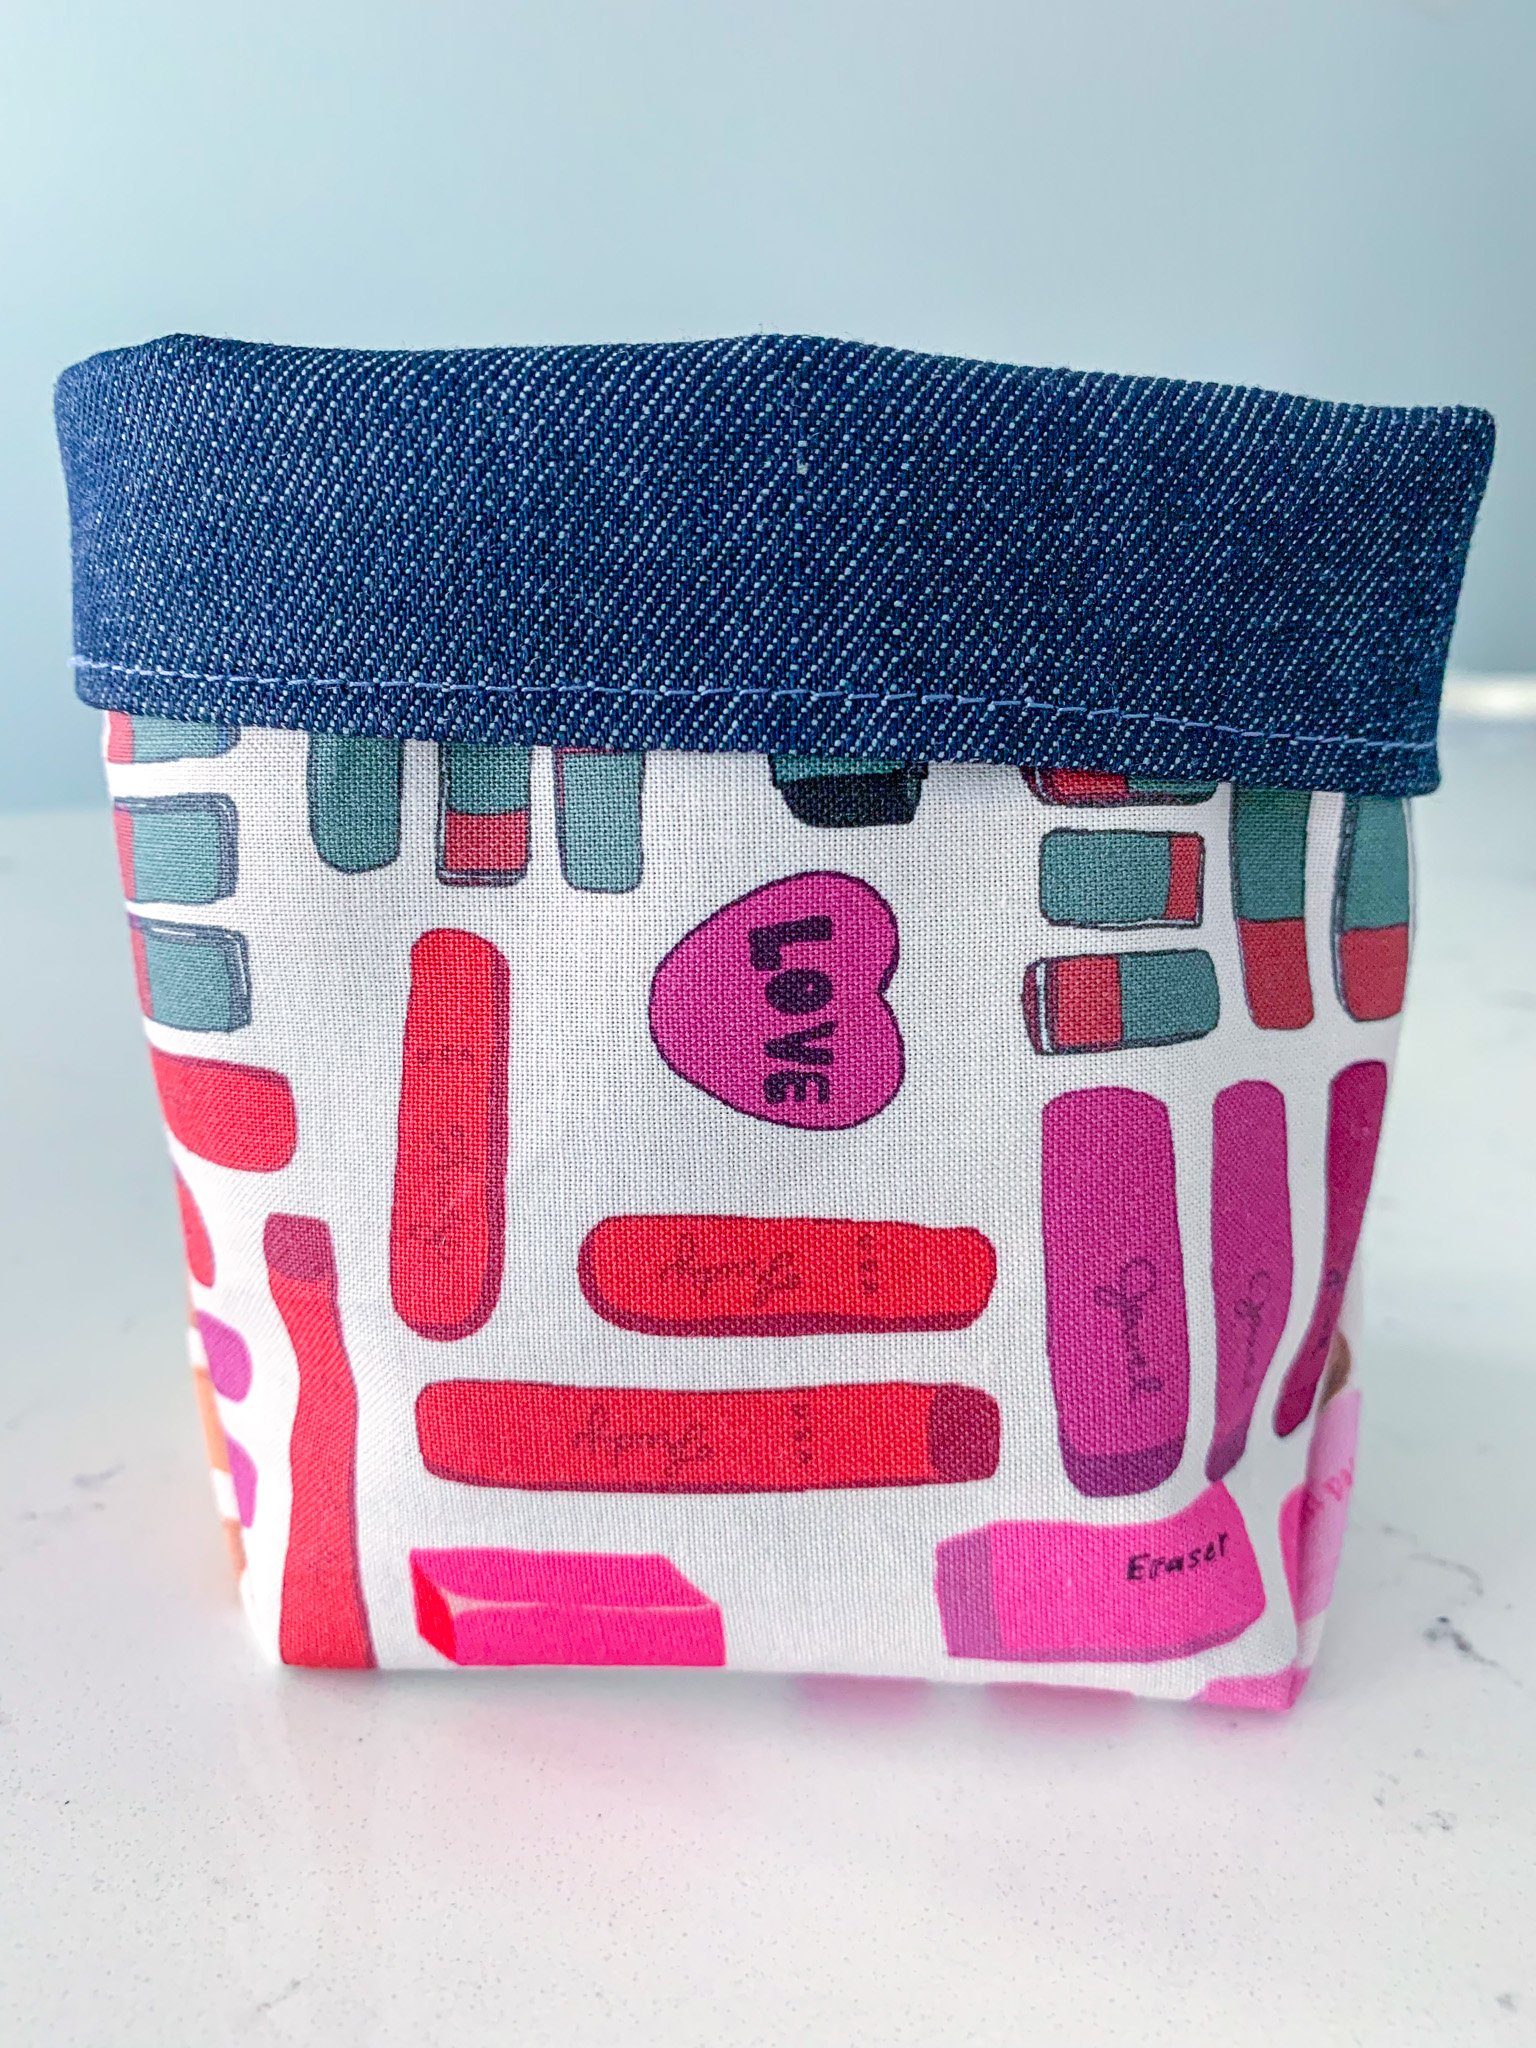
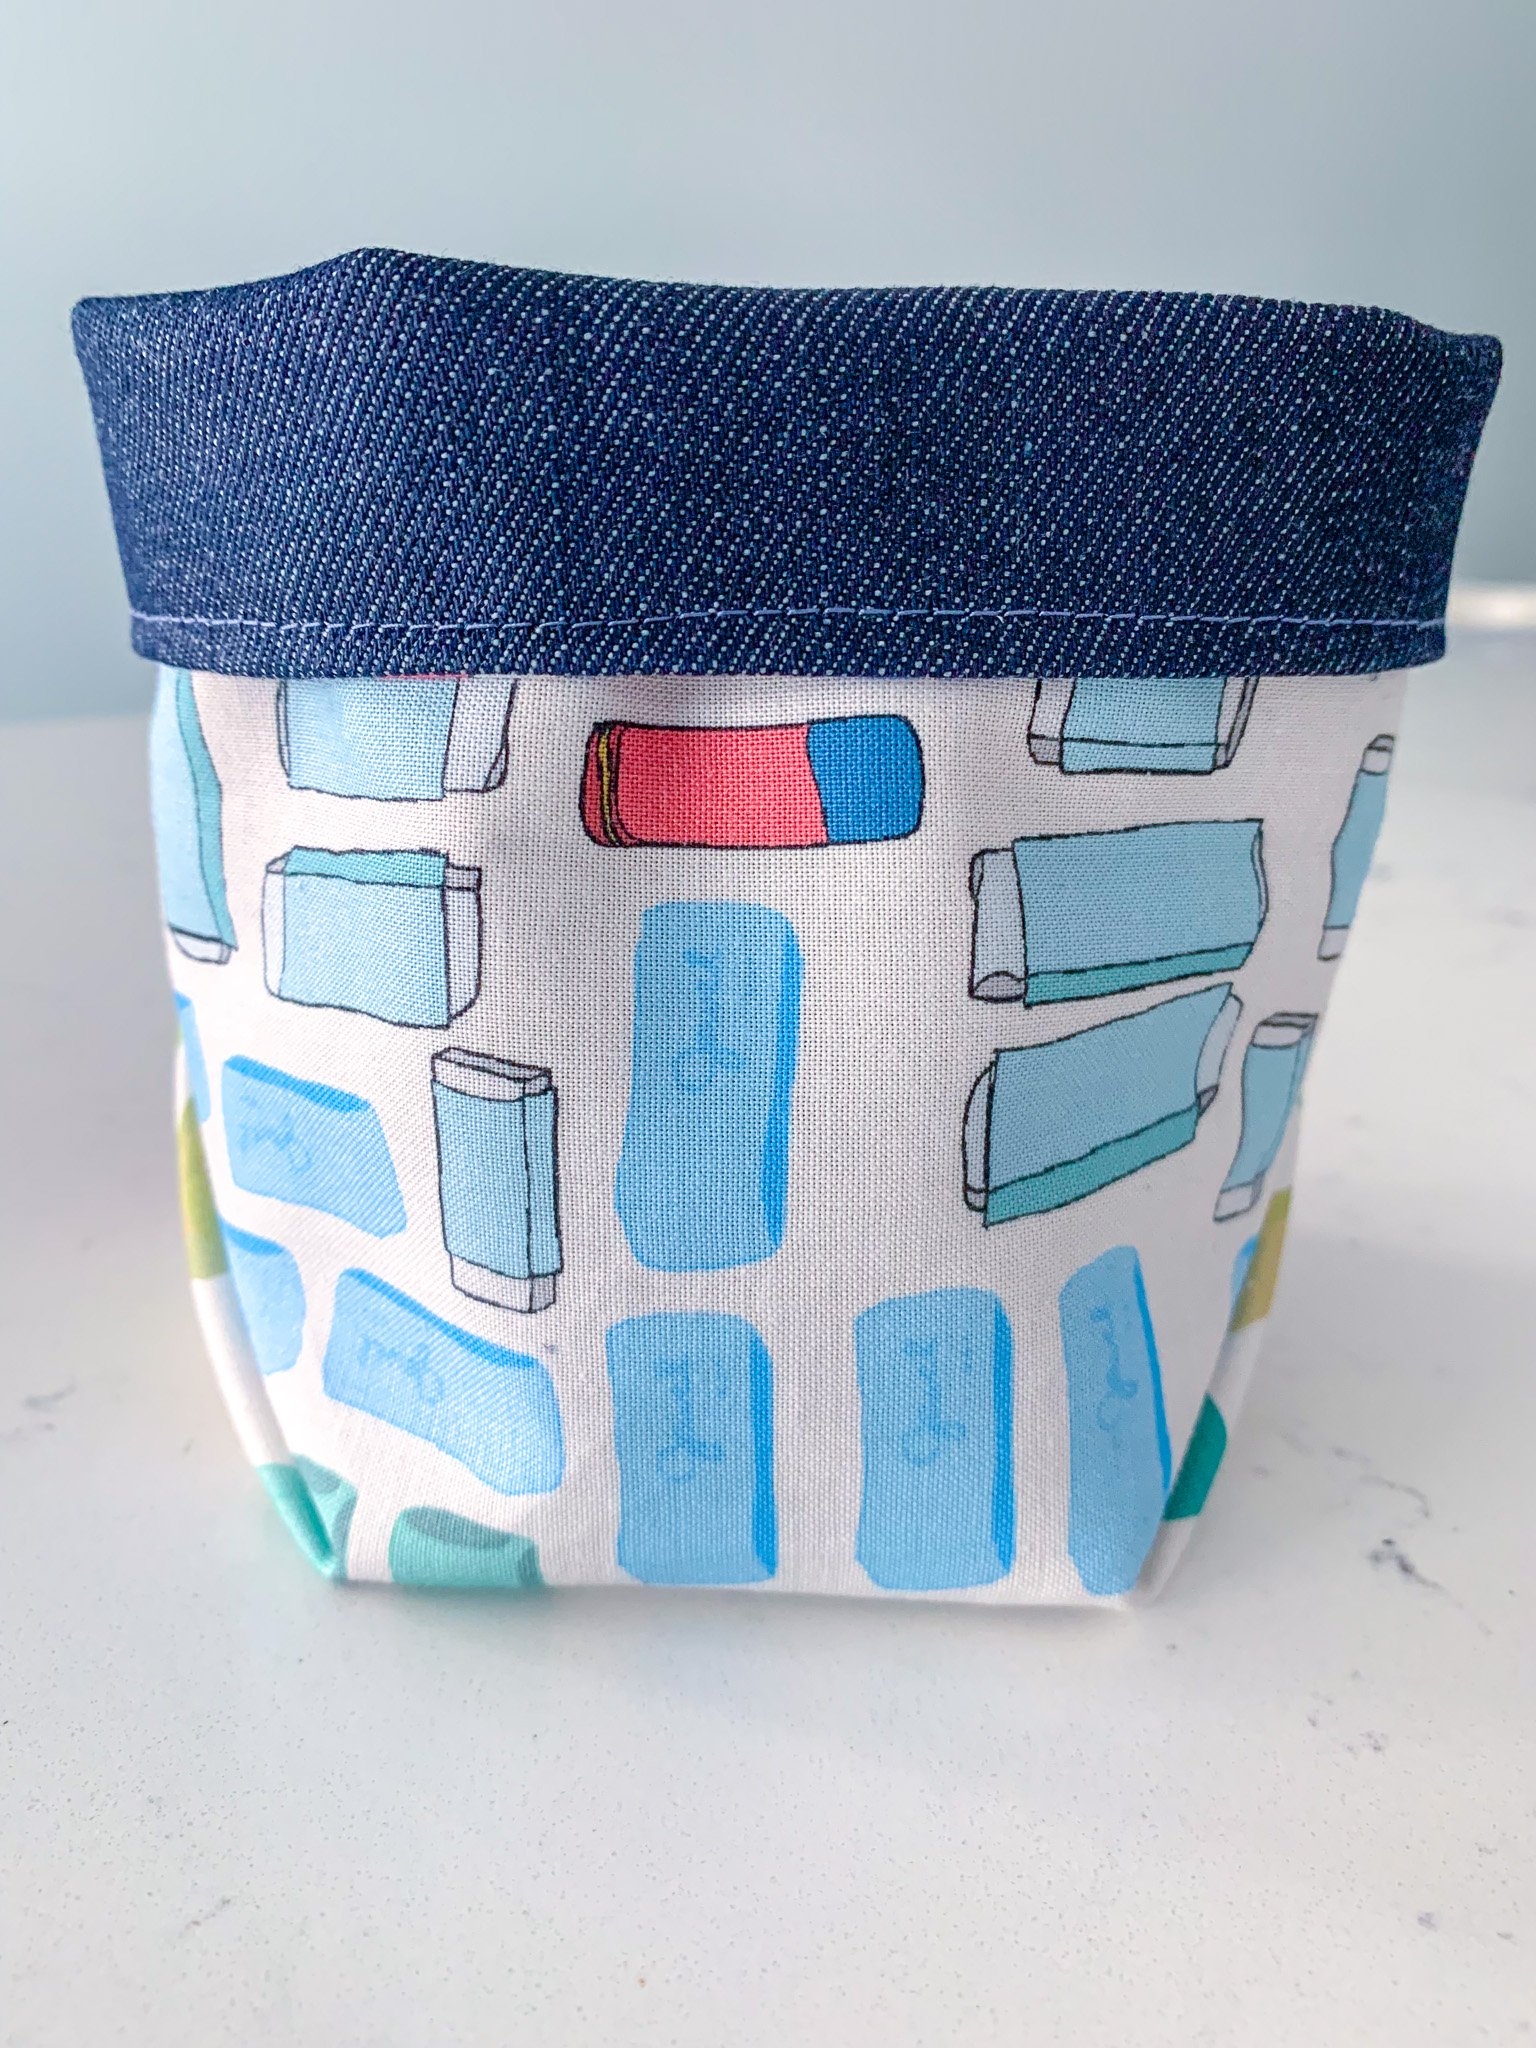
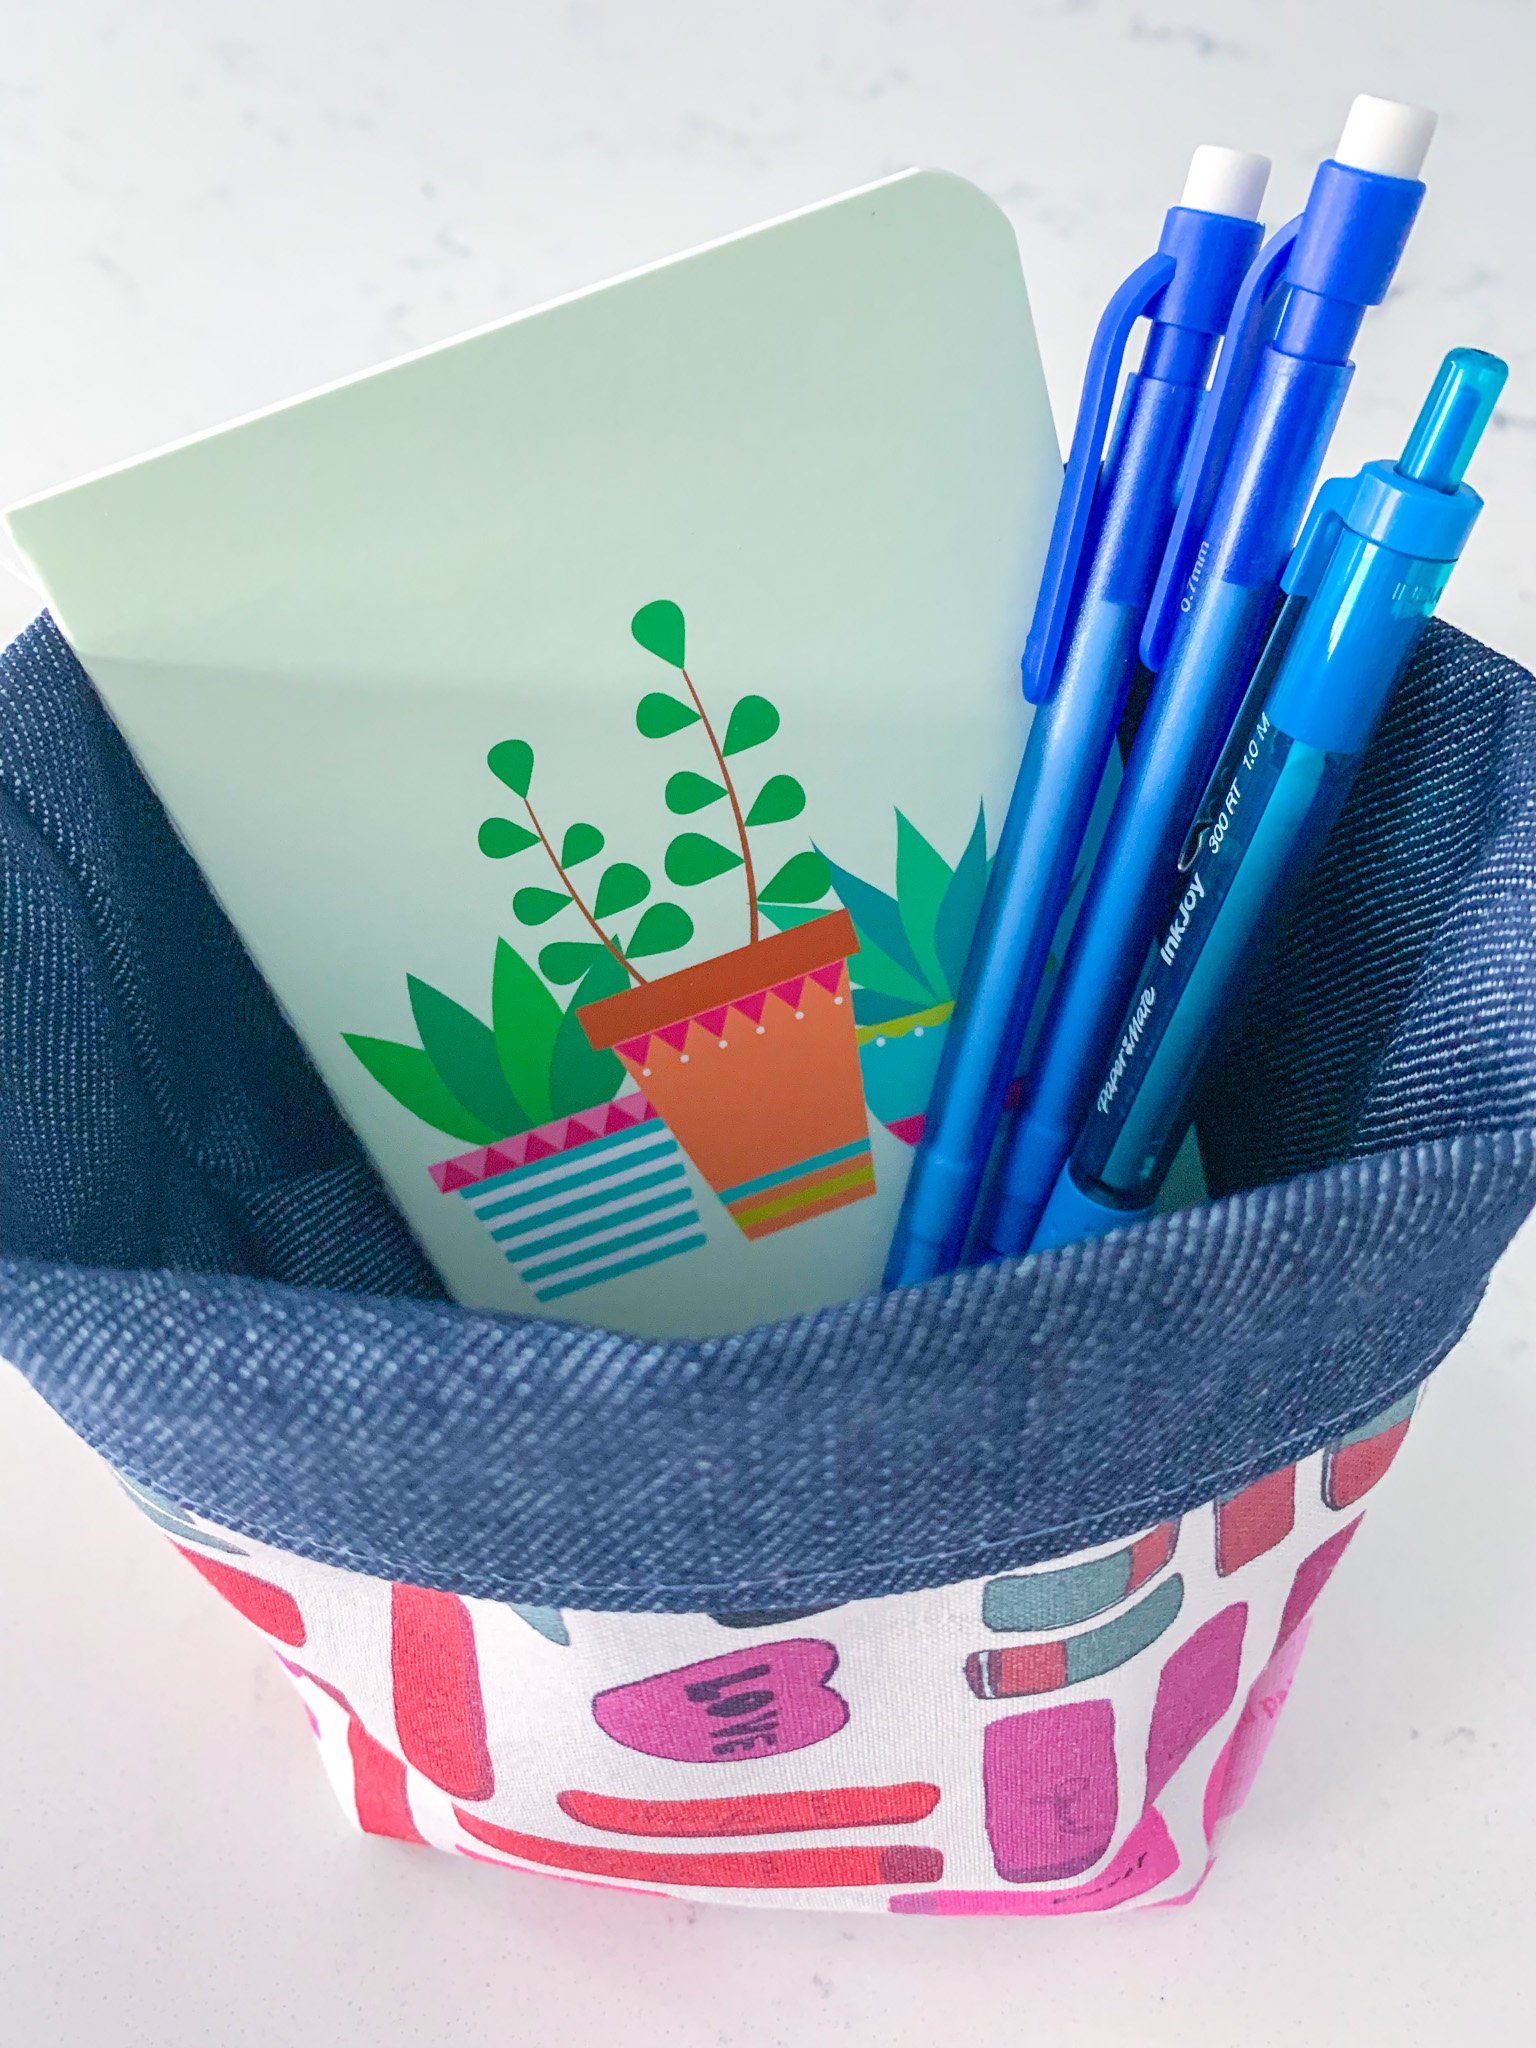
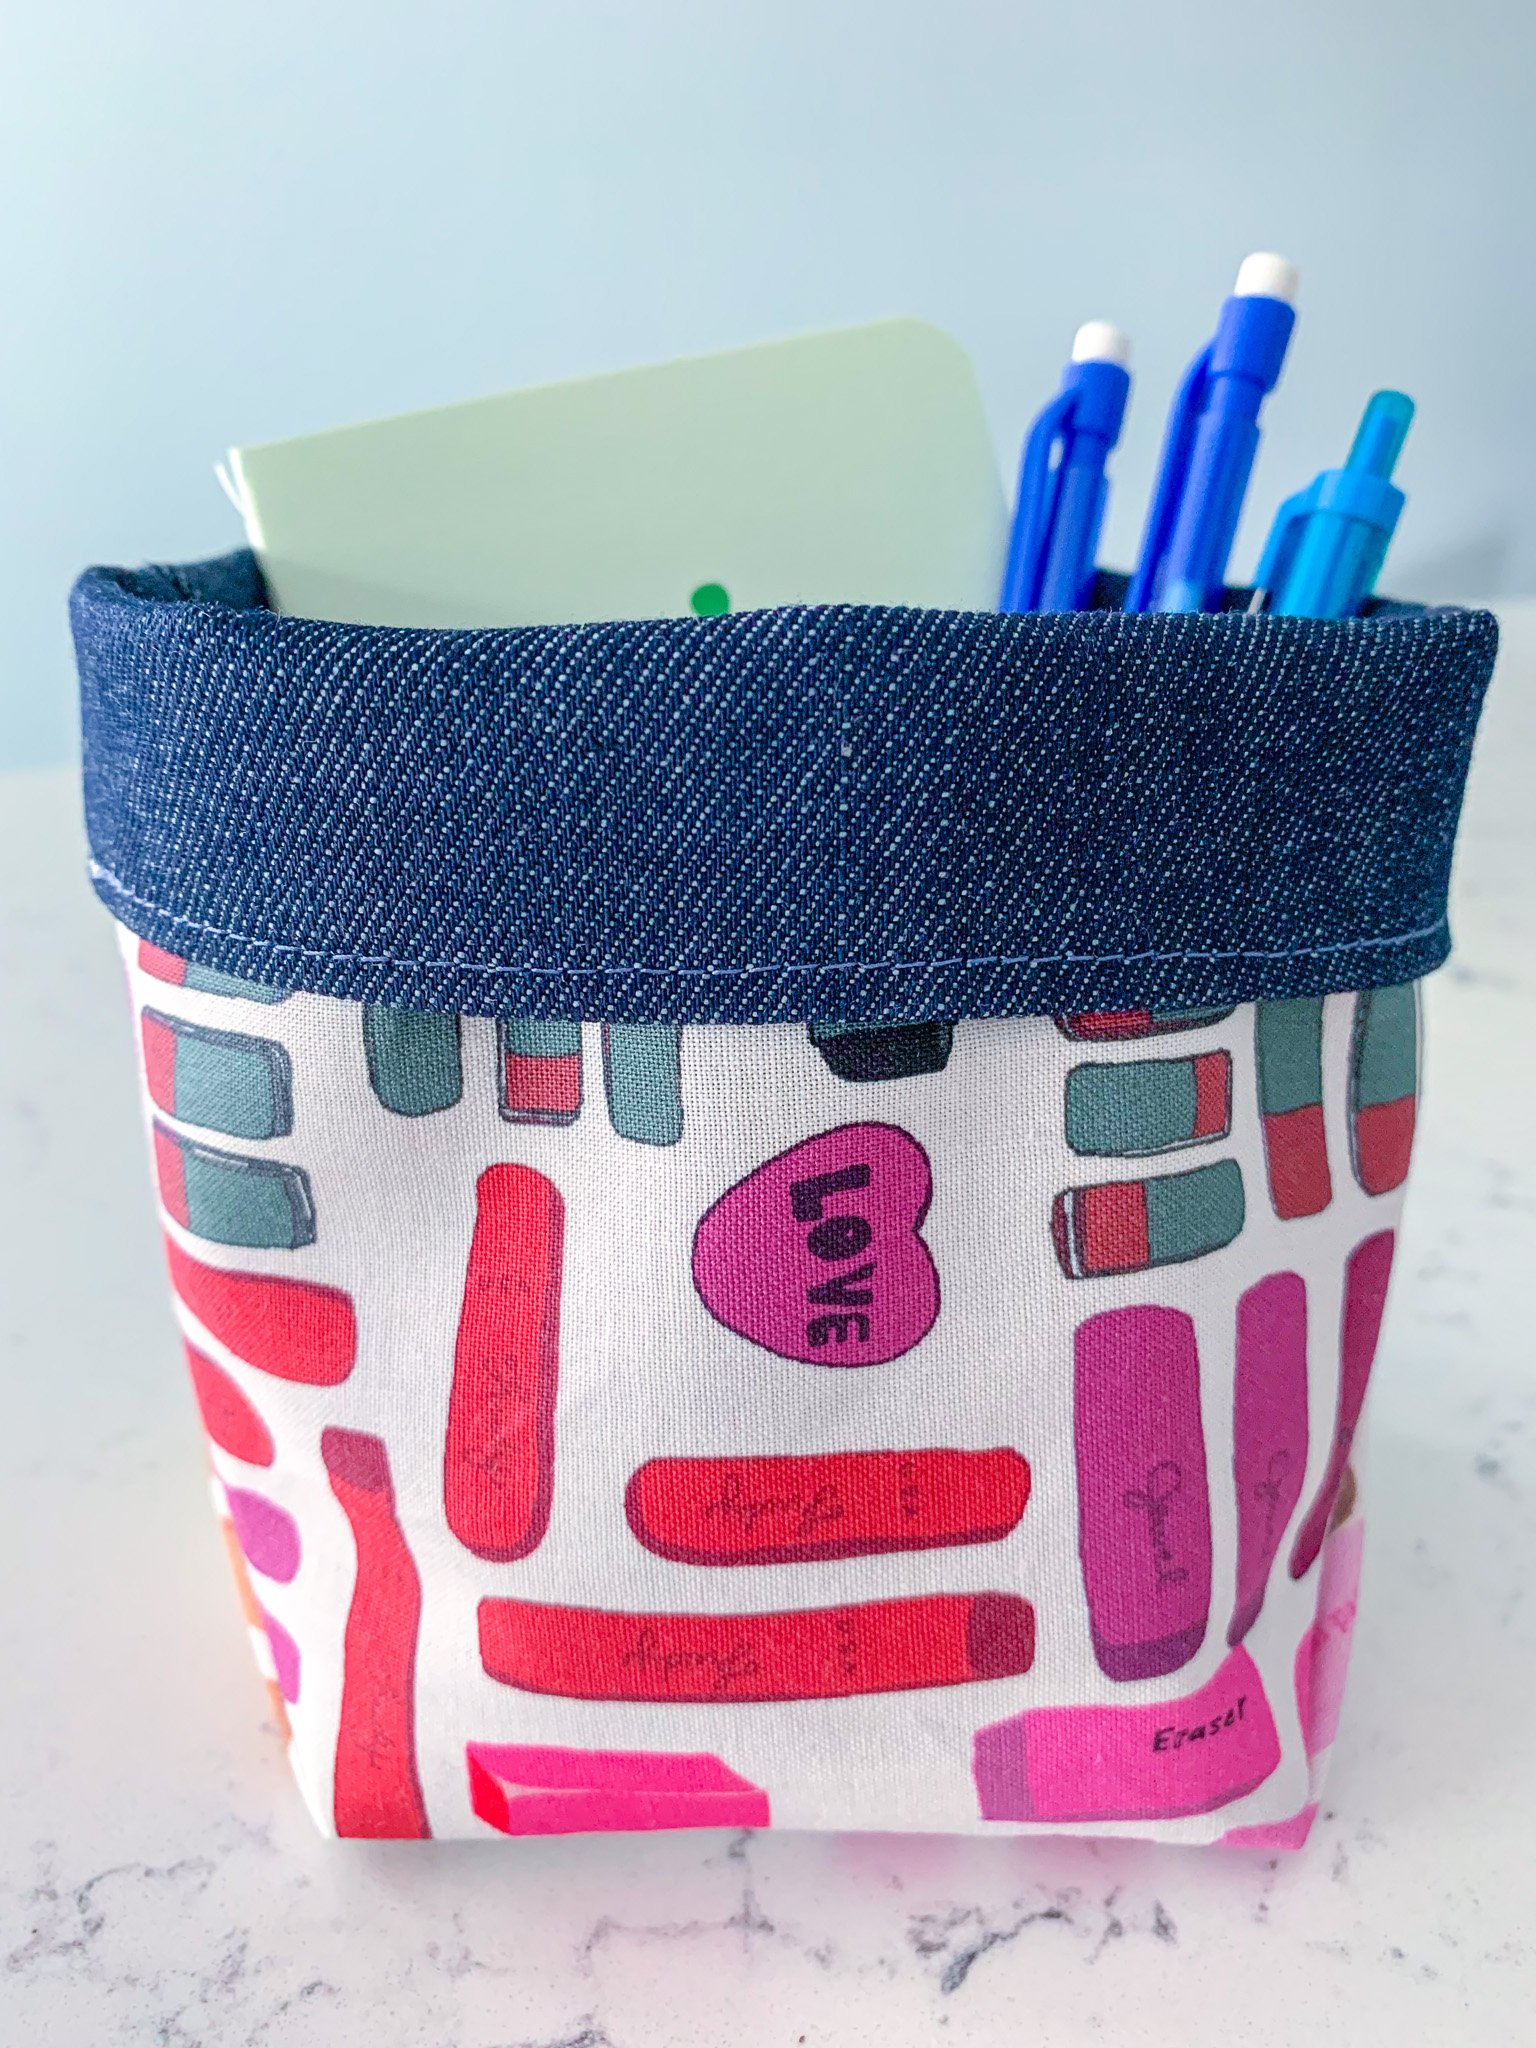
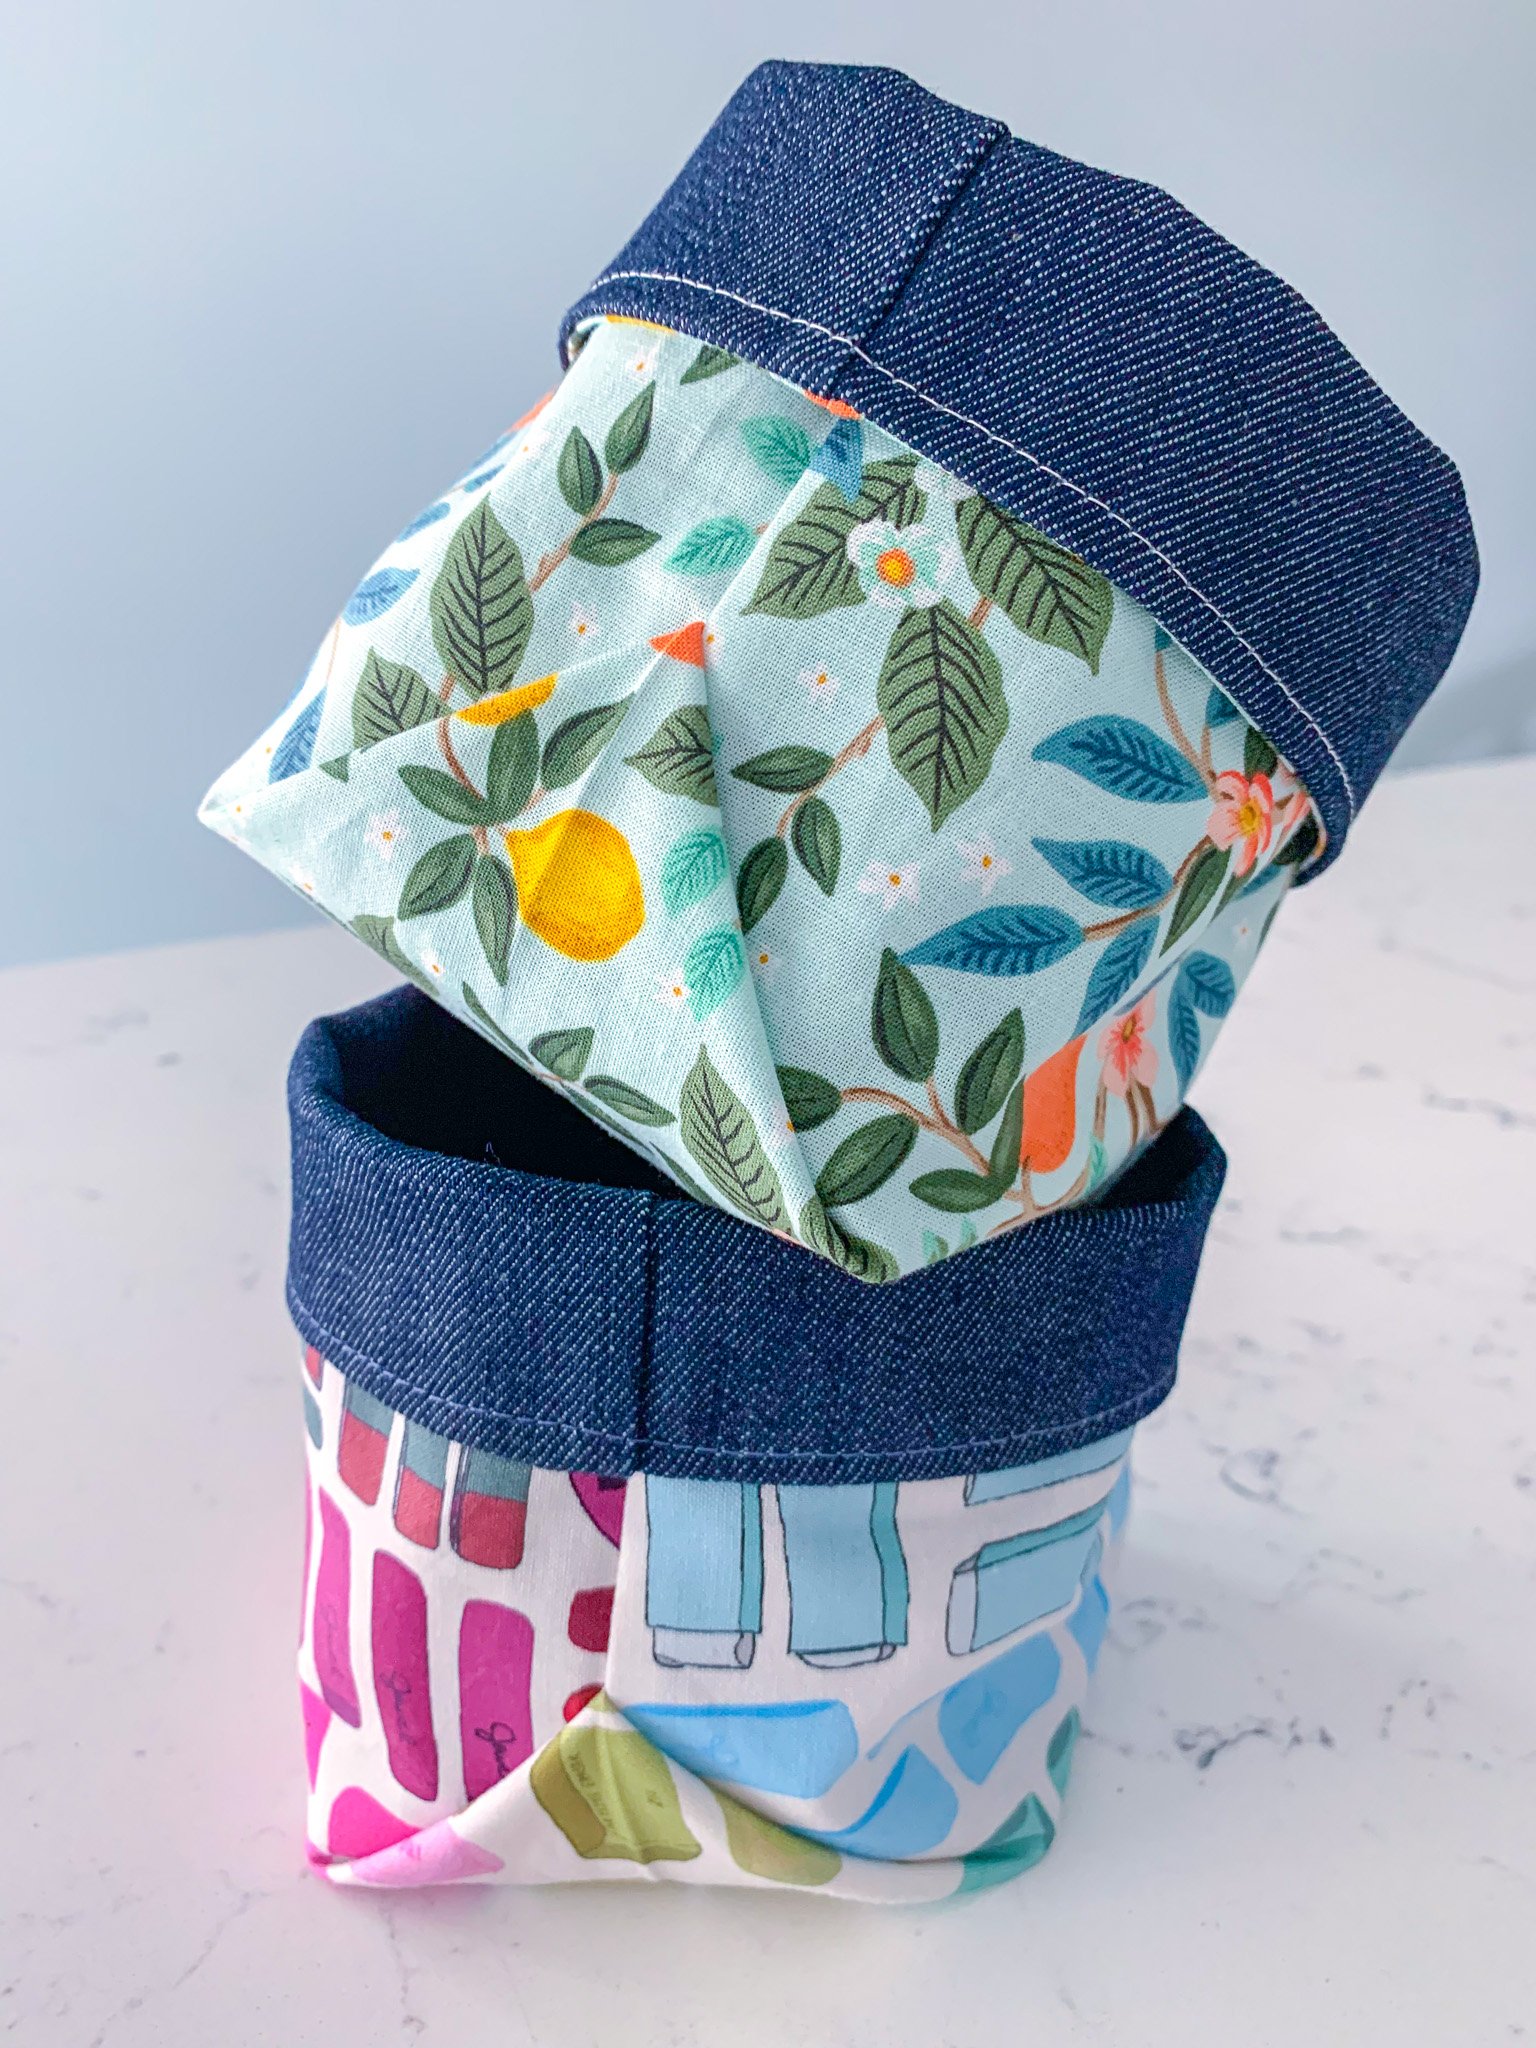
It’s that time of the year — the sun’s starting to warm our skin, toes are getting painted, and we can practically taste the popsicles around the corner. Summer is almost here and, with it, the end of school, which means it’s teacher-gift time! The idea for these baskets initially came from my friend Laura (@sonicstitches), who made the cutest set for her daughter’s teachers at the holidays. Serendipitously, Jackie Gillies (@jackiegillies) recently posted a great alternative to making boxed corners (something I always kind of hate doing in baskets and totes), and I decided to combine the two to make a new foldover basket tutorial. I filled mine with small treats for our teachers, but they’d also be great for use around the house, as covers for plant pots — you name it! It can vary a bit depending on how much you fold over the top, but these finish at about 4.5” tall and 5.5” wide.
You can make one basket from two coordinating fat eighths or two baskets from two coordinating fat quarters or quarter-yards. But these baskets are also perfect for batch sewing — think teacher or bridesmaids gifts, stocking stuffers, toy storage, you name it — so consider making several at once. You can get five baskets from two coordinating half-yards, 15 from two coordinating 1-3/8 yards, and so on.


Supplies
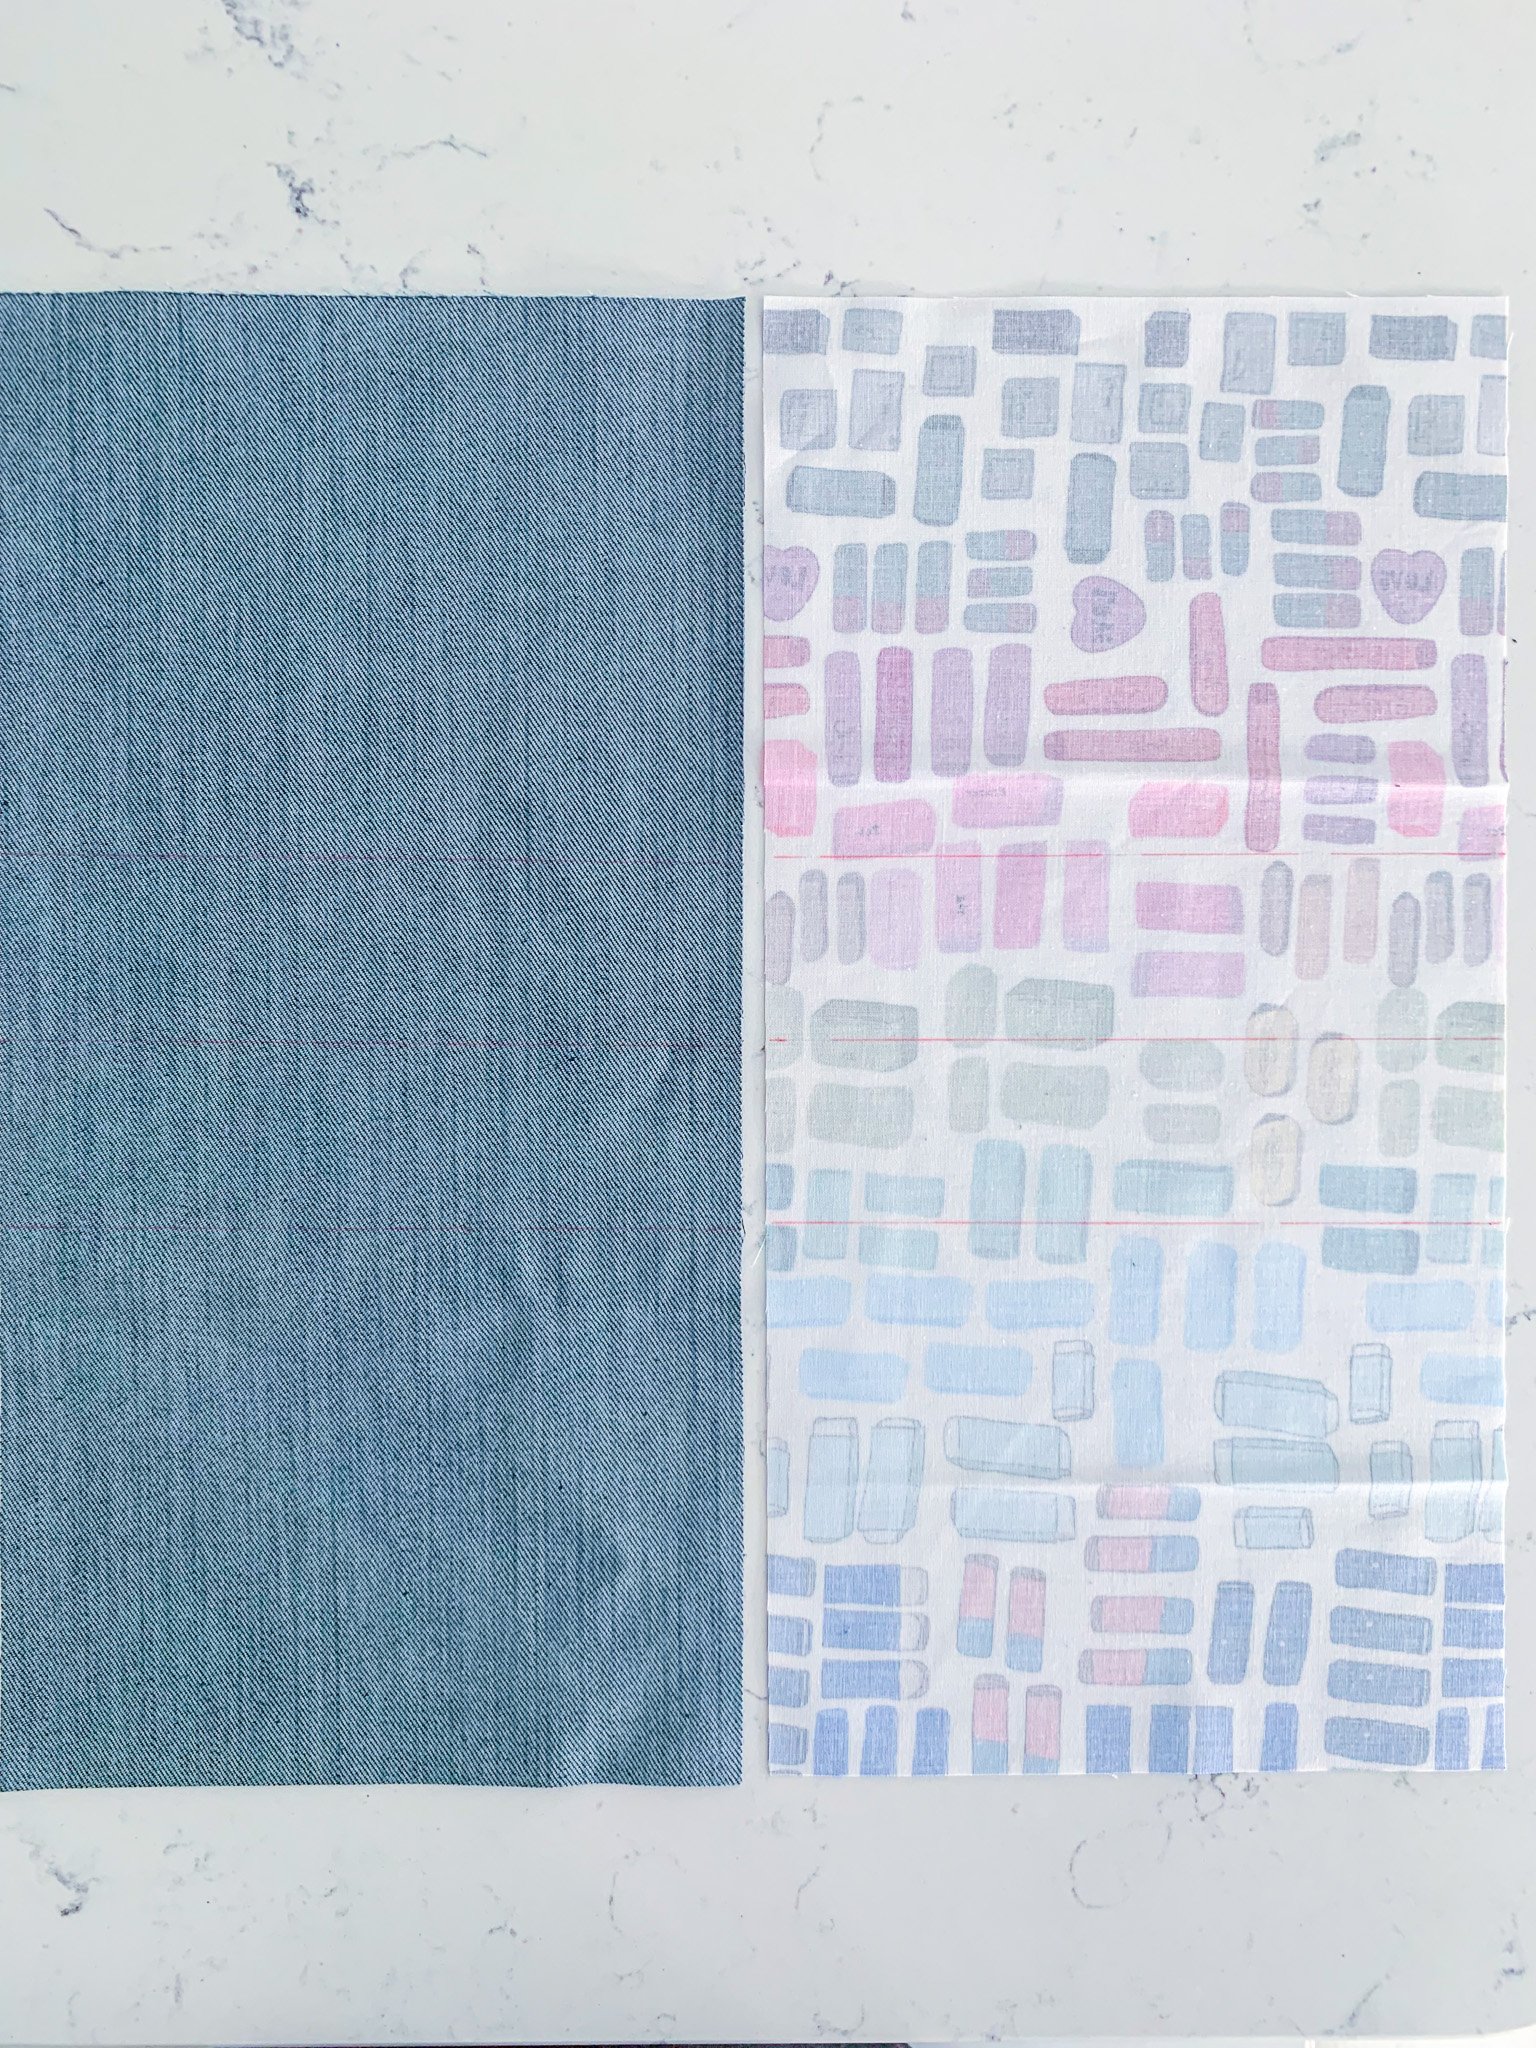
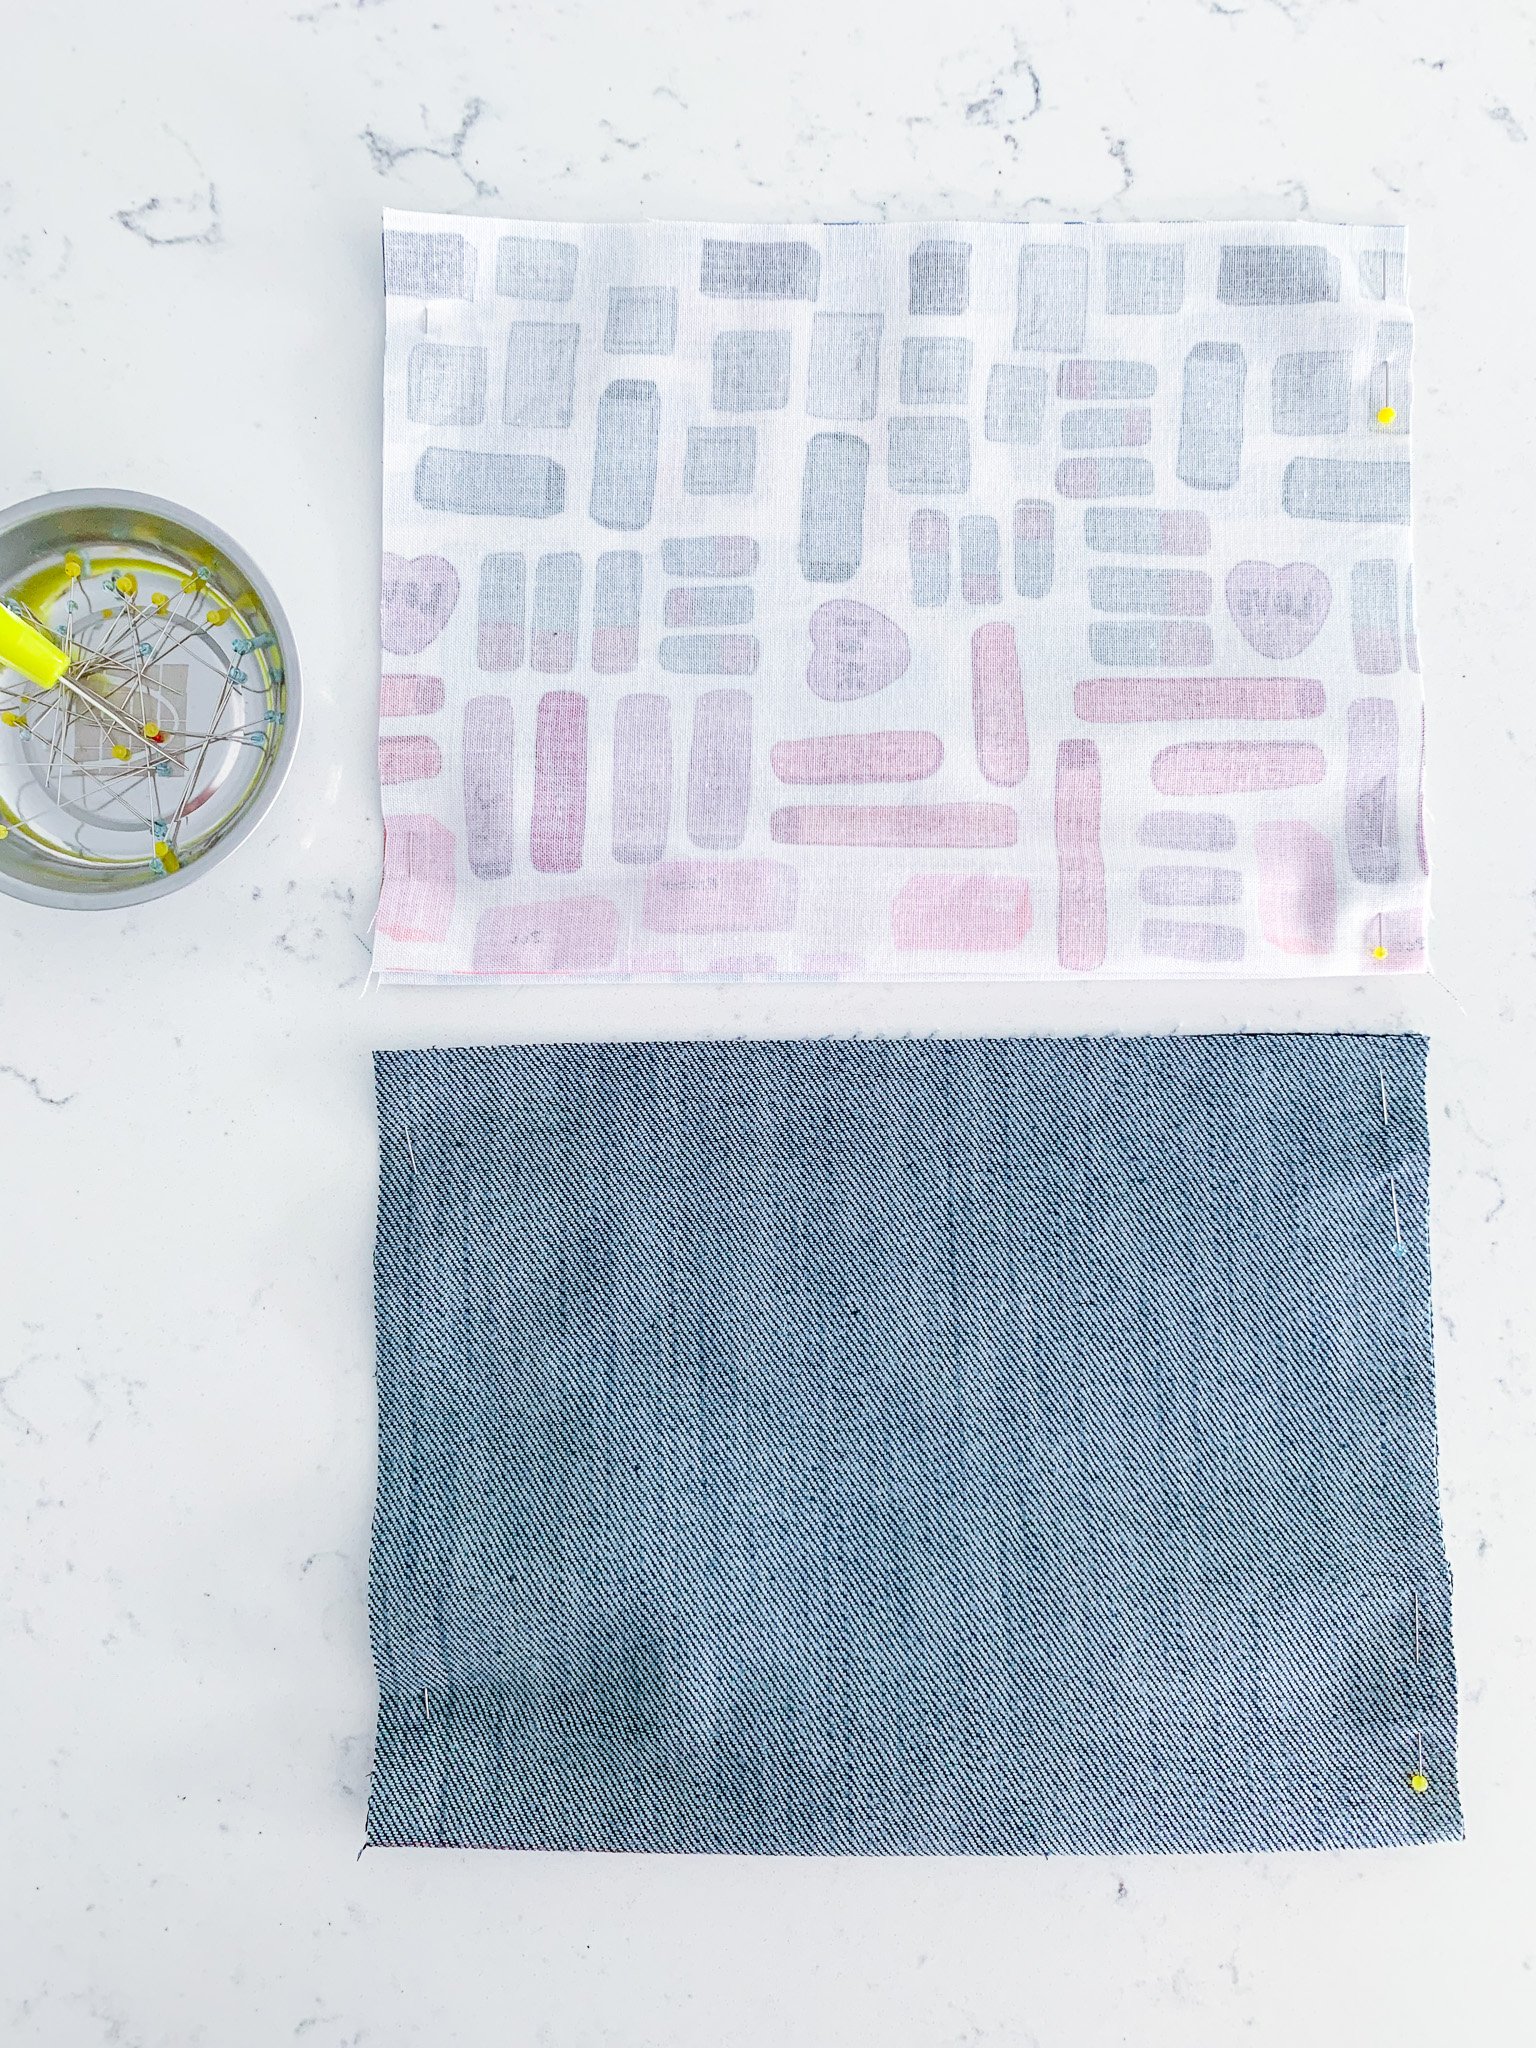
(1) 8” x 16” piece of fabric for the exterior (I used quilting cotton.)
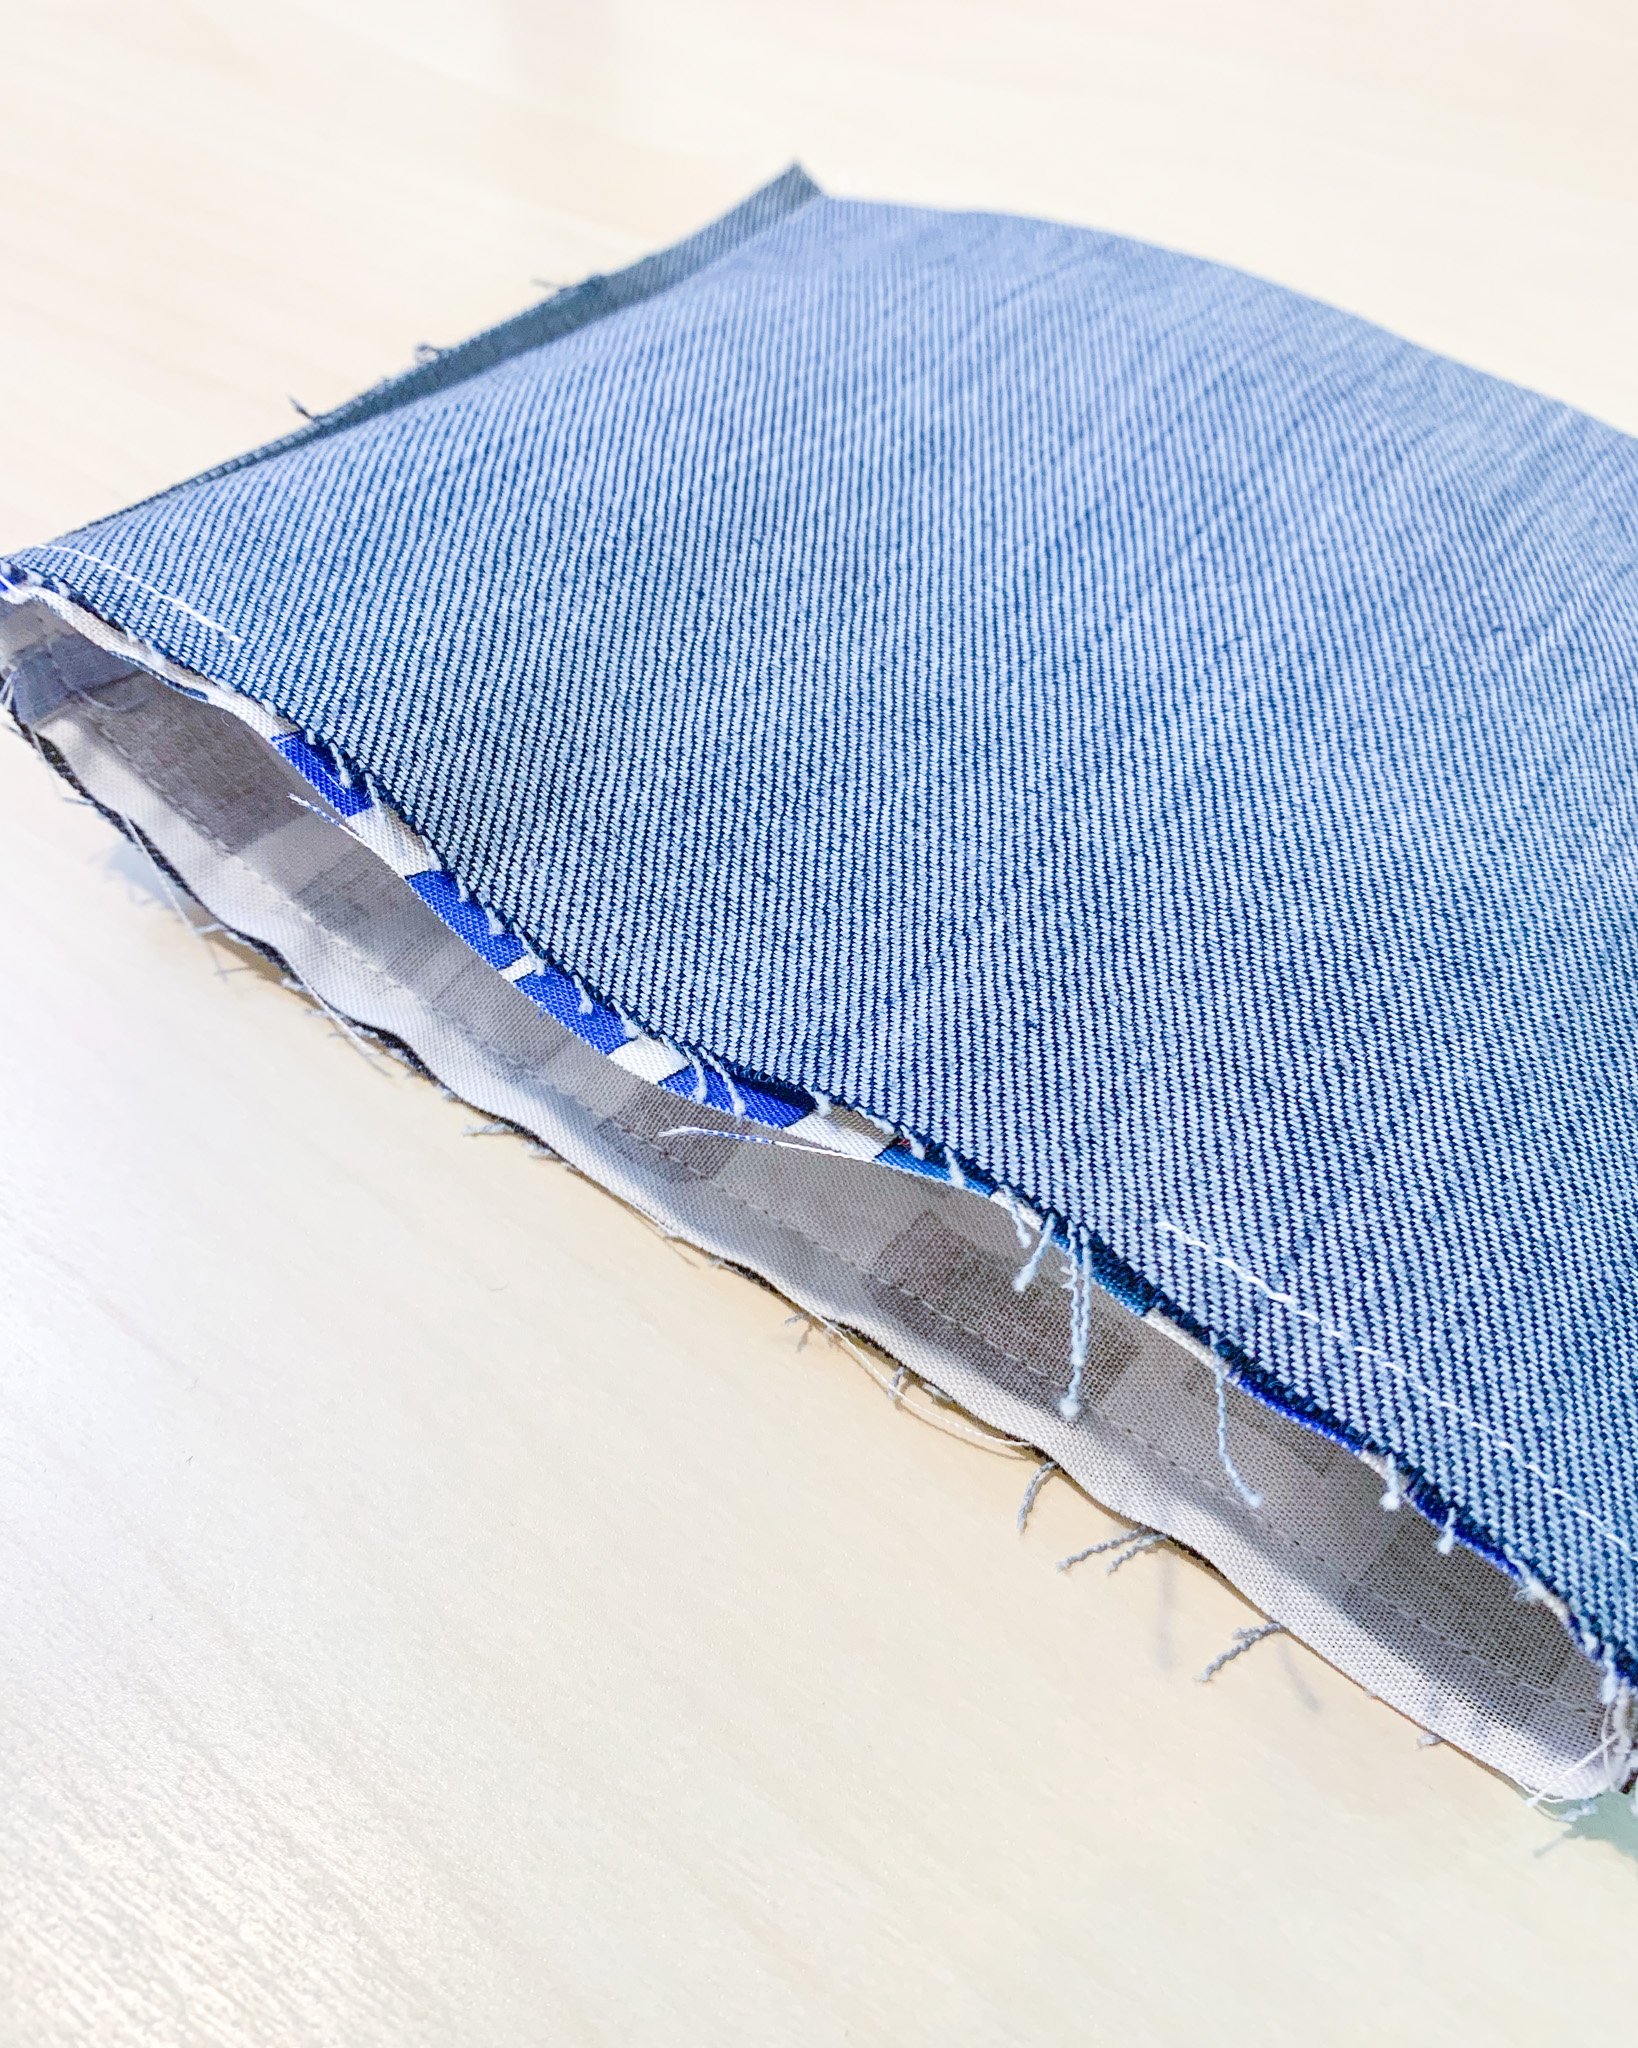
(1) 8” x 16” piece of fabric for the lining (I used a sturdy denim, and it provided sufficient structure to my baskets without the use of additional interfacing. If you’re using a lighter-weight fabric or simply want to make your basket stiffer, you can add a midweight fusible interfacing, like Pellon 931. Follow the manufacturer’s instructions to apply it to the wrong side of one or both of your fabrics before proceeding with assembly.)
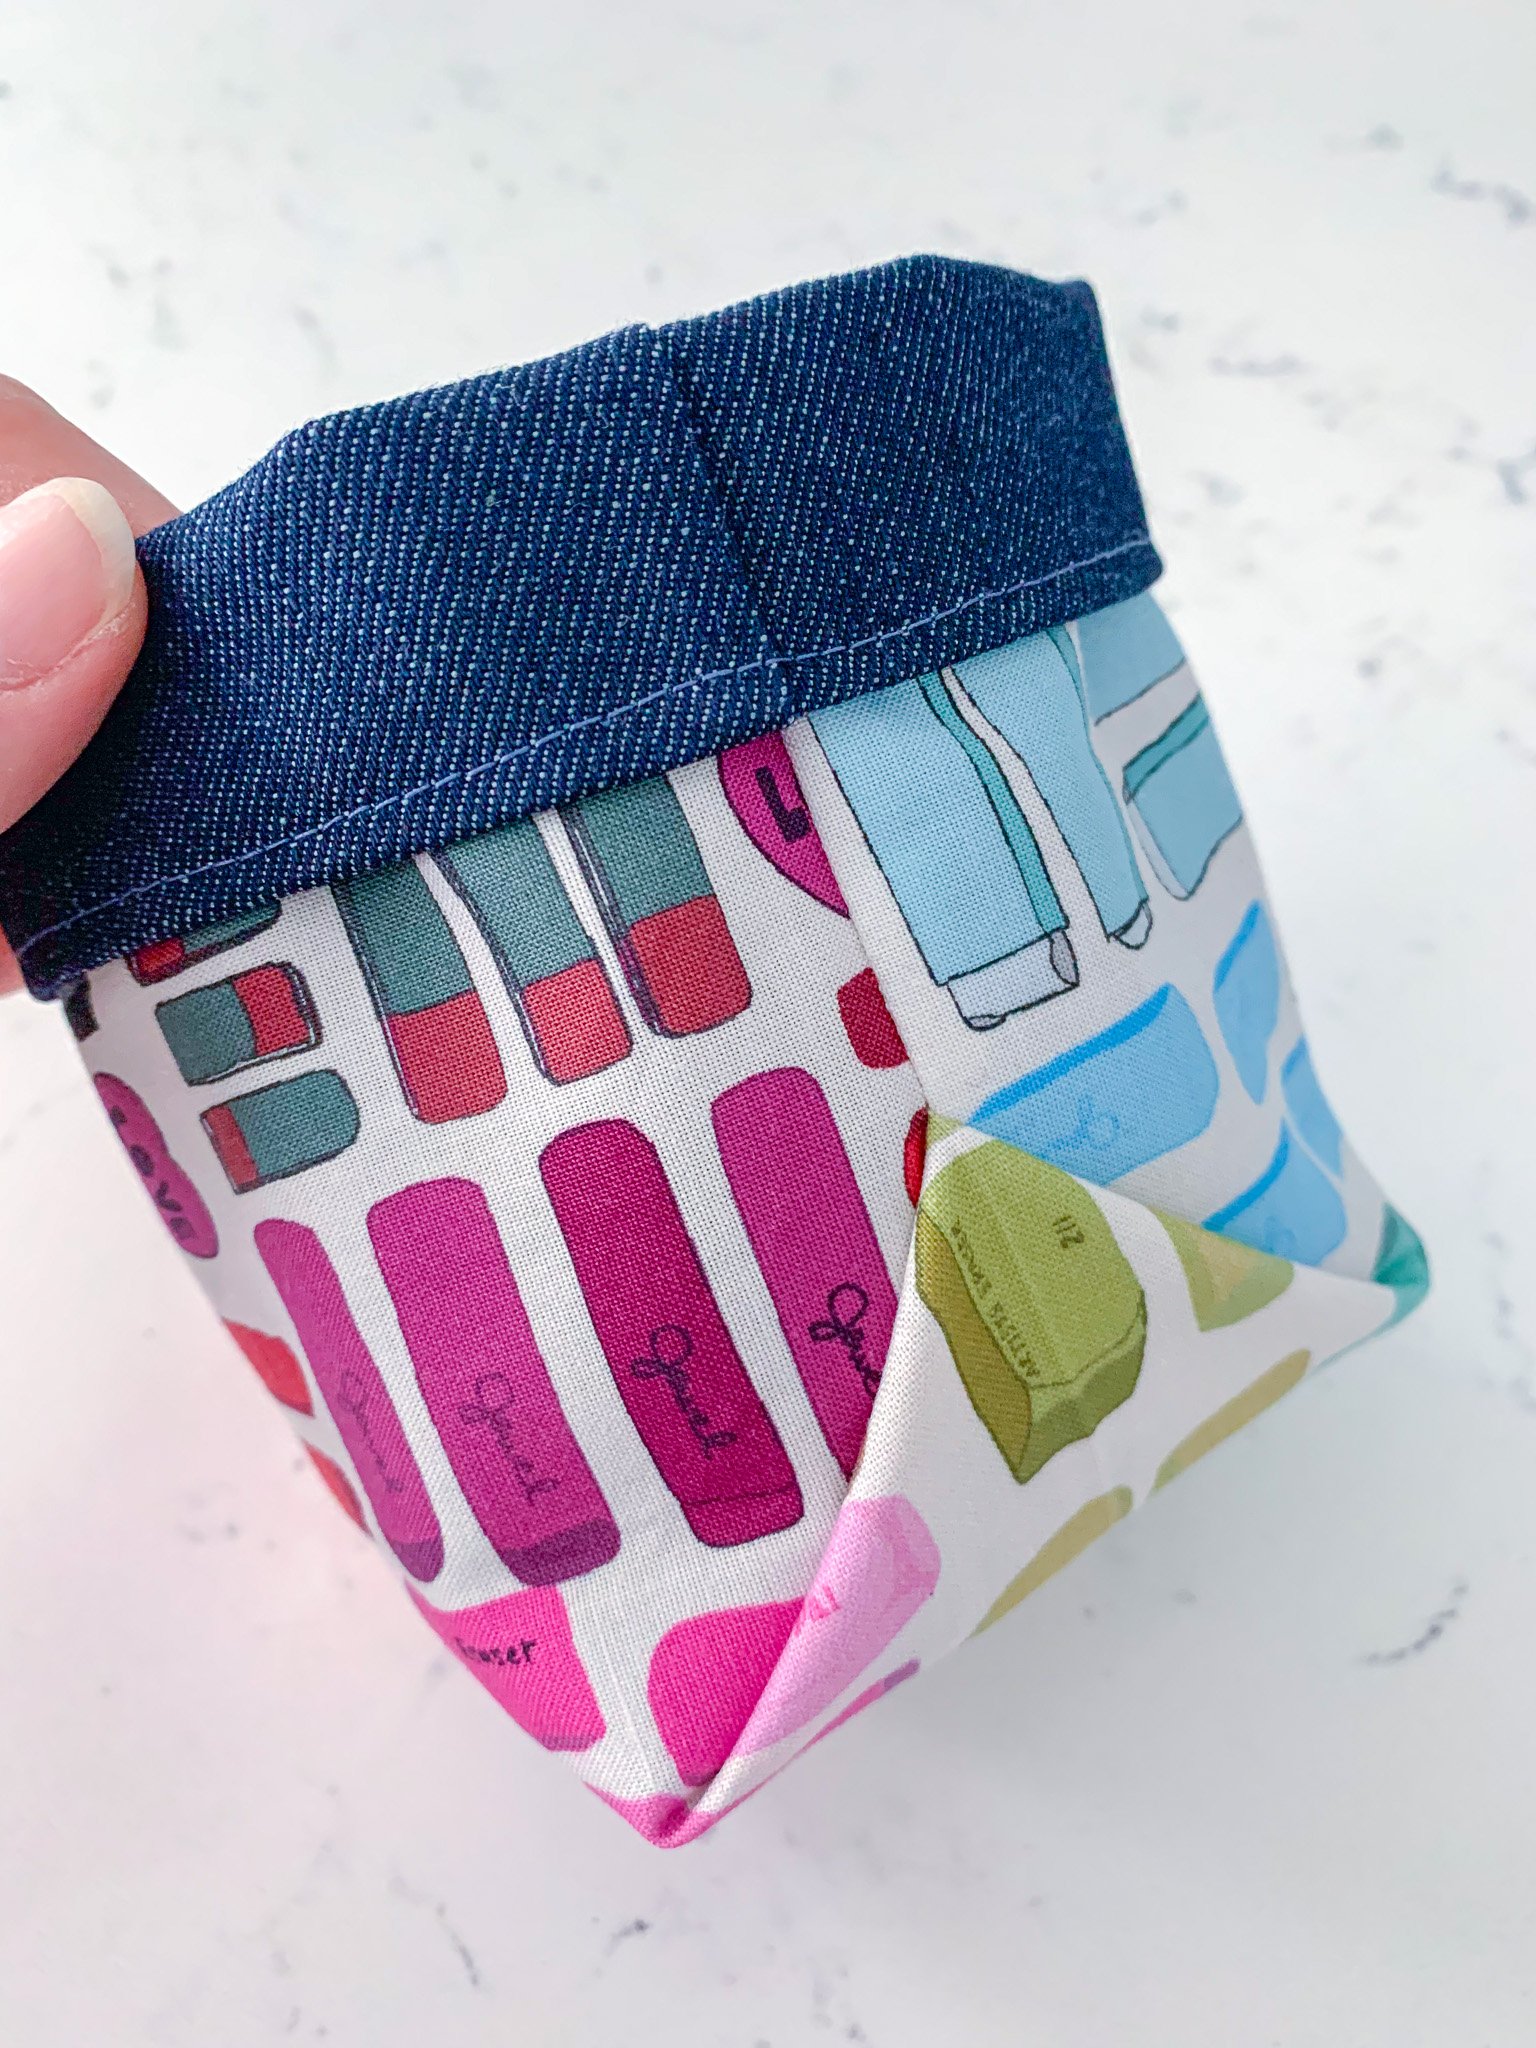
A note on fabrics: If you’re using a print for either fabric, make sure it’s non-directional. You’re using one long piece, so a directional print that’s right sides up on one side will be upside down on the other. The eraser fabric I used is from the Pencil Club collection by Heather Givans for Windham Fabrics. The floral and citrus print is from Rifle Paper Co.’s Bramble collection for Cotton + Steel. I’m sorry I don’t know what the denim is; it’s been in my stash for forever.
Coordinating thread
Pins* and Wonder Clips* or binding clips
*Disclaimer: To assist you in finding some of the products I use in my work, this blog sometimes uses Amazon affiliate links. As an Amazon Influencer, I may earn a small commission from qualifying purchases made by clicking on one of the links (marked with an asterisk). This is another way you can help support my business, and I thank you! That being said, if you're able to purchase the item locally, I strongly encourage you to do so. I only feature products that I would use myself. In addition, I am a paid Havel's Sewing brand ambassador and receive products from them to try for free. Some of those products — which I love and use daily — appear in this tutorial.

Instructions
Use a 1/4” seam allowance throughout.
1. On the wrong side of each piece of fabric, use the removeable marking pen to draw a line down the middle of the fabric, parallel to the short ends. Draw another line 2” from the middle line on both sides of the line (the lines will be at 6”, 8”, and 10”).


2. Fold the exterior fabric in half, right sides together. Insert a pin at the top corners along the side edges. Then, push the bottom fold (where you marked the middle line) up in between the two halves, adjusting the fabric until the outside lines (the lines at 6” and 10”) meet up. The middle line will be folded inside. (Here’s Jackie's video showing this.) Pin along the side raw edges. Repeat with the lining.
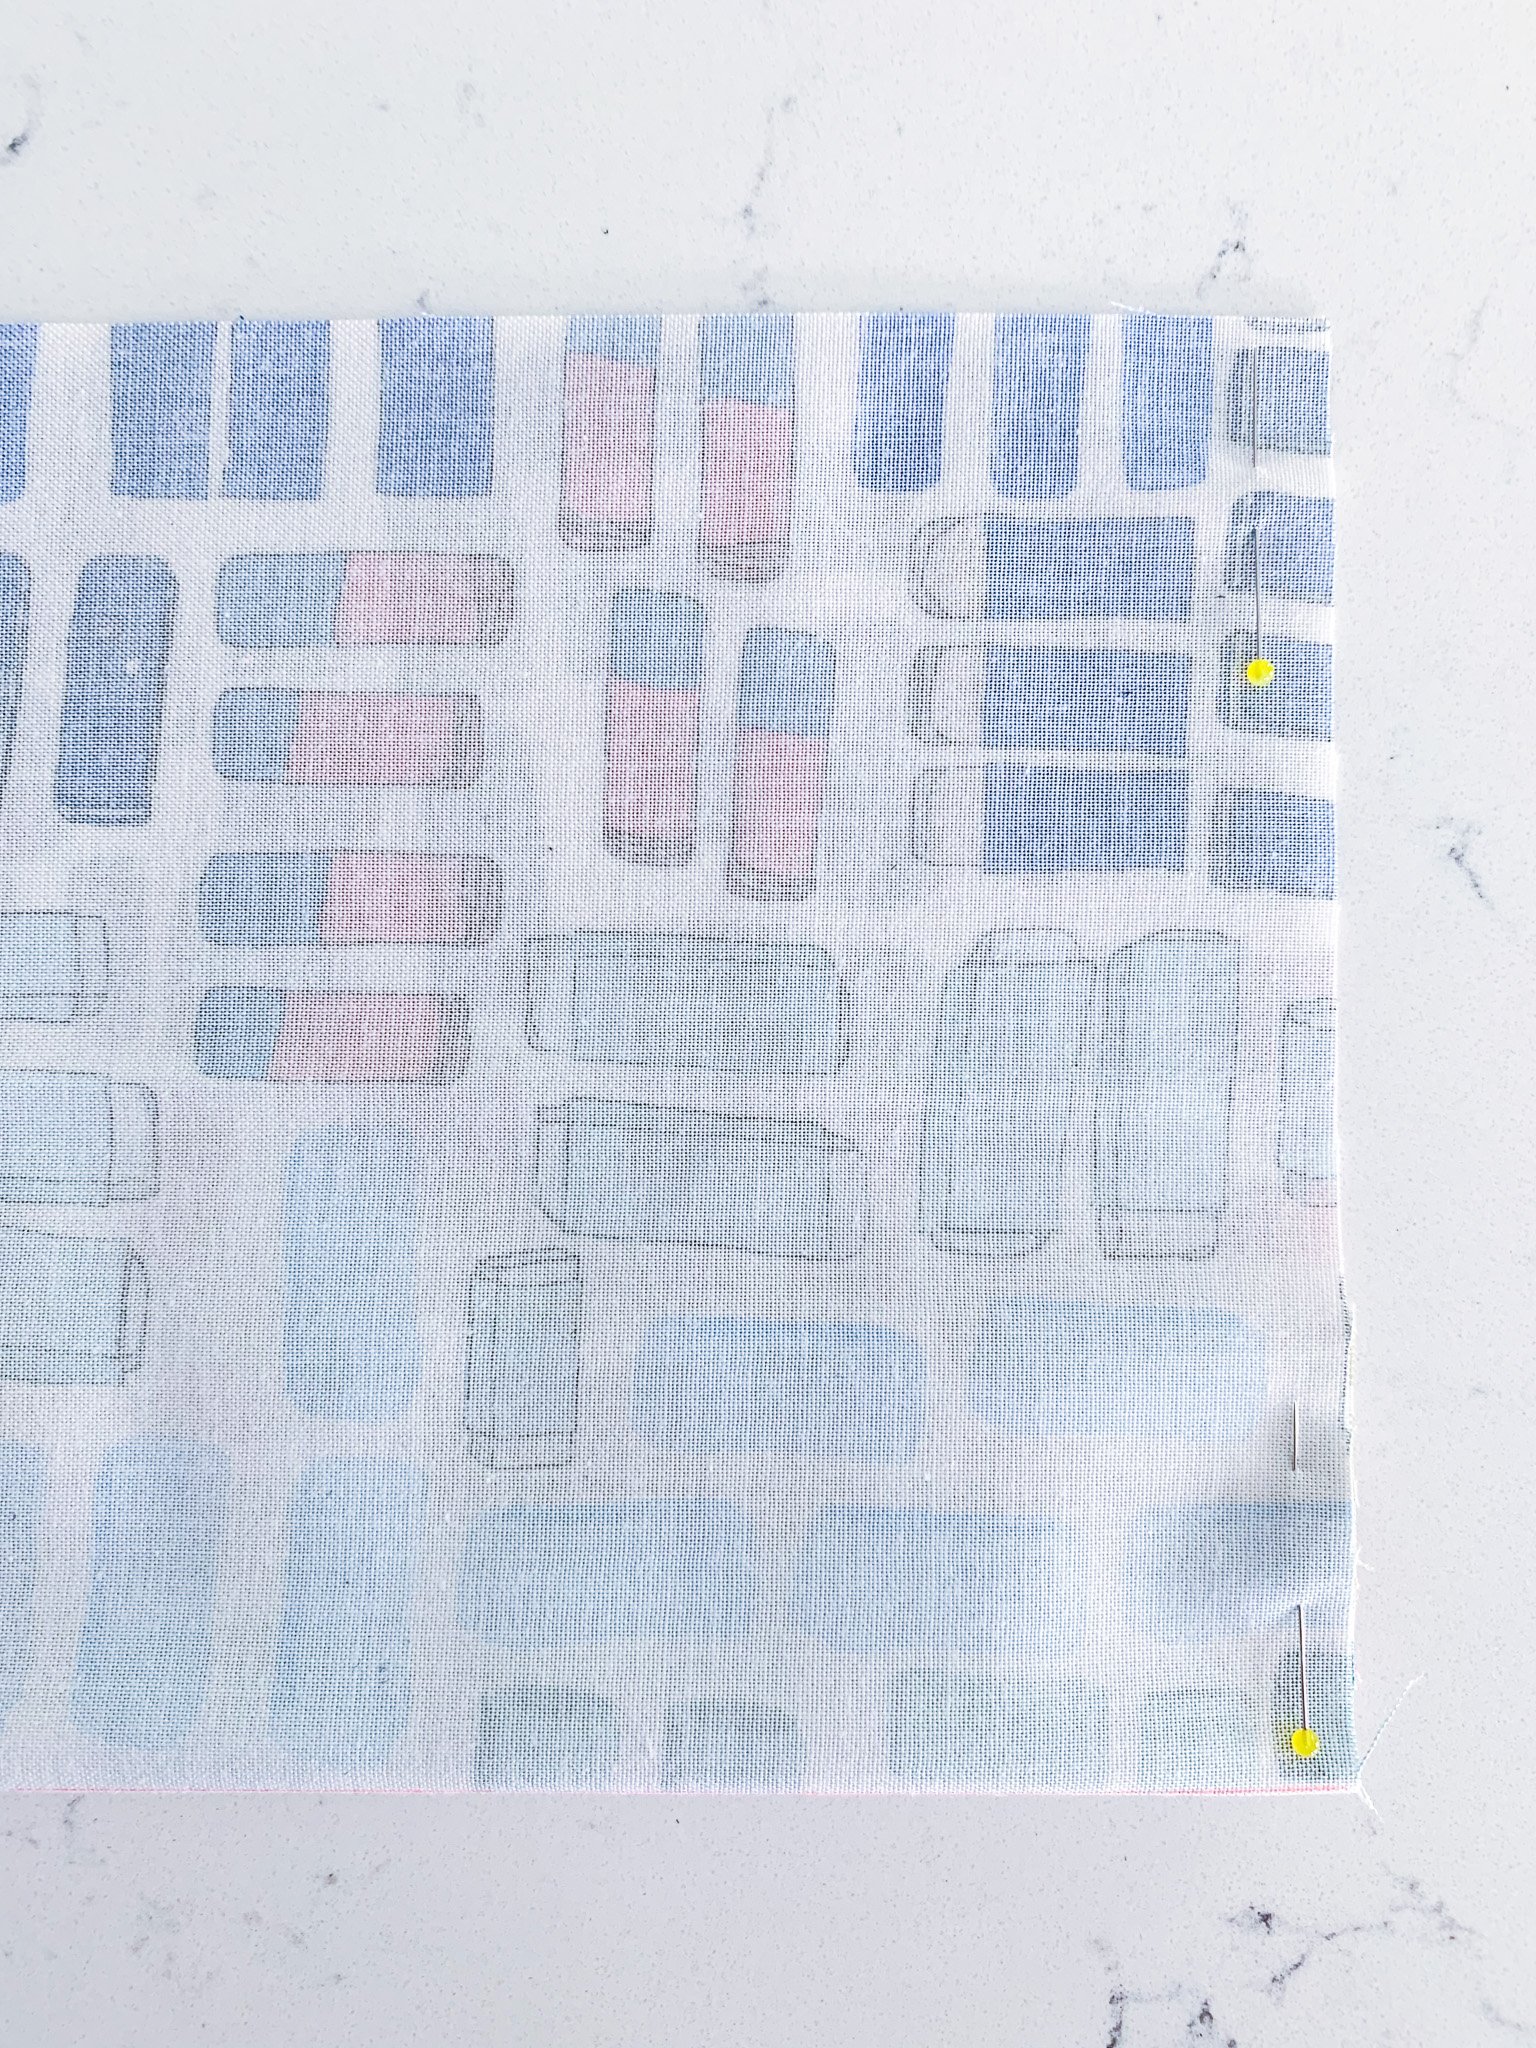
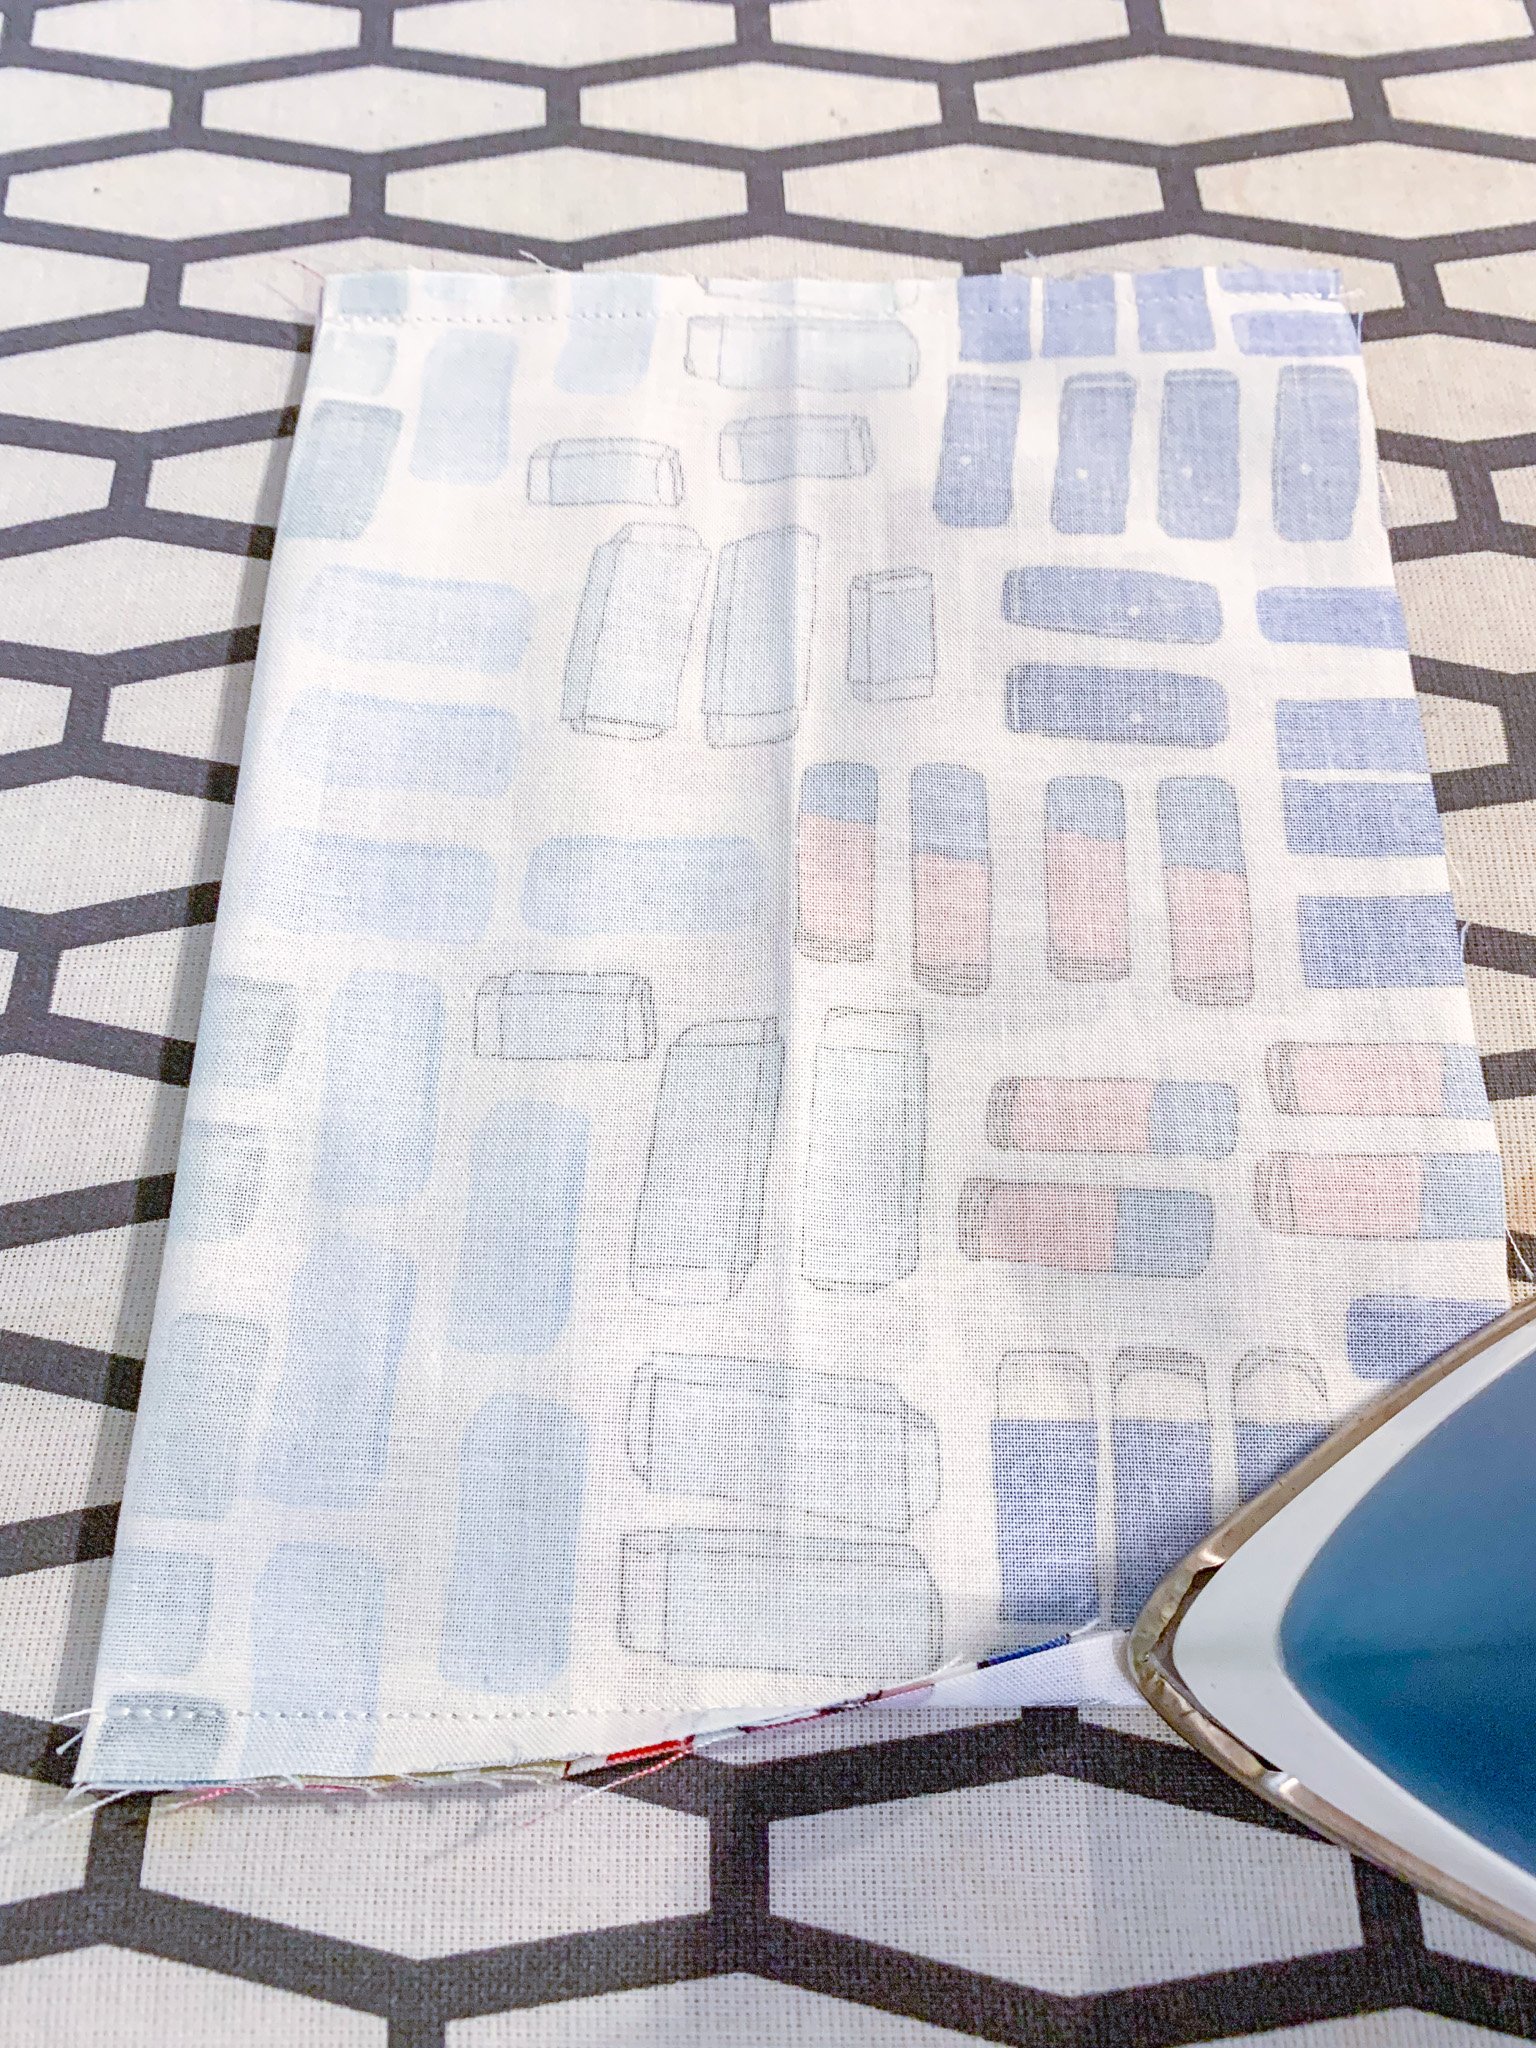
3. Sew along the sides, backstitching at the top and bottom. Press the seams to the side. I find it’s easiest to lay the units flat on my ironing board and then fold the seam to the side before pressing. Turn the exterior right sides out.
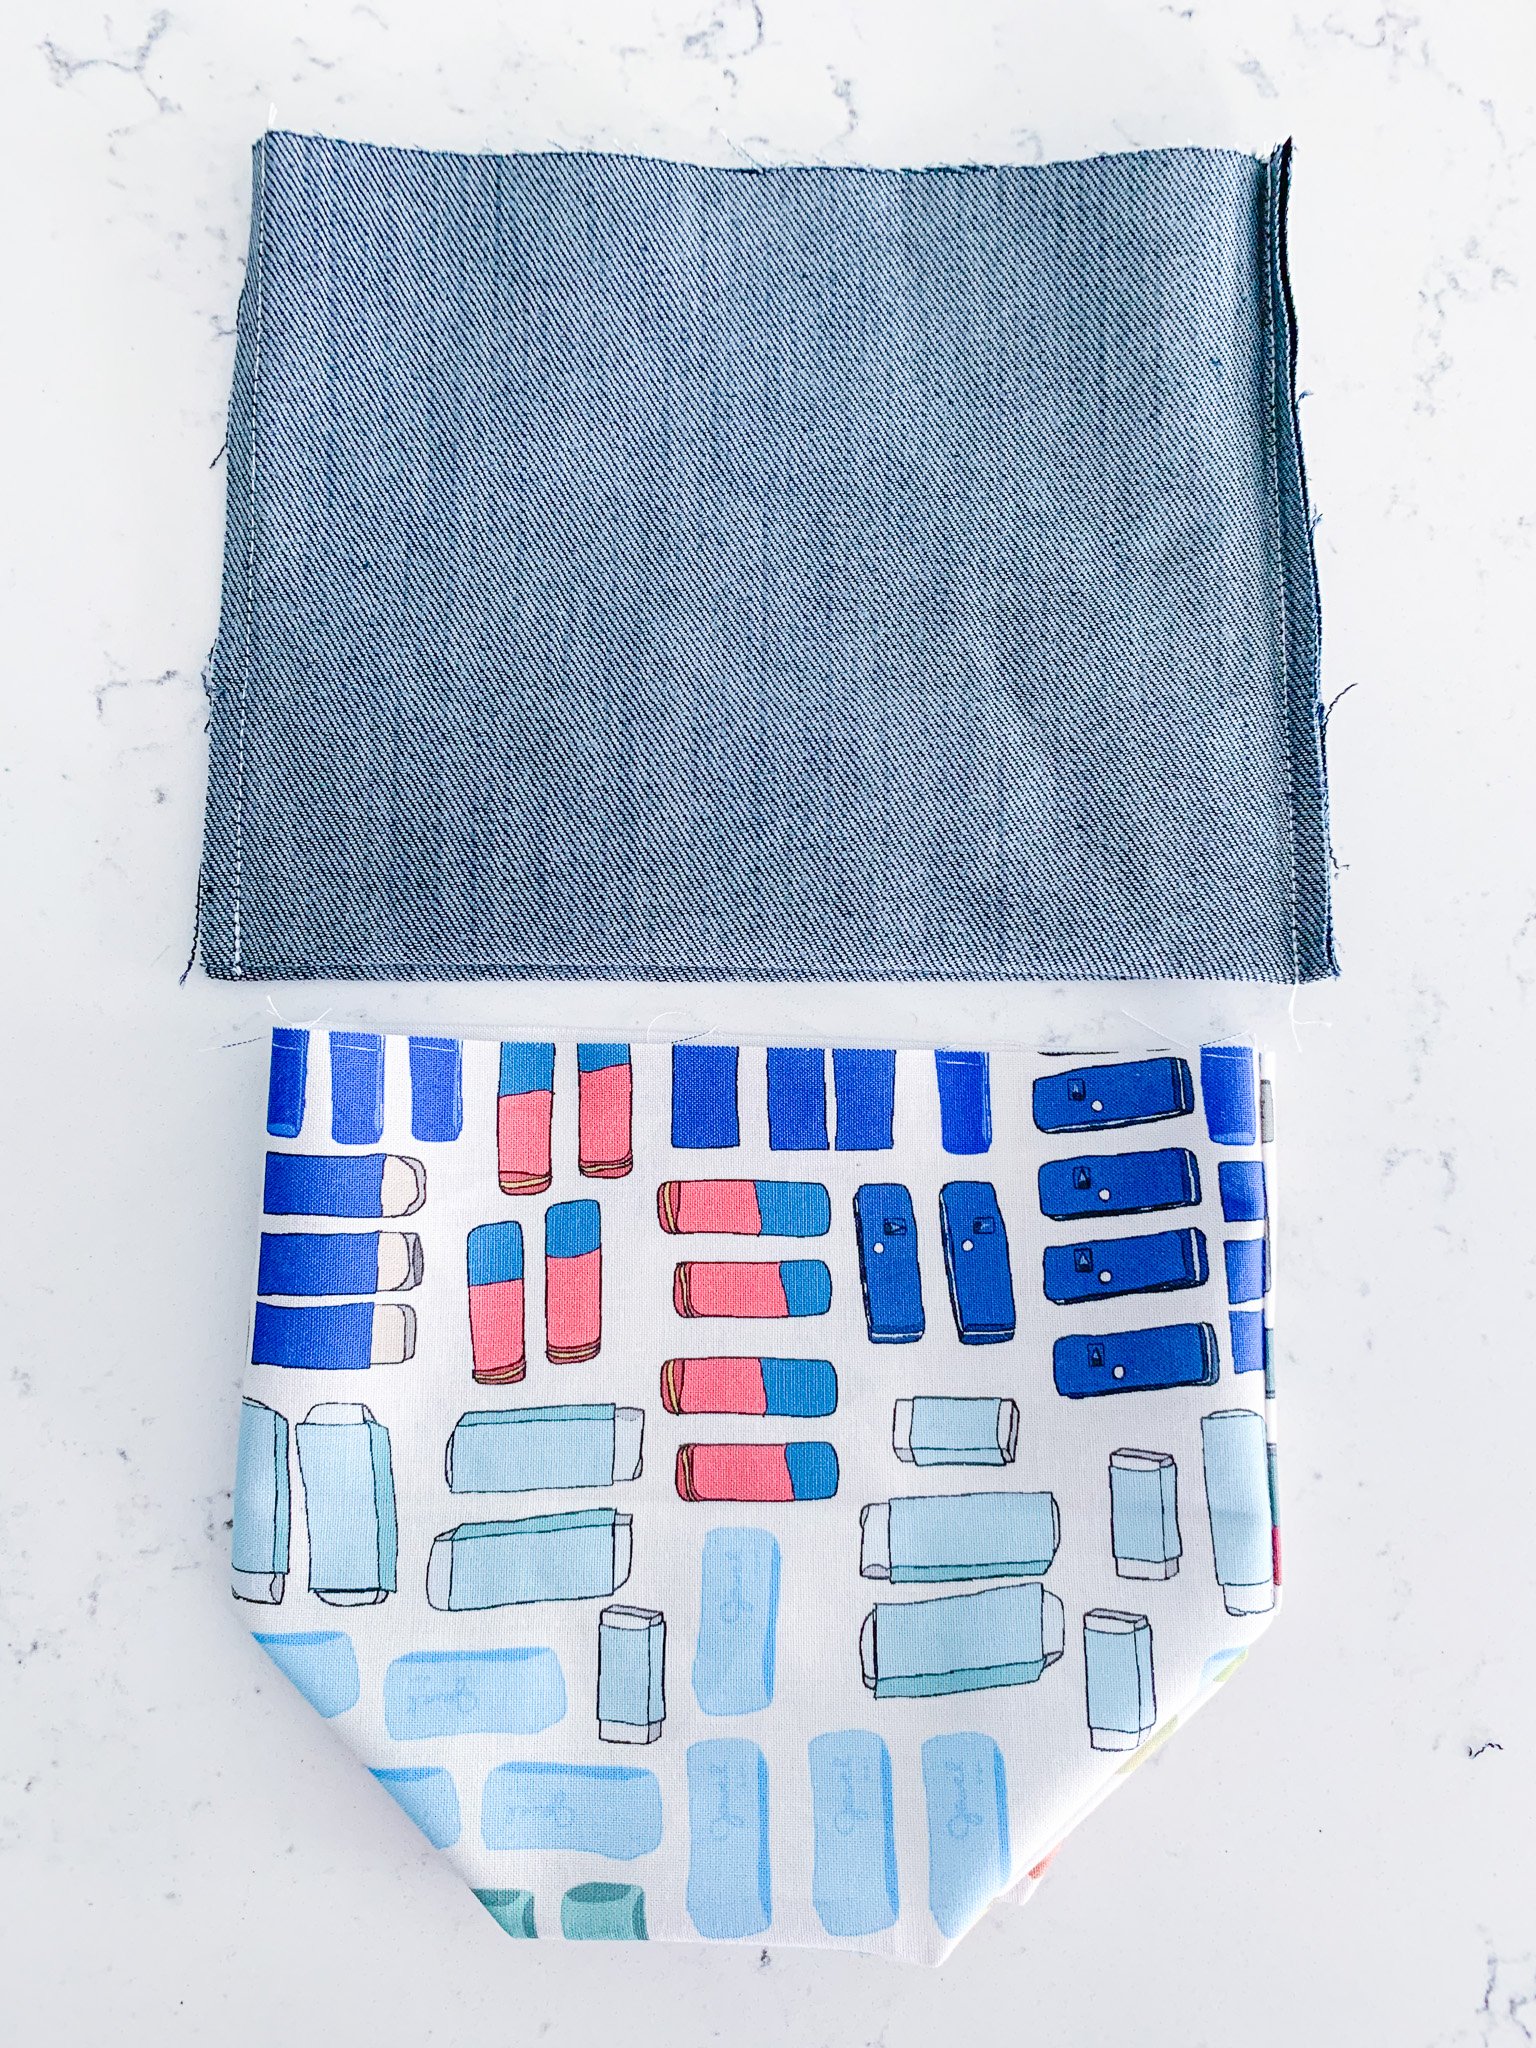
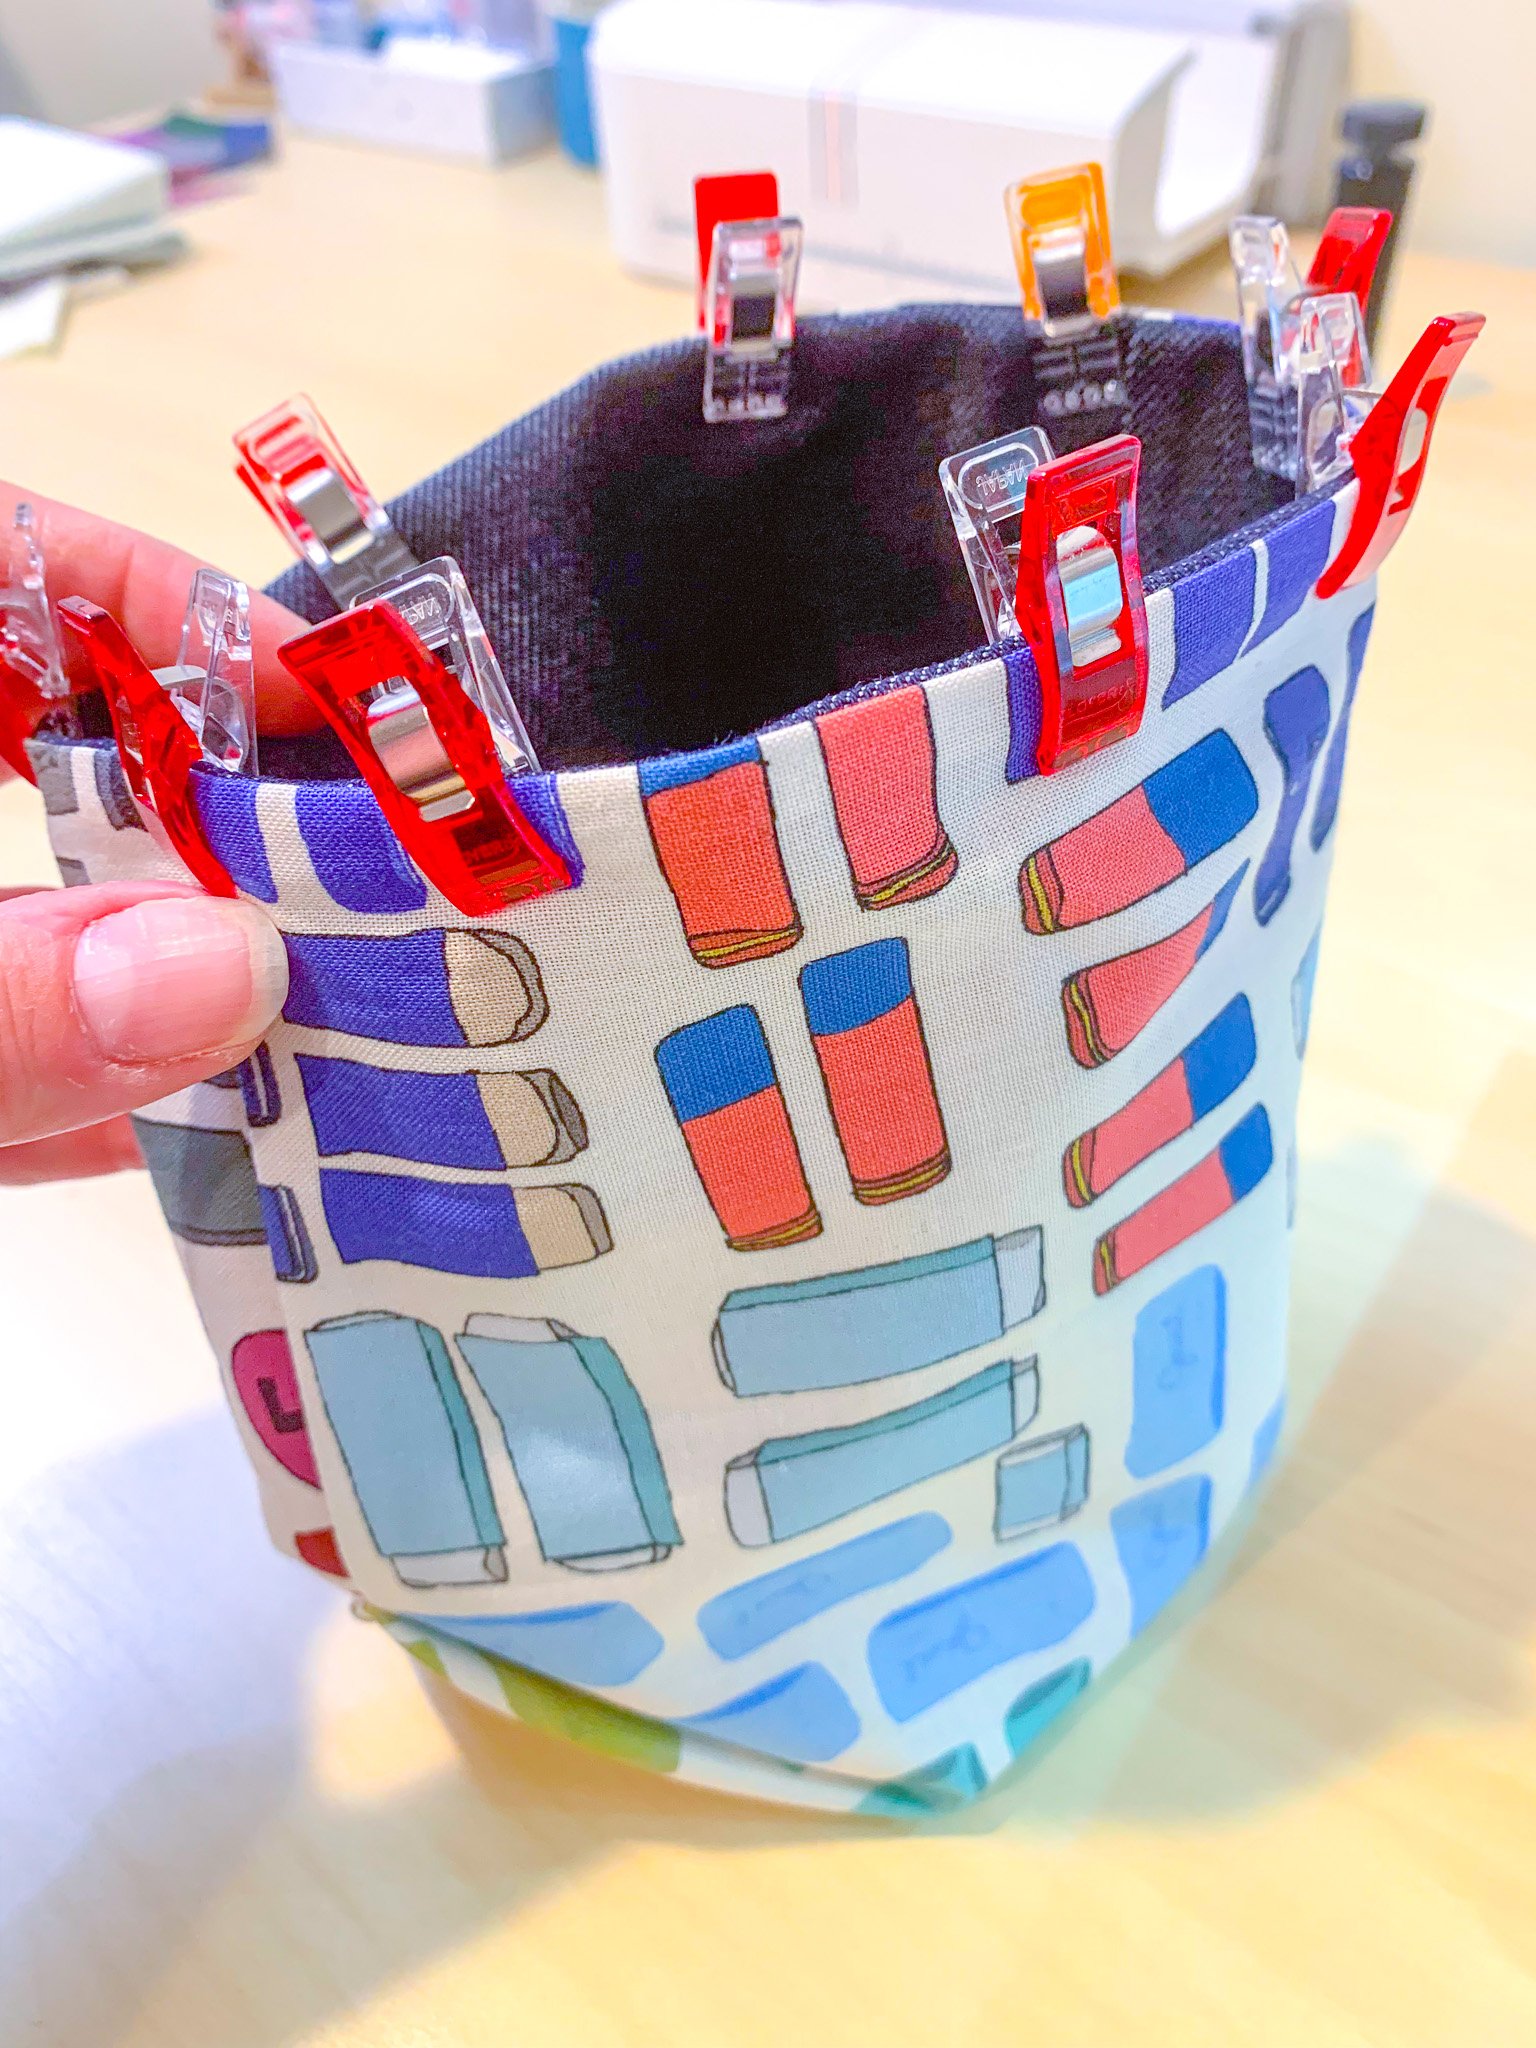
4. Insert the exterior inside the lining so the fabrics are right sides together (the lining is still turned inside out). Pin or clip the units together along the top raw edge, nesting the side seams.
5. Sew the units together along the top edge, leaving a 3” gap for turning.
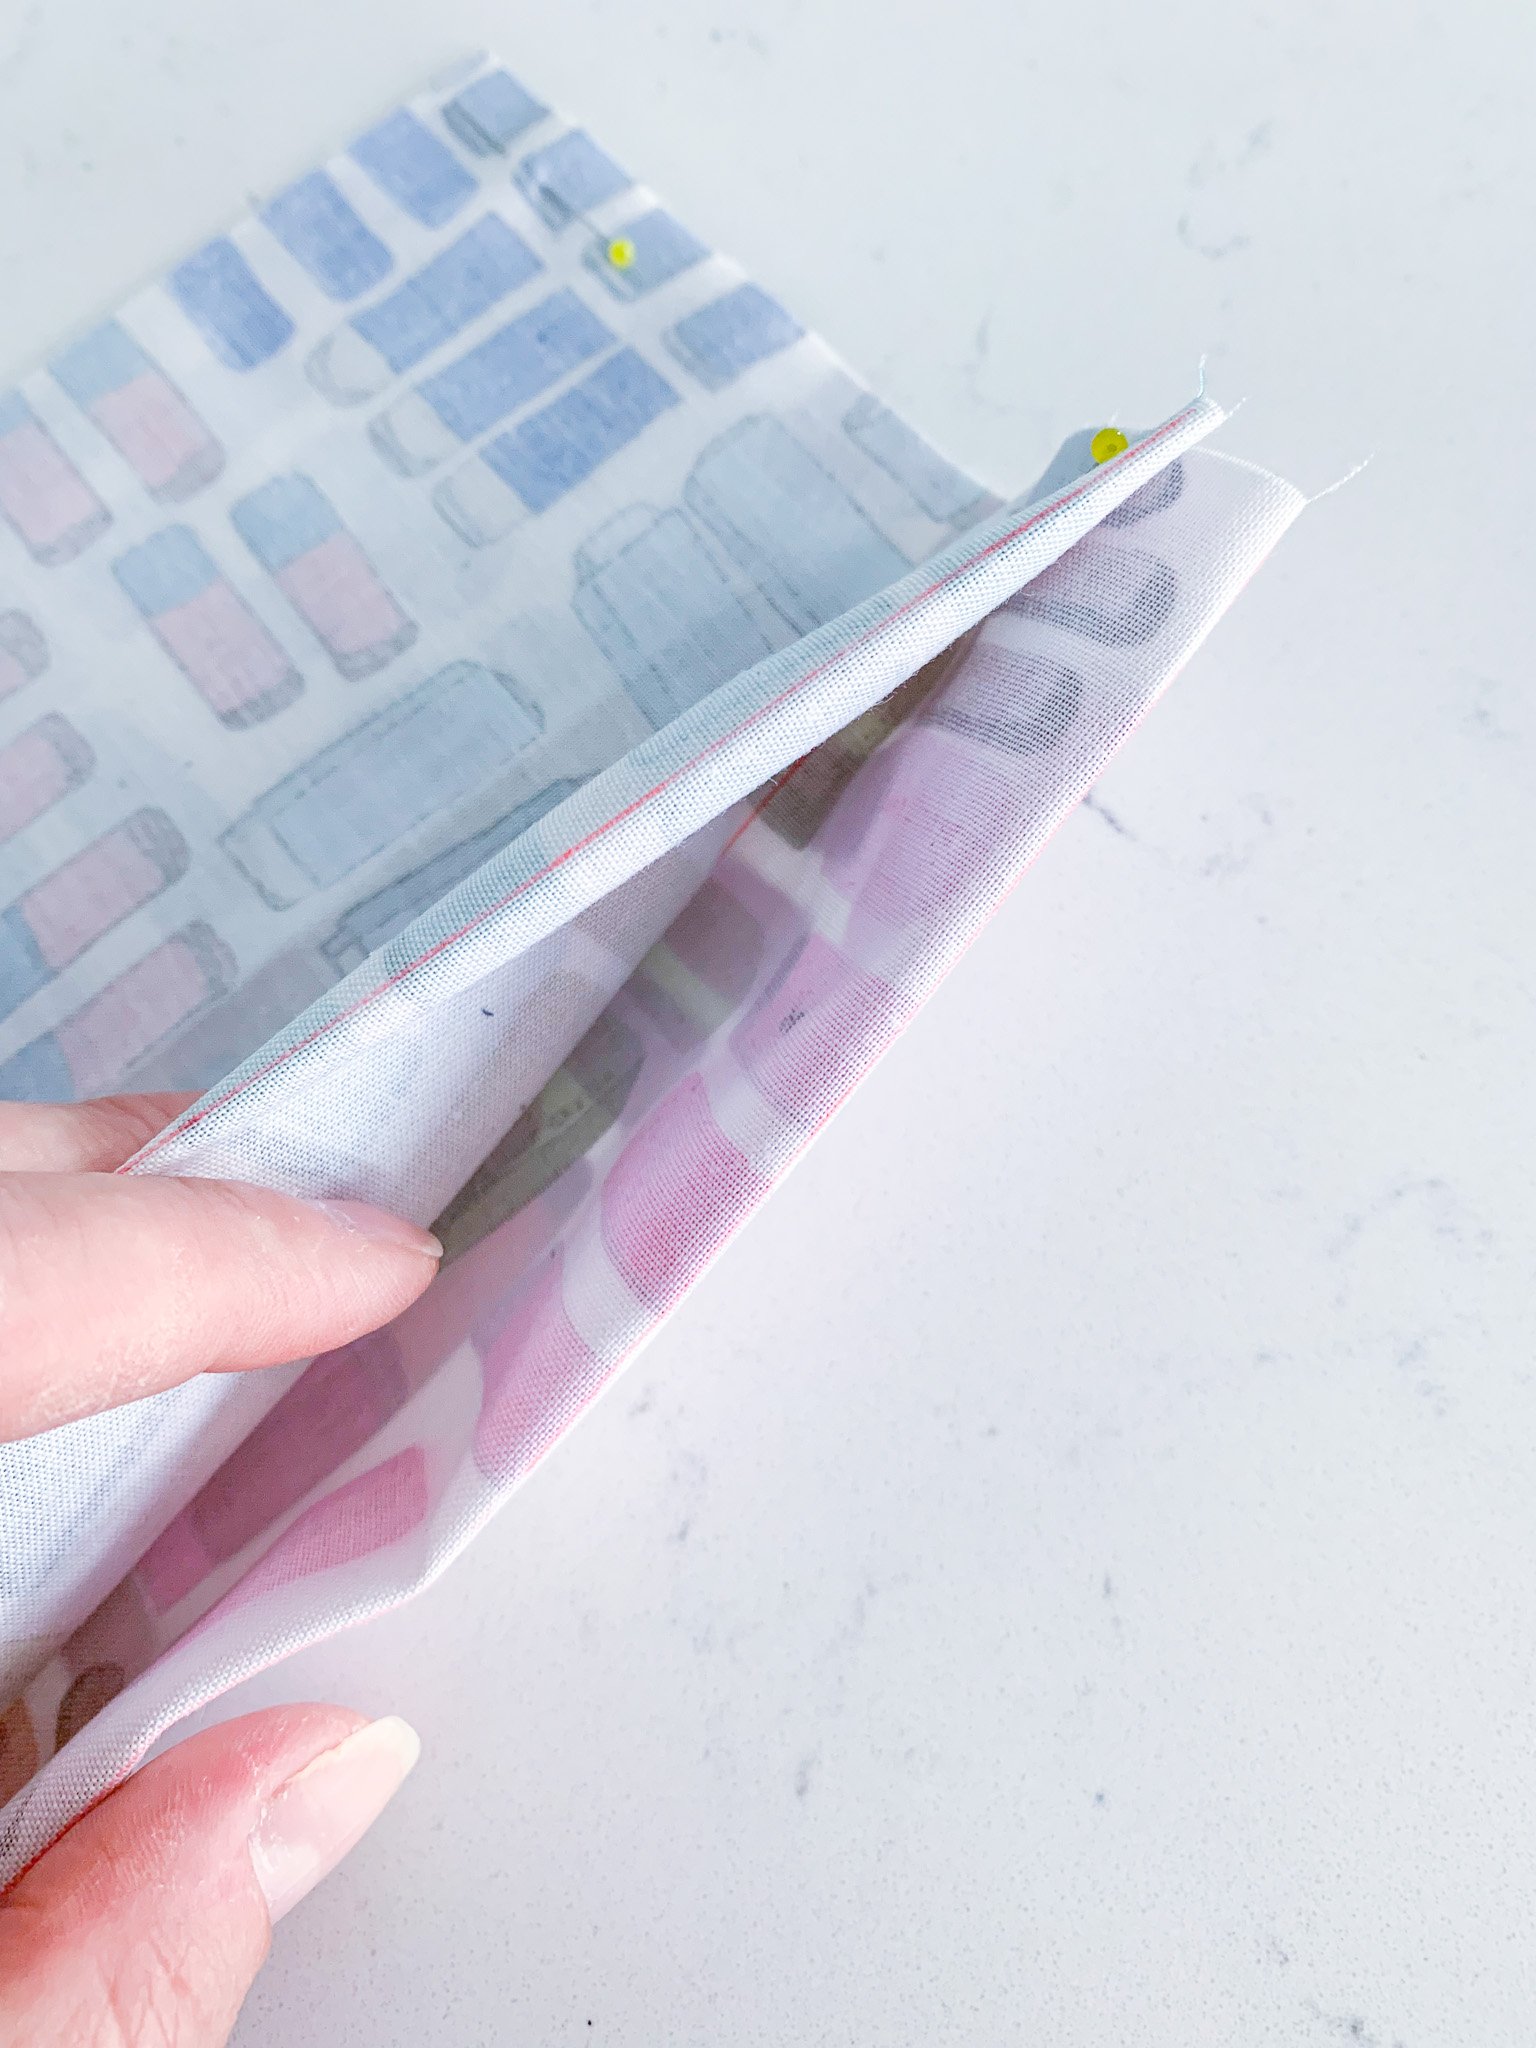
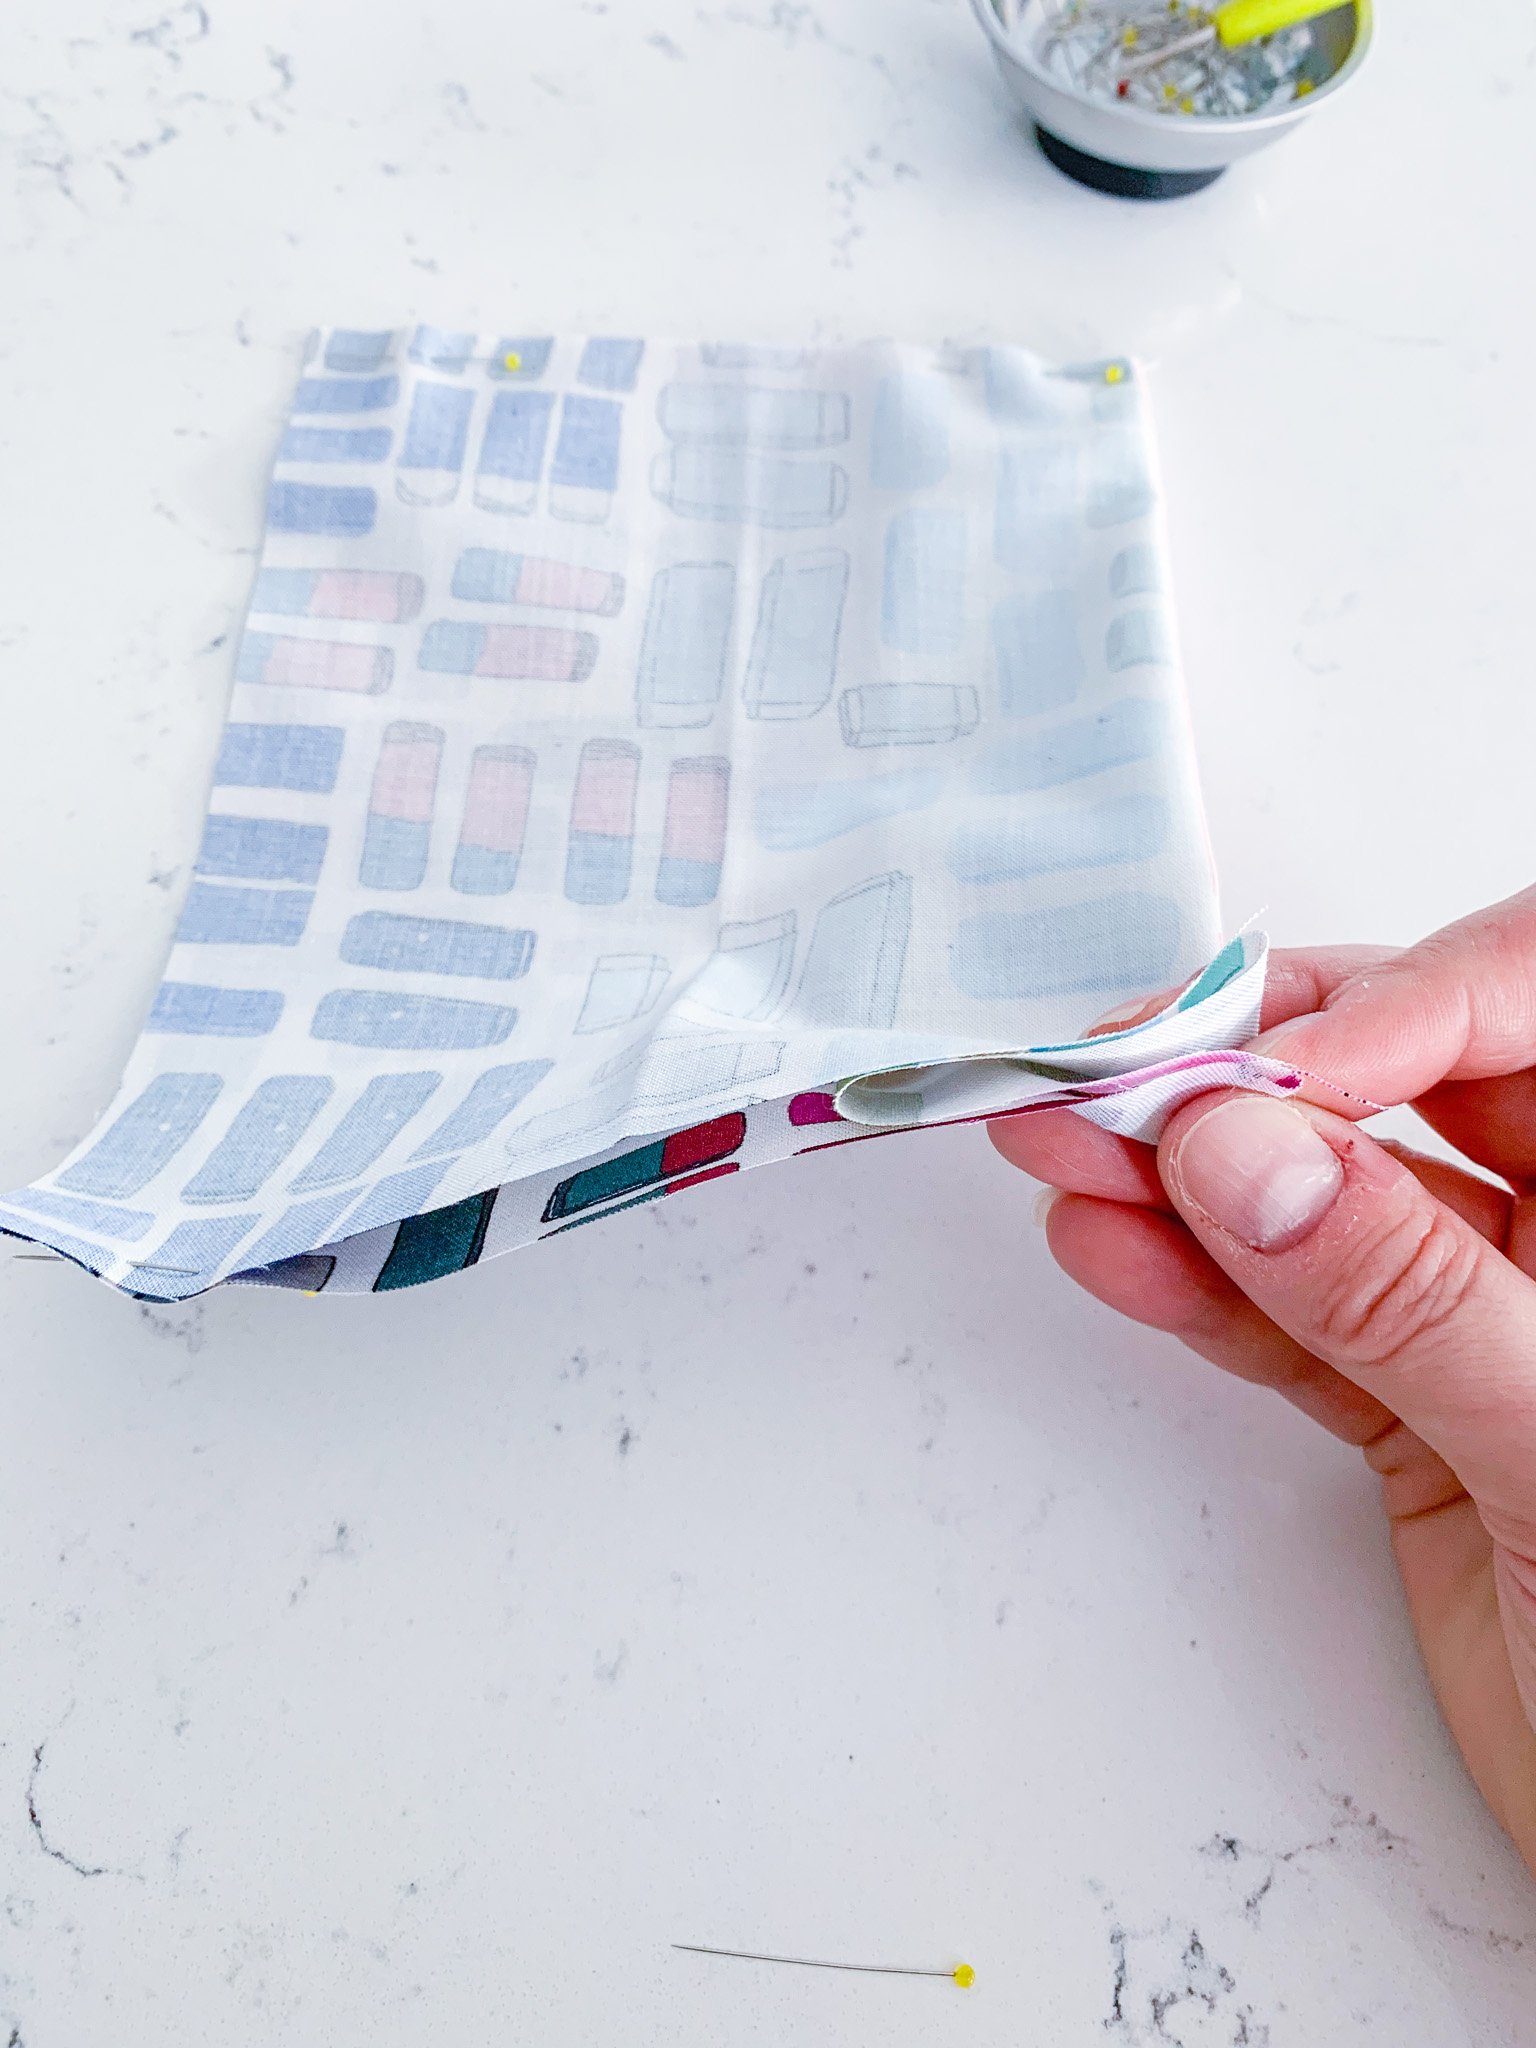
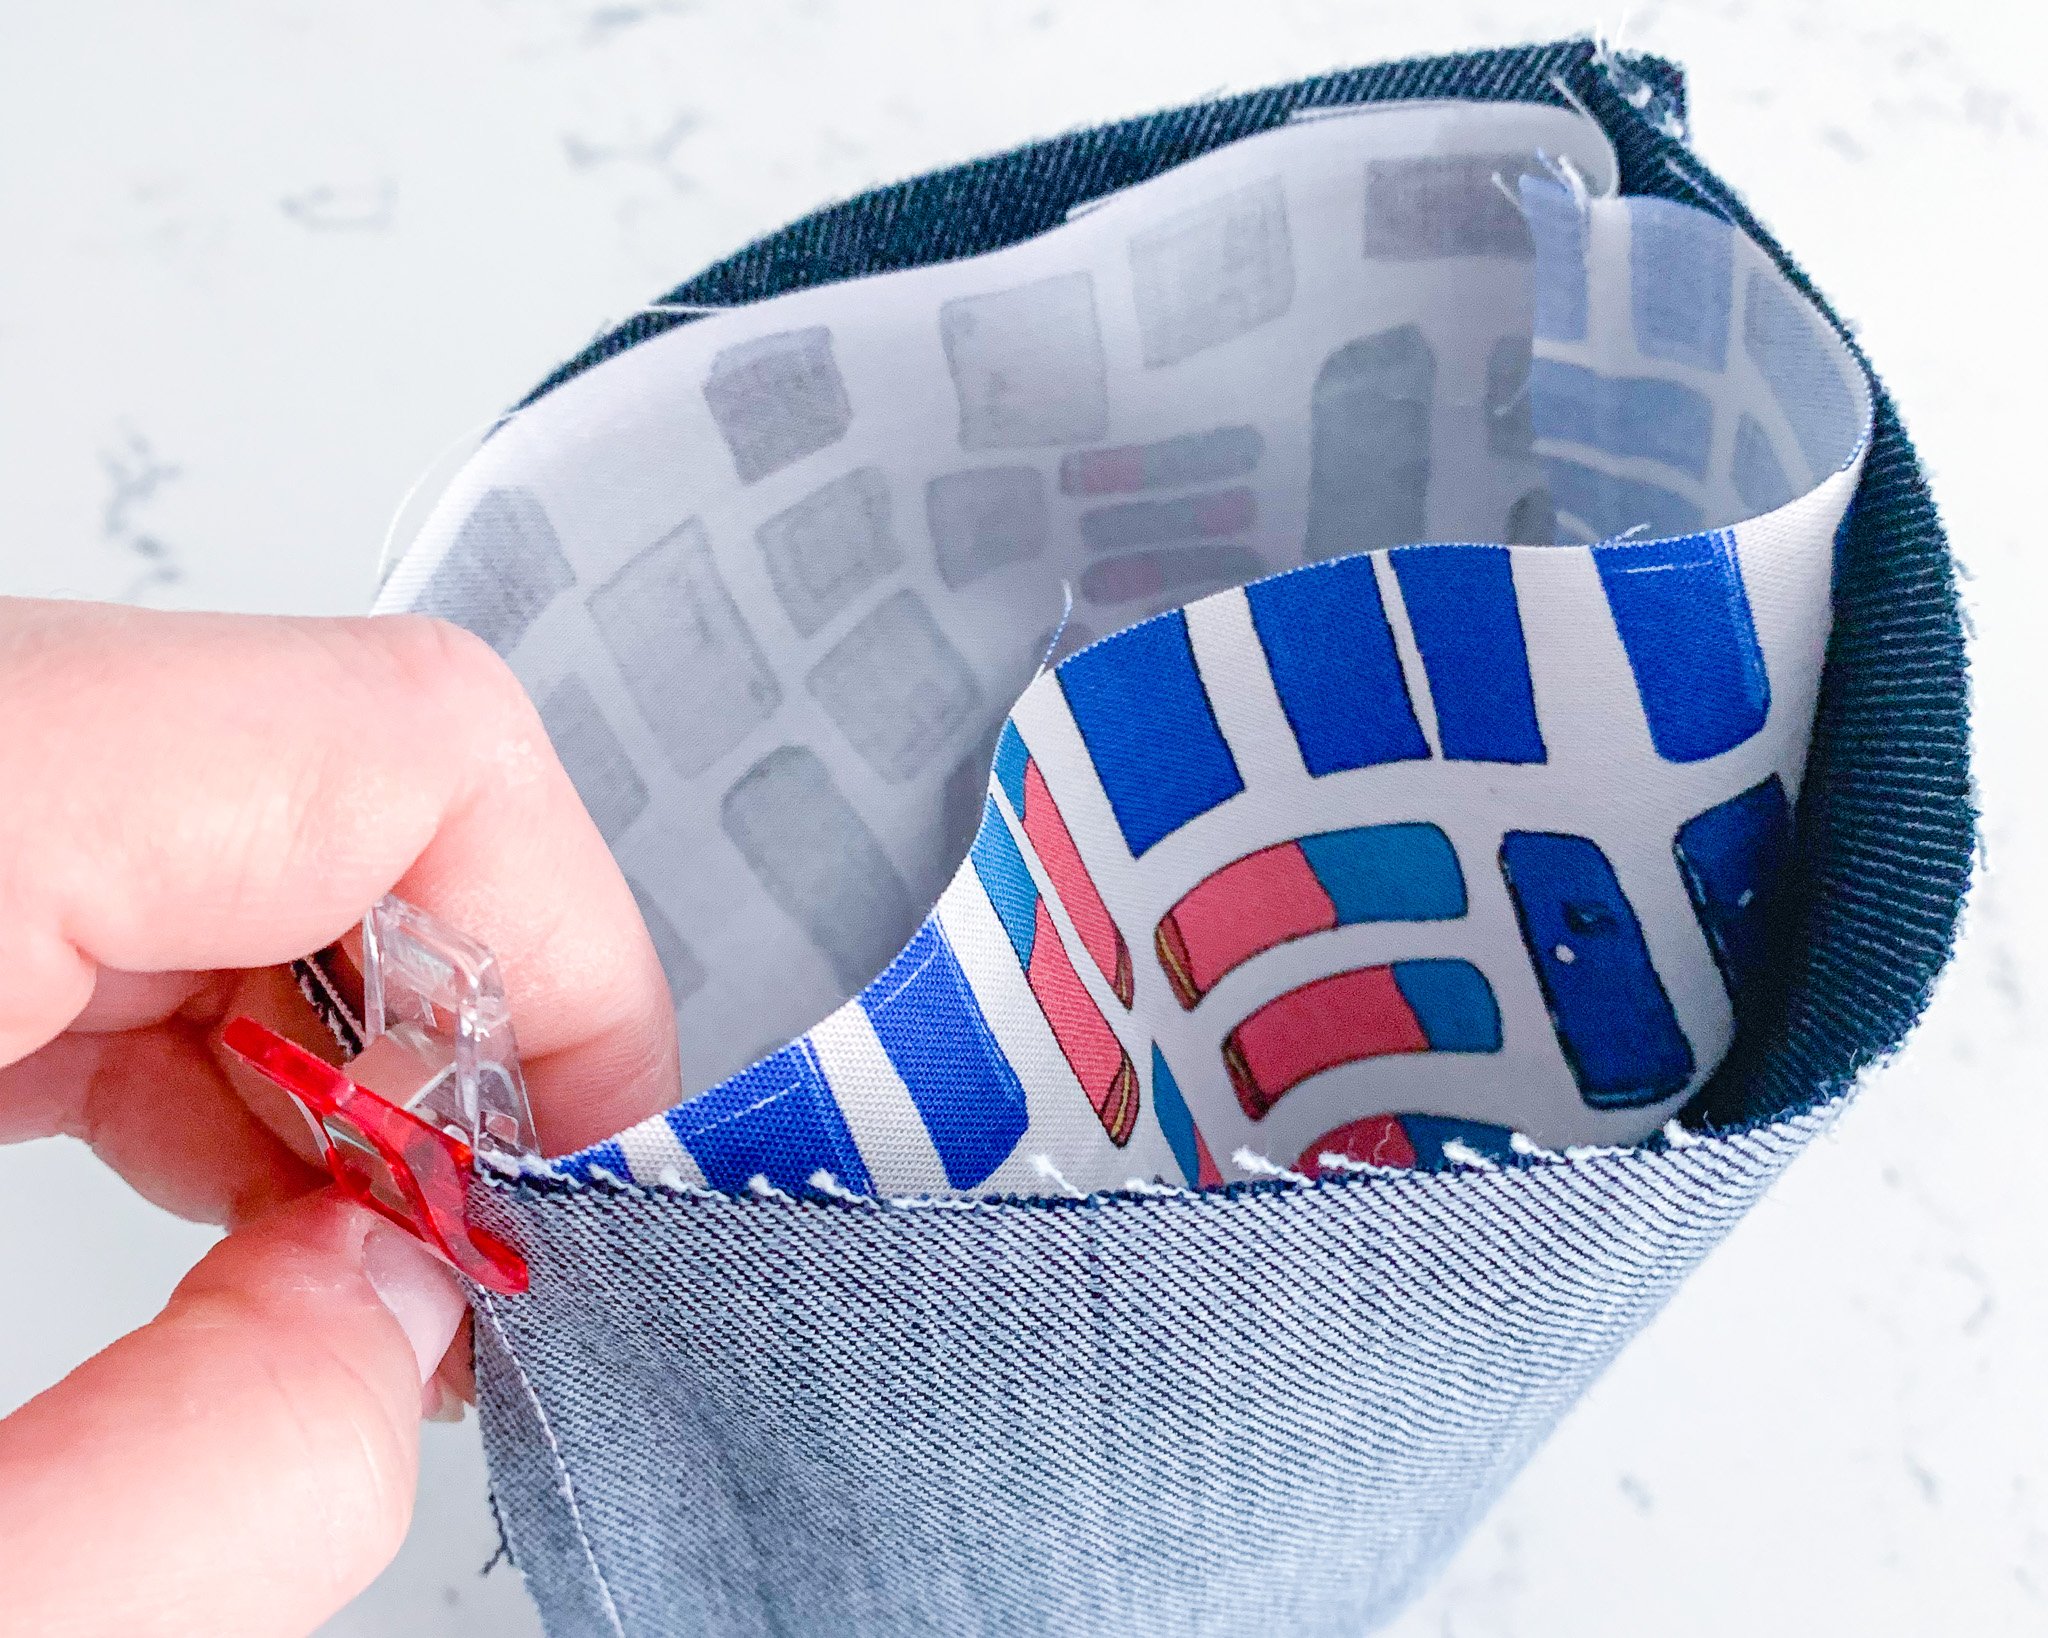
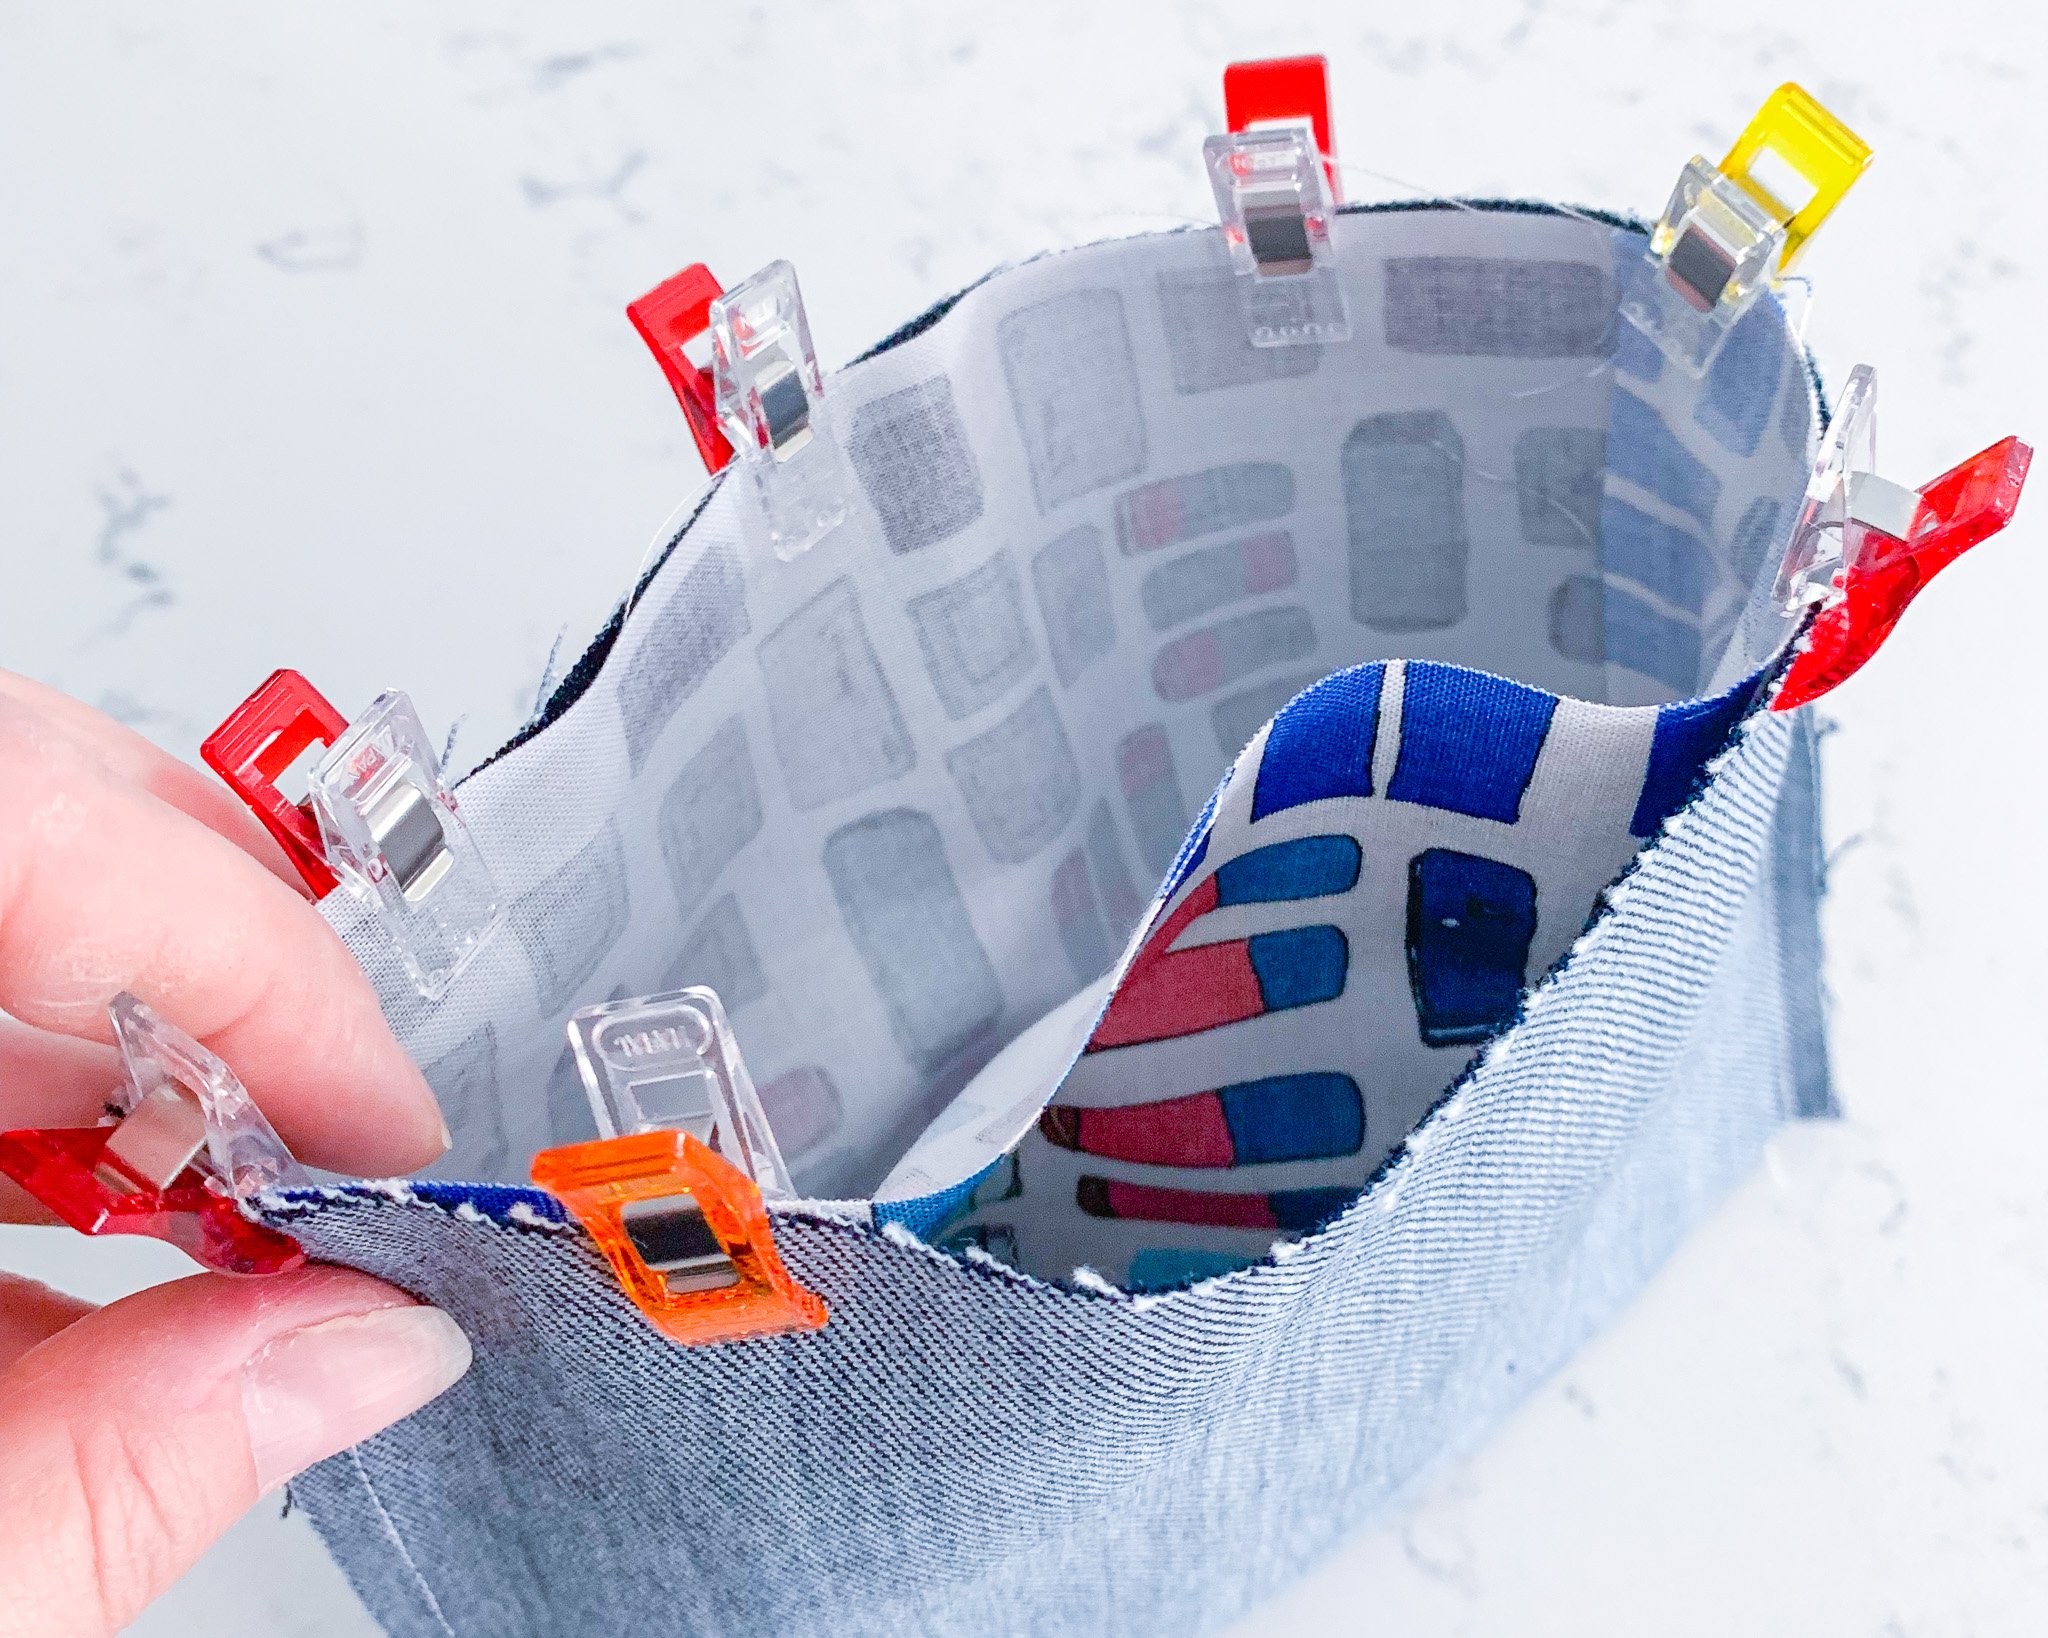
6. Turn the basket right side out through the opening along the top edge. Push the lining into the exterior and maneuver the fabrics until the seam runs neatly along the top edge. Press. Clip along the top edge, tucking in the fabric at the opening, to keep the lining in place, then topstitch around the entire basket 1⁄8” from the edge, sewing the opening closed as you go (I found a walking foot to be helpful here, especially with the thicker denim). Press.
Note: The thread in your bobbin is what will be showing when you fold this edge over in a minute, so consider what color you want showing against your lining. In my examples, you can see I used a white thread, which stands out against the denim, in the citrus basket and a darker blue thread, which is less obvious, in the other baskets. There’s no right or wrong here. It’s just something to consider depending on the look you want.

7. Fold the top of the basket over, and you’re ready to fill it with whatever you want! I made these as end-of-the-year teacher gifts and filled them with a cute notebook, some pens and pencils, a gift card, a note, and some office supplies, all from Target (you can see them all in the image below). (For the office supplies, I bought this cute set and divided them into these little containers. It worked perfectly. I was able to get 10 containers from this one set.) You could also fill them with candy, or a cute succulent pot would be perfect.
8. Don’t forget to share your finished baskets via social media using #BSMCFoldoverBasket!